

Introduction & examples
The general workflow using NDunes follows the following pattern:
- Preparing external data to input in NDunes.
- Automatic generation and adjustment of the scene. This includes nature elements (landscape with terrain and vegetation) and artificial elements (cities with human-made buildings and roads).
- Manual editing of the generated scene (including adding project specific objects).
- Animating (cameras, objects).
- Exporting deliverables, which includes images, 360 images and videos.
The following guide will show you how to set up and generate, step by step, a fully functional NDunes scene with an integrated solar project.
In each step there are a set amount of tools we will be using :
- For automatic generation of the scene, we will use the Blueprints.
- For satellite preparation, we will use the Atlases and The sun tool.
- For automatic scene adjustment, we will use the Wizard.
- For animating, we will use the Scene curves and the The timeline.
- For exporting deliverables, we will use cameras (Controlling the camera) and the Batch rendering.
To make it easier for you to follow along this workflow, we made a dedicated solar project situated in France which we will use.
You can download the sample scene here : Sample data
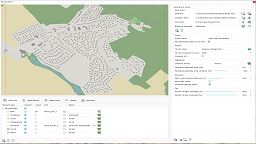
To import the scene, you will need to click on "File" --> "Import Scene Archive" and then load the .zip file.
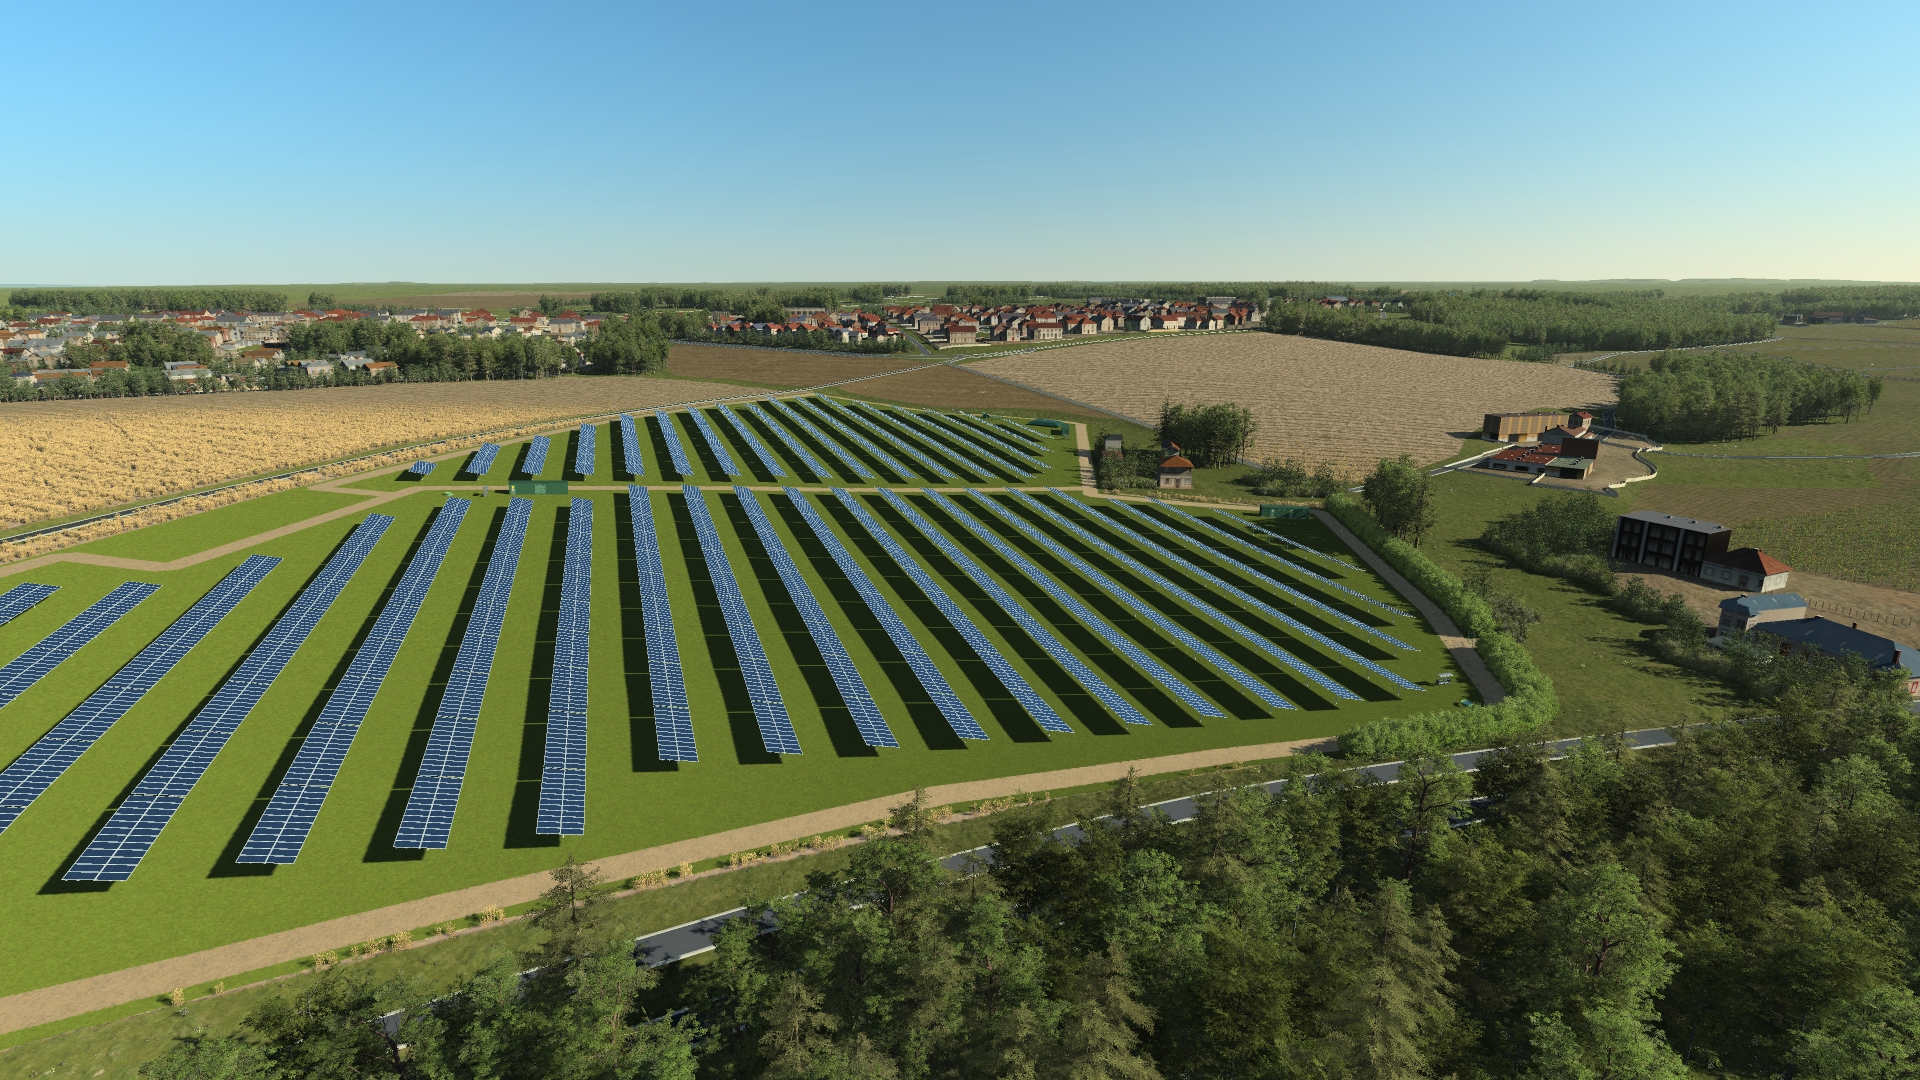
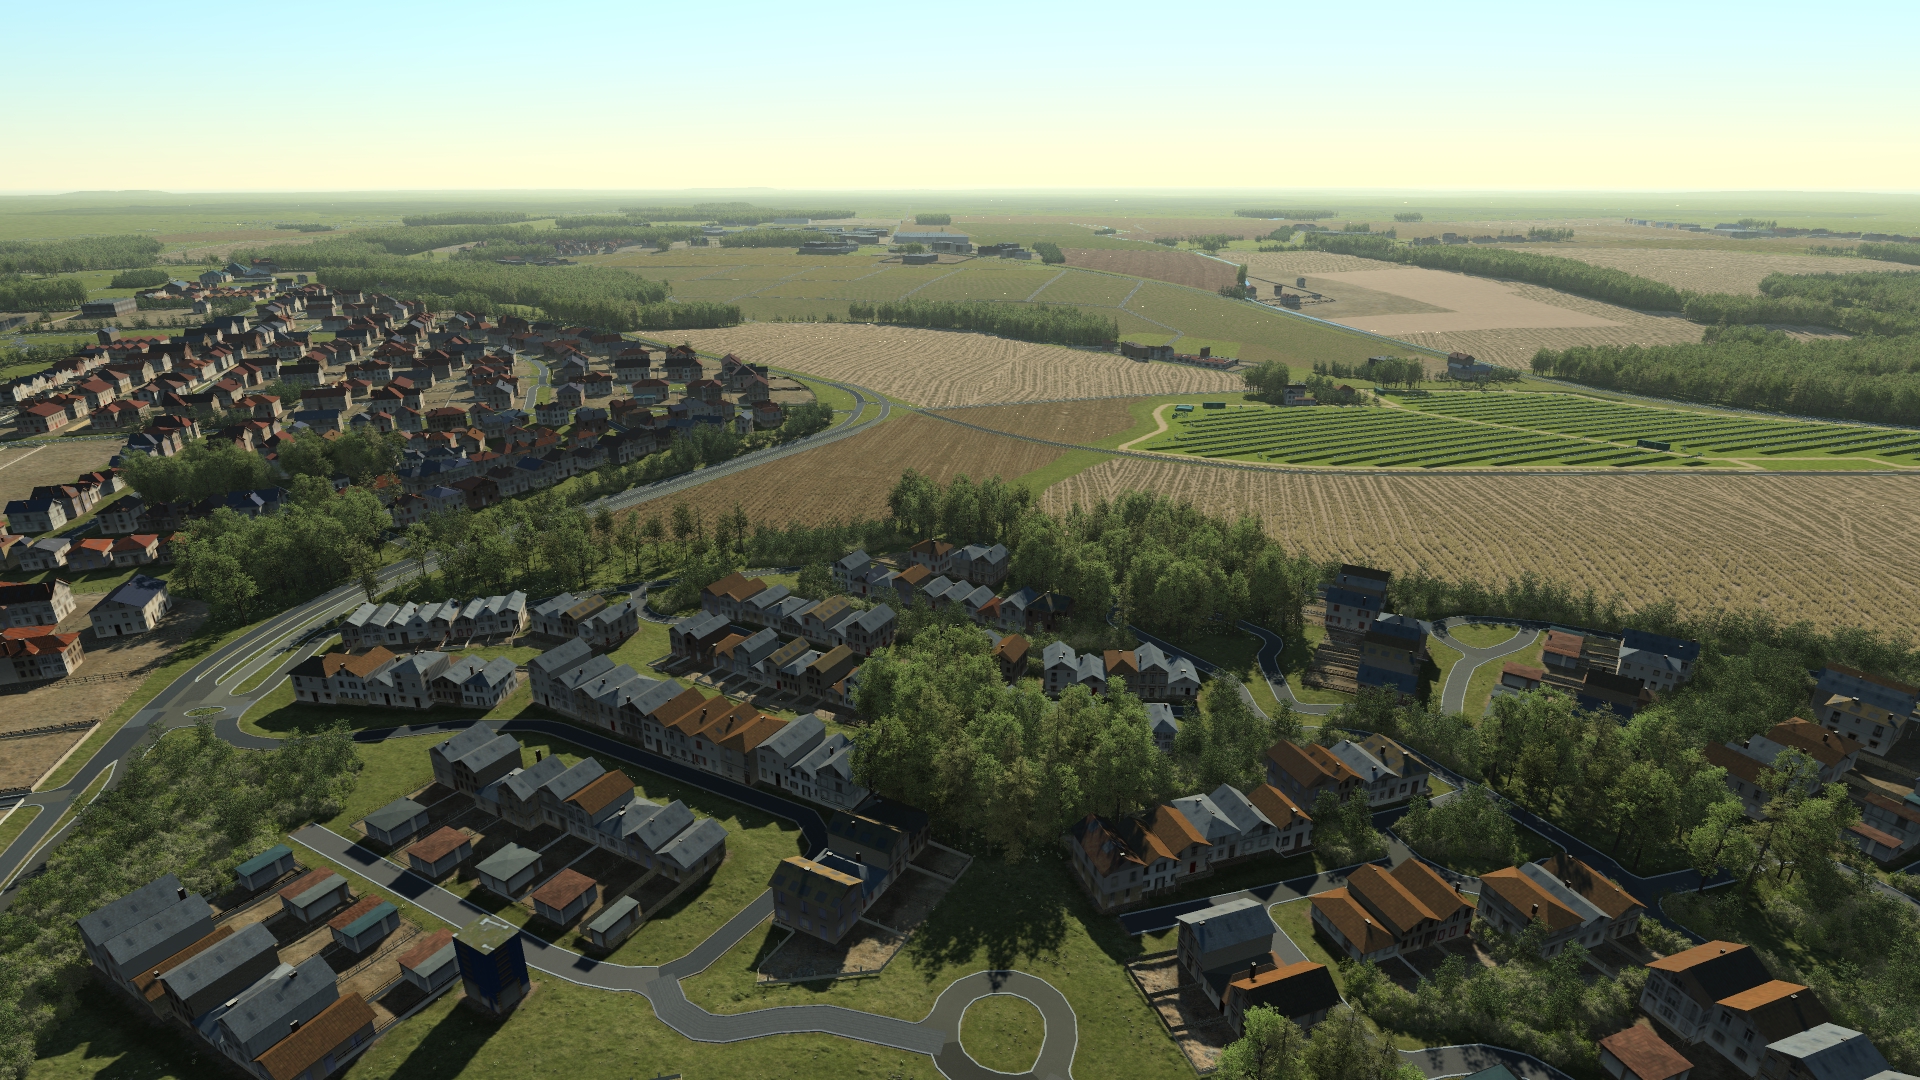
Here are images of the project that we will be creating following this workflow:
 Base workflow Base workflow | External data |
