


 Rendering
NDunes provides several image rendering tools available in the Render menu.
The first item opens the Rendering Setup window. It shows, in its first tab, all the parameters related to the rendering actions. They are saved within the current scene document.
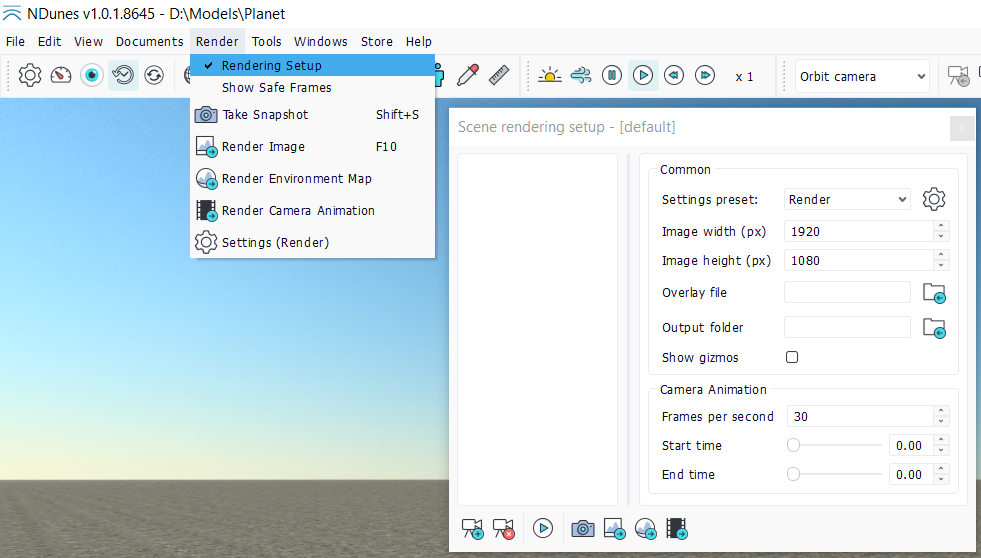
Opening the Rendering setup window
The Image options are:
- Settings preset: which settings preset to use when doing a rendering (see Settings). The settings window can be opened with the last item of the Render menu.
- Image size: dimension of the rendered image in pixels.
- Panorama field of view: when rendering a panoramic image, horizontal field of view of the panorama in degree.
- Overlay image file: image drawn on the bottom right of the rendered image or video (for instance to add a logo).
- Show gizmos: enable or disable the rendering of scene gizmos.
The second group named Camera Animation contains properties used when rendering a camera animation.
- Sequence: animation sequence in the timeline for the selected camera (see Animation).
- Frames per second: number of rendered images for 1s of video.
- Start and end time: allows to crop the animation by exporting the frames in the time interval.
The last Output group holds a field to select the export directory.
- Output folder: directory where the final images are saved. This folder is relative to the current scene. It can be opened with the last button of the toolbar.
- Output format: format of the exported images. The available formats are jpg, png and tif.
The rendering actions in the top menu can also be found in the toolbar at the bottom of the view.
Note:
The Viewport tab contains properties and render actions for the current view.
Safe frames
The Show Safe Frames option of the render menu displays the security lines on top of the viewport:
- The part of the viewport that will be visible during a rendering for the given size parameters.
- The lines for the rule of thirds for composing visual images.
- The image center.
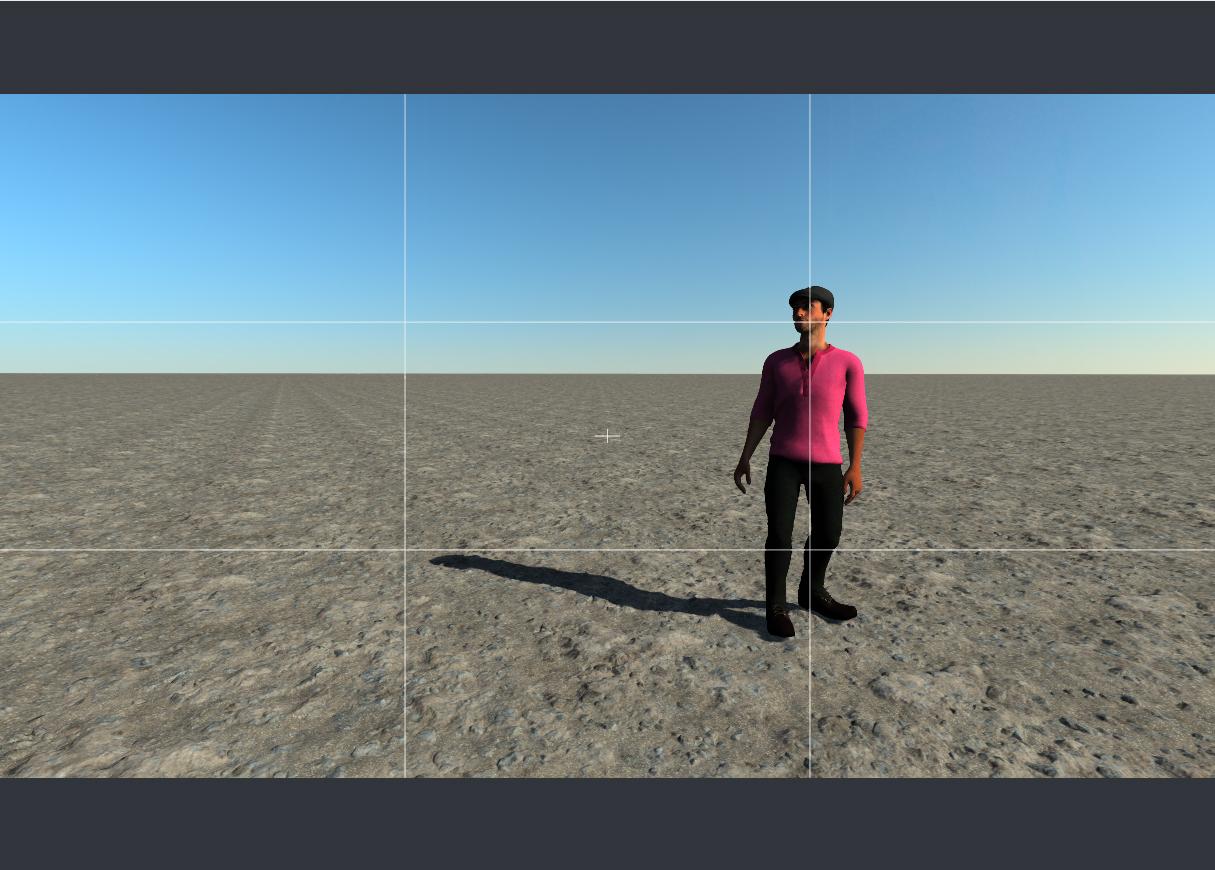
Safe frames
Taking a snapshot
The third item of the menu, Taking Snapshot saves the content of the viewport in the output folder. Nothing fancy here, just a simple screenshot. The size and quality of the image is the same as the viewport.
Rendering an image
Rendering an image is like taking a snapshot except that the Render settings preset can be selected in the setup as well as the final image size. The Render preset allows to define high quality parameters. Unlike taking a snapshot, the rendering operation is not immediate and may need additionnal calculations.
Exporting an environment map
By triggering this action, the current view is exported as an environment map. This is a full 360° view that can be reused in a indoor scene or in any external environment viewer.
As for rendering an image, the rendering presets are used when exporting the environment map.
Environment map generated with NDunes
As shown, the image is produced using spherical mapping, which causes significant distortion in the upper and lower regions.
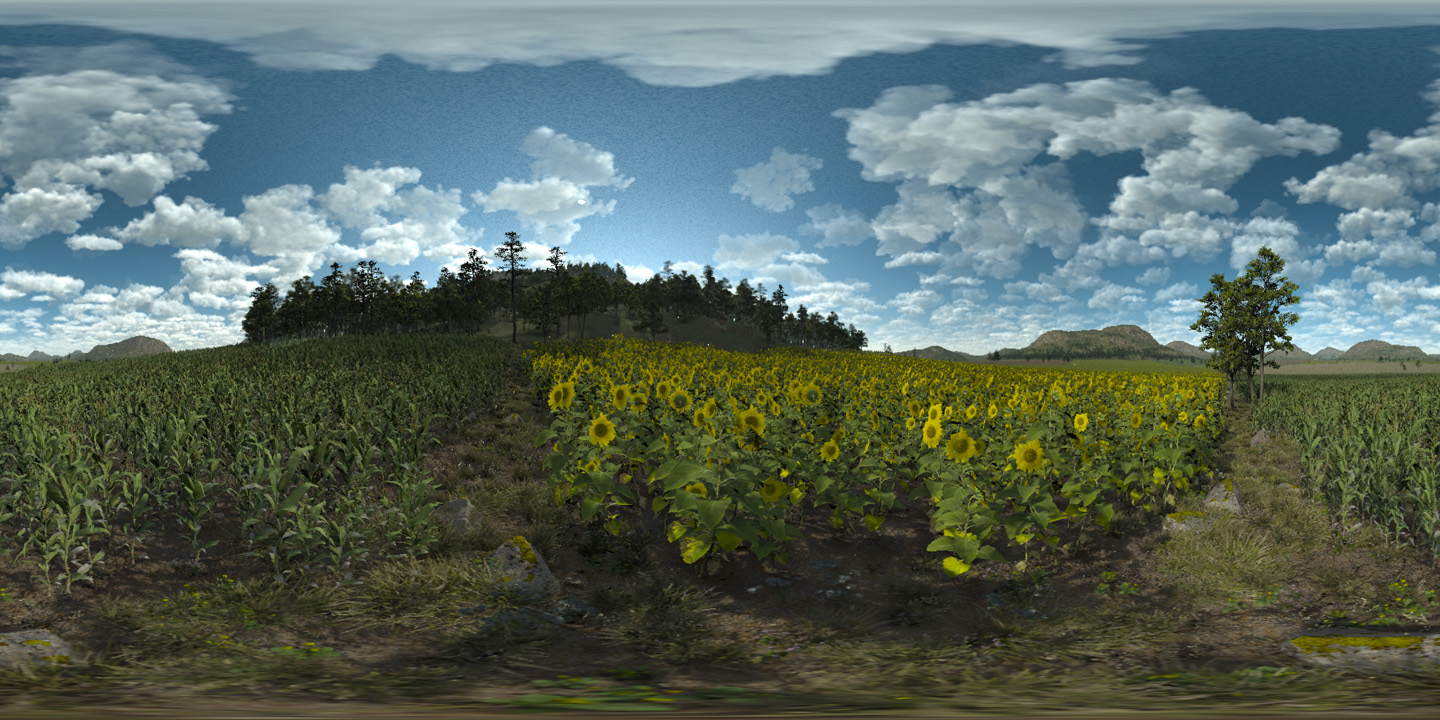
Rendering a panoramic image
Unlike a conventional image, whose horizontal field of view cannot exceed 180°, a panoramic image can reach up to 360°. Such an image is created by stitching together multiple renders captured while rotating the camera around its vertical axis. The value of the desired field of view must be set in the rendering setup window.
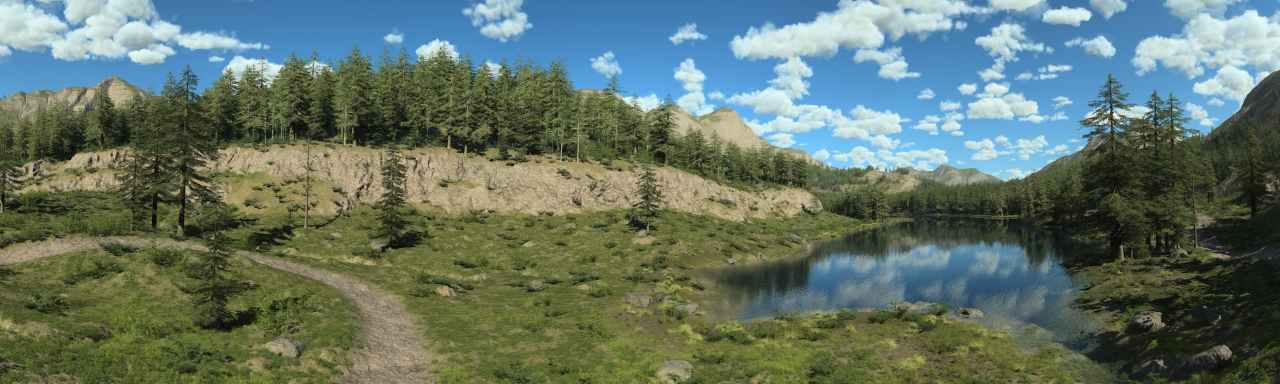
Panoramic image with a field of view of 180°
Unlike a spherical environment map, a panoramic image does not exhibit distortion.
Rendering a camera animation
It is possible to create a curve path for a camera. This can be seen here: Animating objects along a curve path. The images generated from the camera animation along the curve can then be saved as a series of frames as well as a video in .mp4 format.
The camera animation export uses the settings preset defined in the render setup window as well as the image width and height and the specific video parameters (fps, time intervalle).
Note:
The camera must have a valid curve path to render a video. See Animating objects along a curve path.
Rendering geometry and plant masks
For each type of rendering (image, environment map, or panoramic image), NDunes provides the option to generate geometry or plant masks. The output is a black-and-white image indicating the locations of the geometries or plants.
These types of masks are heavily used for photomontages.
Rendering the environment overlay
In 360° photomontages, it is essential for the up direction to remain perfectly vertical, especially when the image is intended to be viewed in a VR headset. In some cases, the source image may not be properly aligned with the vertical axis. Re-rendering the source environment map used as an overlay makes it possible to correct this misalignment and ensure that the exported environment map and the source image are properly aligned.
For details about camera overlays, please go to: Controlling the camera.
Multiple rendering in batch
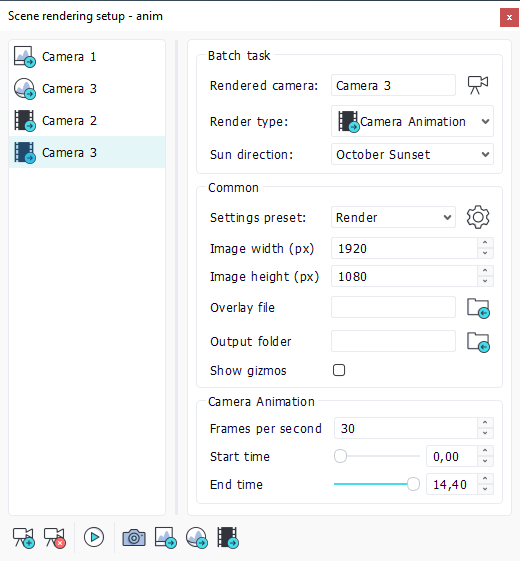
The render setup panel has a second tab named Batch to create queues of rendering tasks.
The left part of the window holds the list of render tasks. They can be added or removed with the first (+) and (x) buttons of the toolbar. Each render task has its own set of properties that can be edited on the right panel when selected.
The first group of properties (Batch task) selects which camera to render, which type of rendering to execute (render image, render environment map or render camera animation) and the desired sun direction (the sun directions are saved with the sun panel: The sun tool).
The other groups are the same as the Viewport tab: Image, Camera animation and Output.
Batch rendering
Once the rendering batch has been filled with various tasks, the process of rendering all the cameras can be started with the 'Play' button in the toolbar. It is possible to activate or deactivate render tasks using their checkboxes. Only checked tasks will be rendered.
The 'Camera Play' button can be used to preview the batch in the viewport (like the camera play button in the camera toolbar - Controlling the camera).
