


Clouds covers
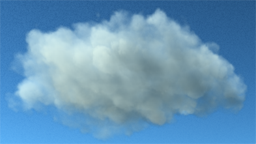
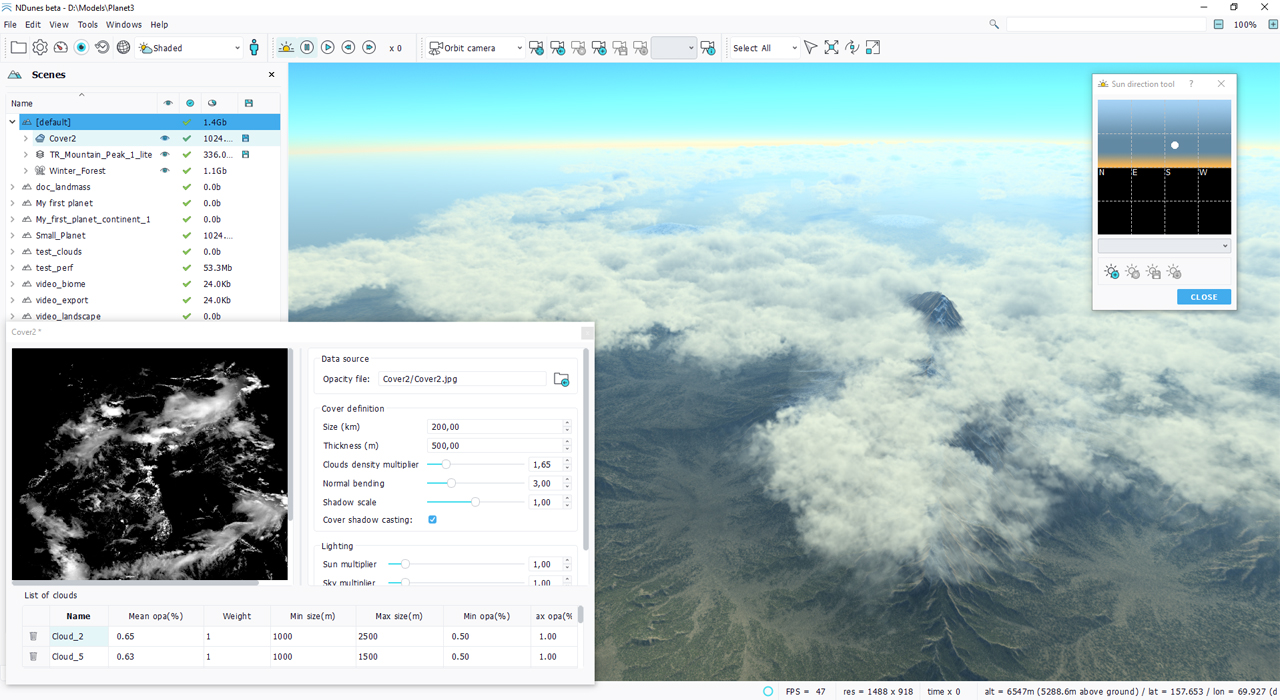
Clouds covers aggregate clouds together to create a sky coverage. The principle is that an opacity map will define the position of clouds and then clouds added to the cover will be scattered in areas where the cover map is opaque. Below a clouds cover with a high contrast:
Creating a clouds cover
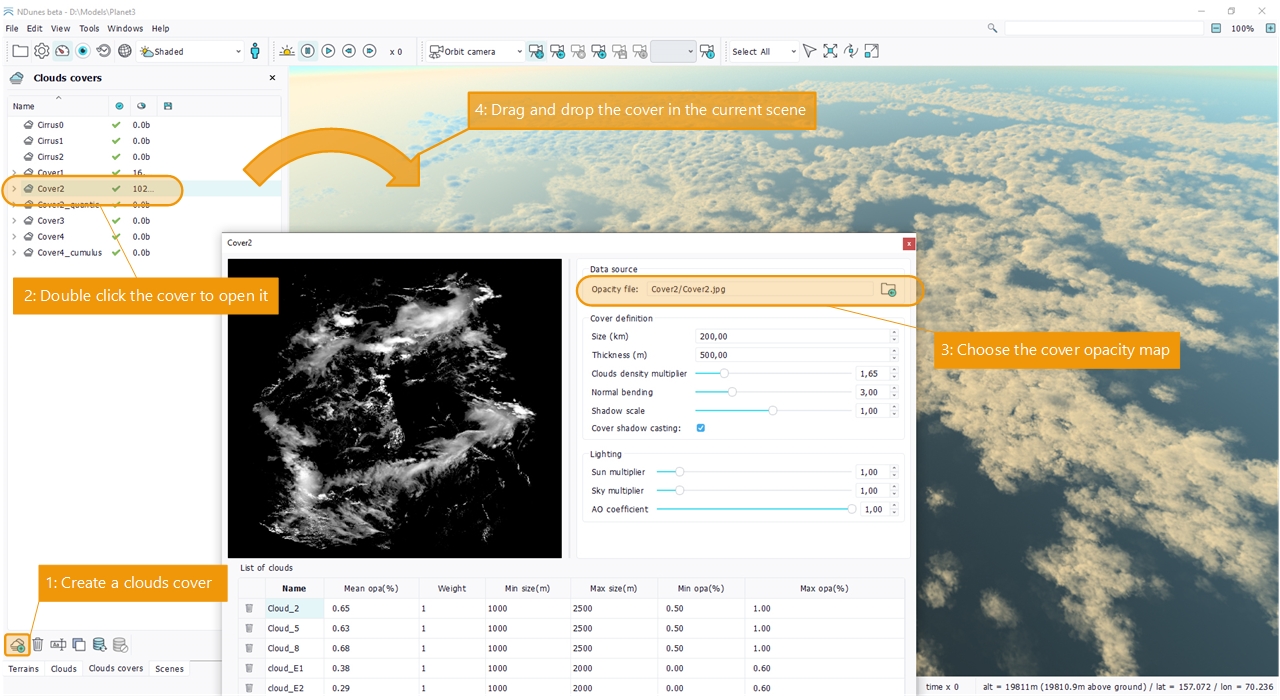
Let's create a clouds cover first. As for all other documents:
- Click on the cover creation button in the clouds covers documents tree view,
- Double click on the created cover to open it.
- Set the source opacity map to define the cover.
- Drag'n drop the cover in the current scene. Select the altitude of the cover.
Once there, we can see the cover itself. It does not contain any cloud yet. So this is the bare clouds cover map that we display. A default clouds cover has a size set to 1000 kms. So you may need to move the camera to a high altitude to see the cover entirely.
Setting up a clouds cover lighting
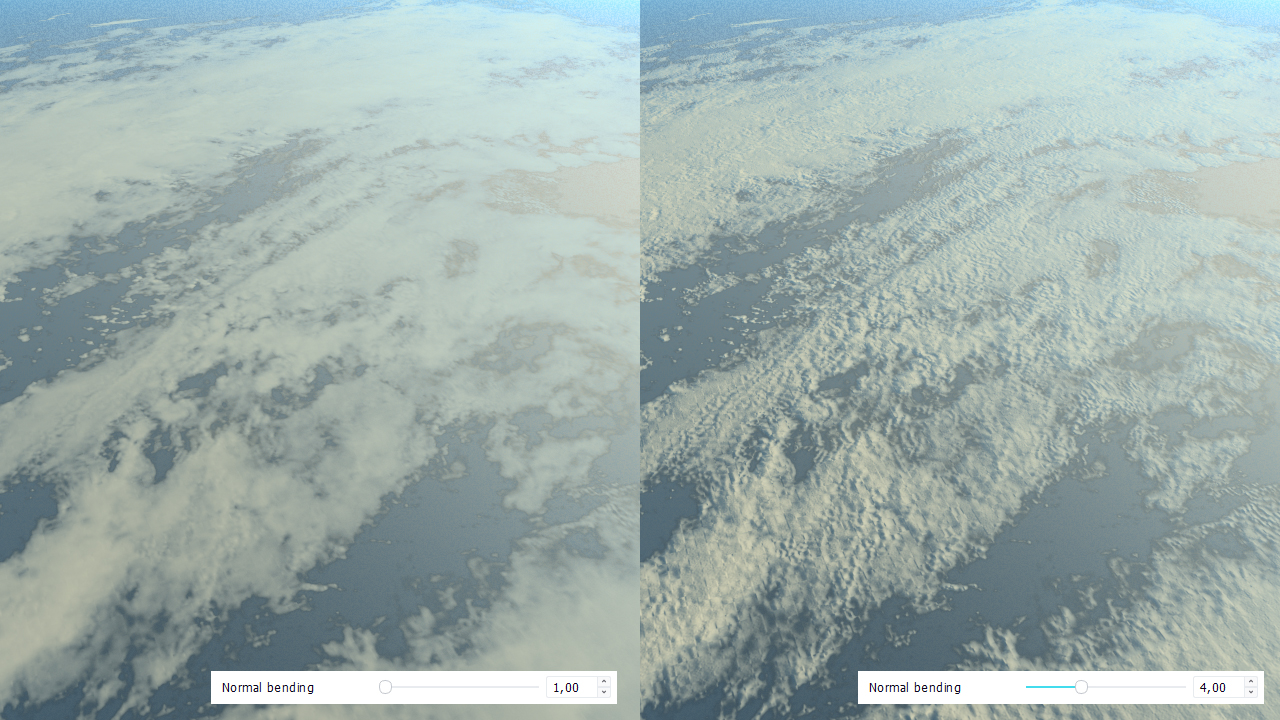
The first parameter can be used to provide a bit of bumpiness to the clouds cover. The cover itself has no thickness as its a texture mapped onto the planetary surface. So adding a bit of normal bending will generate some bumps - like in a normal map calculation - over the cover:
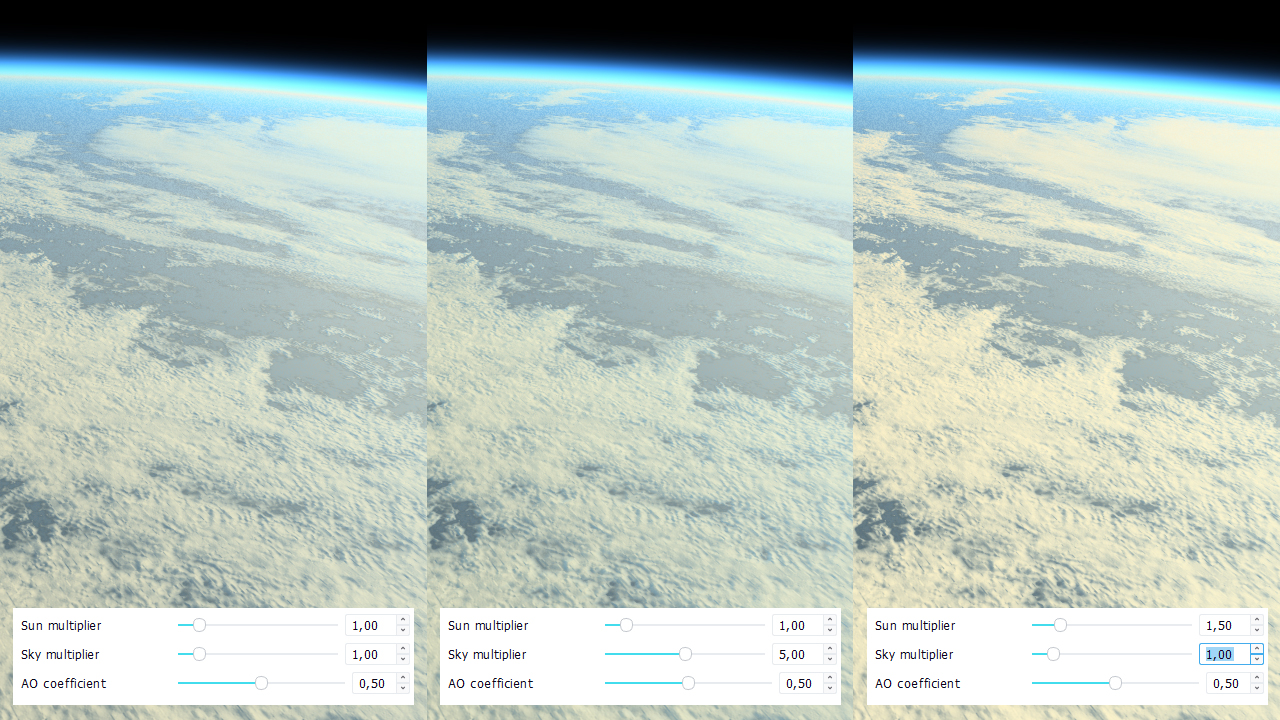
Then, there are three lighting parameters that can be modified to change the cover lighting and the way it reacts to the sun and sky lighting: the sun multiplier, the sky multiplier and the ambient occlusion coefficient. Like for all rendered elements in NDunes, the ambient occlusion still plays a role in estimating the amount of light interaction with other elements of the scenery. Below is an illustration of a few settings values:
Adding clouds to a cover
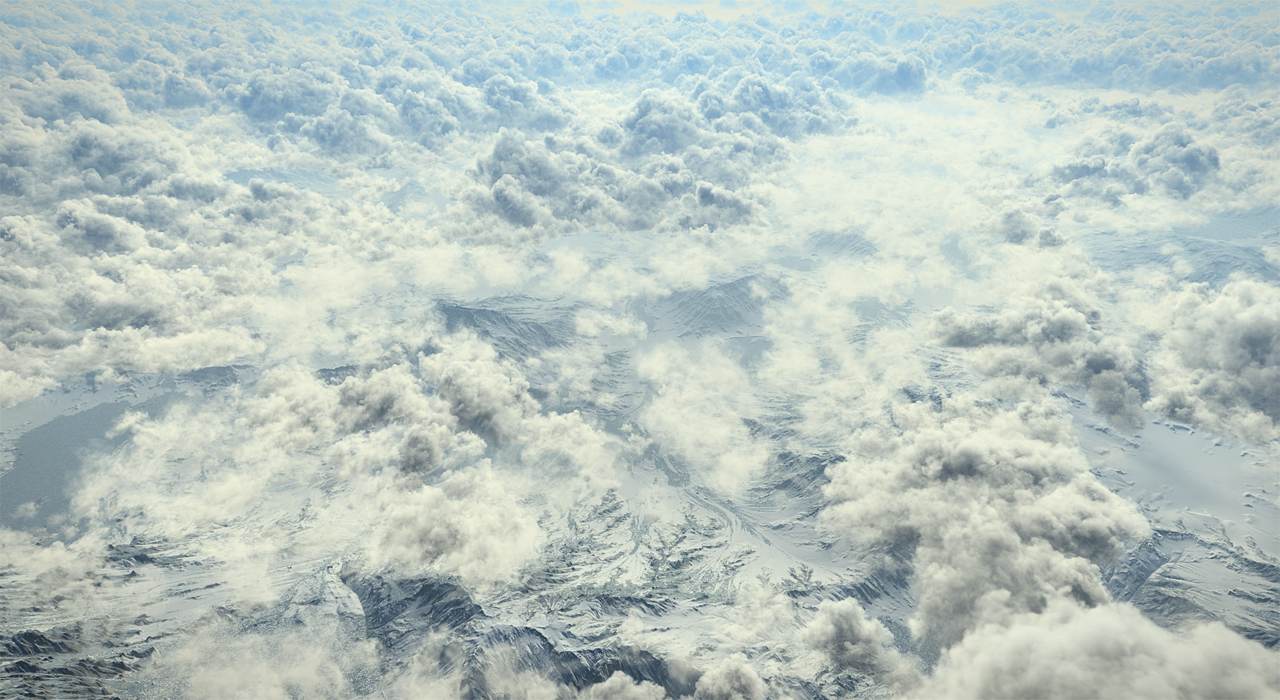
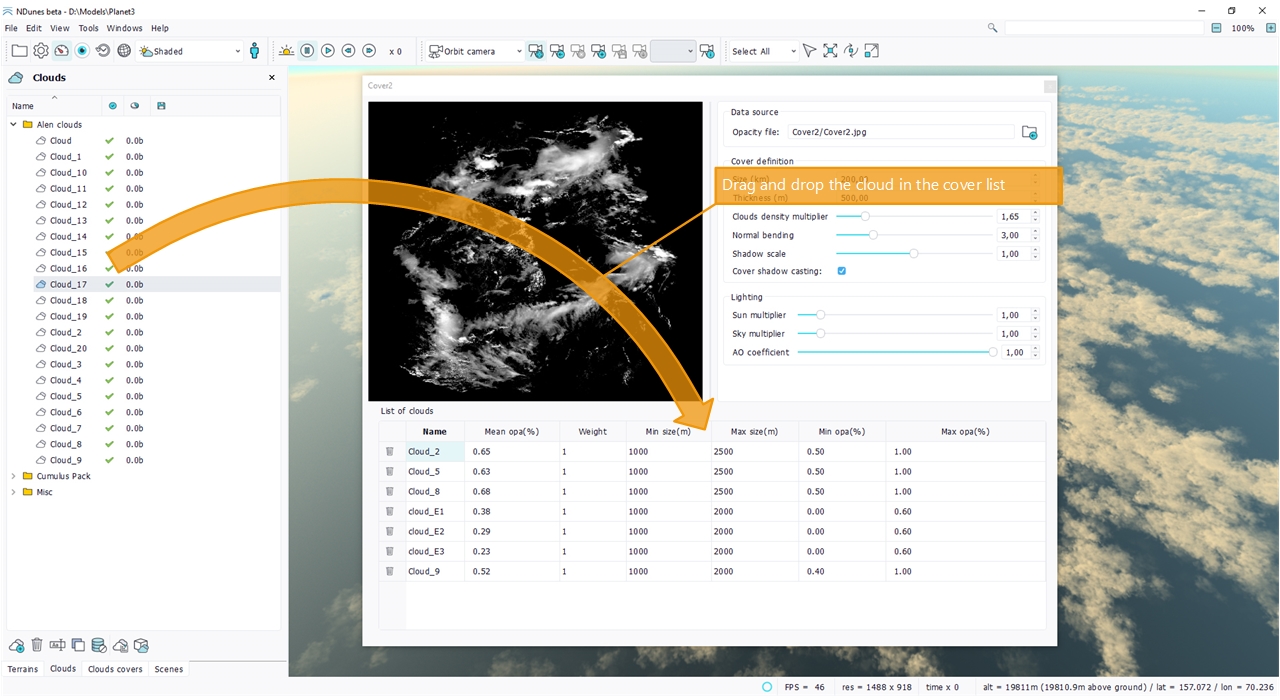
Clouds that have been prepared for the display can be added to a cover by dragging them into the list of clouds of the cover directly:
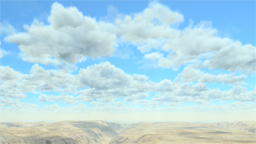
Then, the cover will show up clouds up to the clouds display distance specified in the Settings panel:
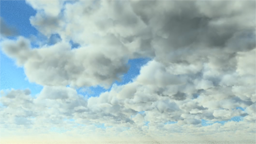
We can adjust the fading between the clouds cover and the clouds by using the distances specified in the Settings panel:
Here, the fade start is almost identical to the fade stop and this reveals the connection between the two layers. Then, the shading terms of the clouds cover (Setting up a clouds cover lighting) and the clouds shading terms can be adjusted to reduce the transition.
Note that generally speaking it's required to see clouds at extremely high distances. 300 kms may be a must have to see clouds up to the horizon.
Cloud setup in a cover
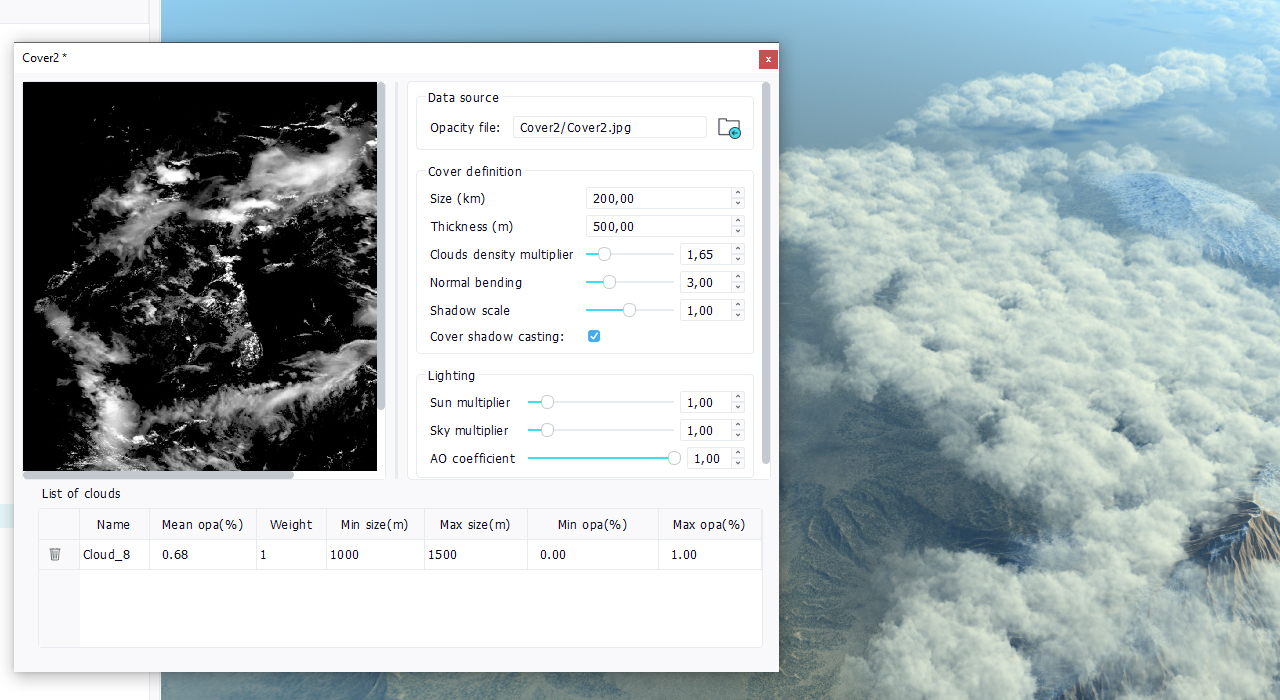
Once a cloud has been added to a cover, we can see its scattering parameters:
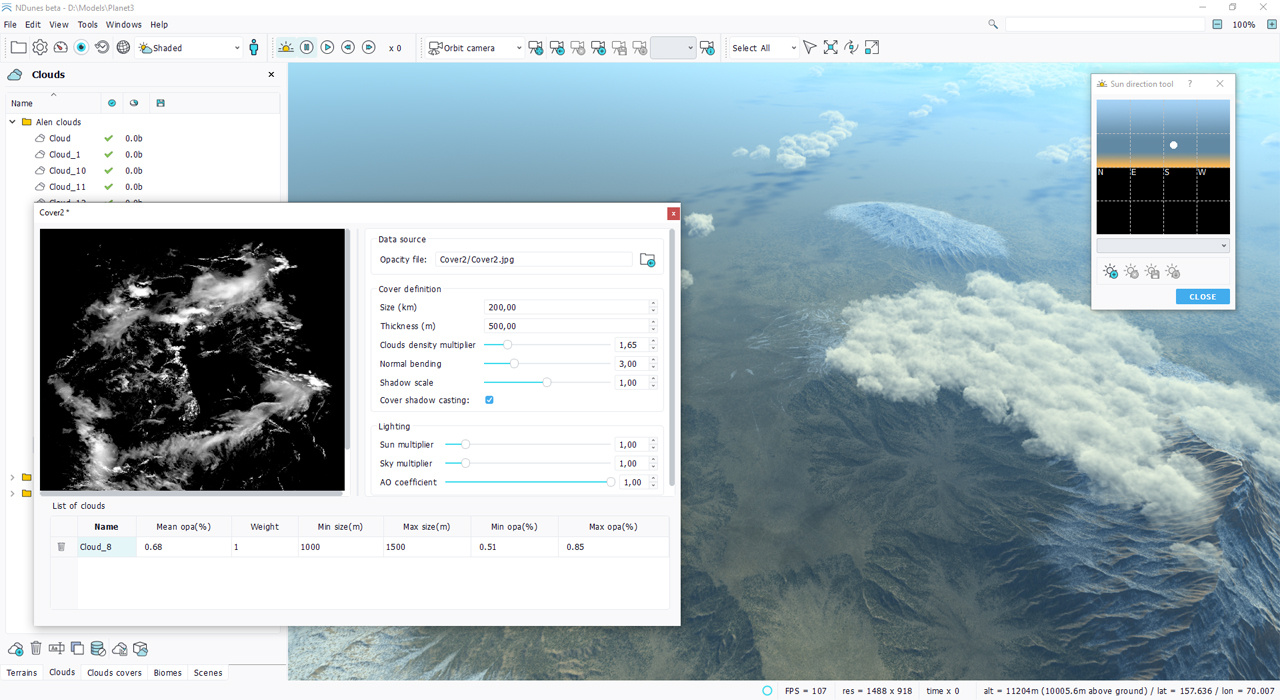
- The cloud's name. Double click on it to open the Clouds view.
- The cloud's mean opacity: this value is non editable. It's an information on how opaque the cloud is, when it has been calculated. A cloud is more or less opaque depending on the amount of internal absorption that is set for it. Recalculating the cloud shading and prism is needed to change a cloud's mean opacity. This is directly performed from the cloud view and cloud toolbar.
- The cloud's weight: as we do it for biomes, this will define the chance that this cloud gets selected and appear in the cover among all other clouds that can exist there.
- The cloud's dimensions: defined by a minimal and maximal size. Note that getting too low here (for instance below 500 meters for a cover that is 500 kms wide) will generate a ton of clouds and performance will drop.
- And finally the cloud's opacity boundaries. This last parameter is very important as it rules where the cloud can appear. See below.
Cloud opacity range in a cover
On dropping a cloud that has been calculated for a given opacity amount, NDunes will automatically generate lower and upper limits of opacity for that clouds. This means that the cloud will only have chance to appear in cover areas where the cover opacity falls in between the min / max opacity for that cloud. This is illustrated below:
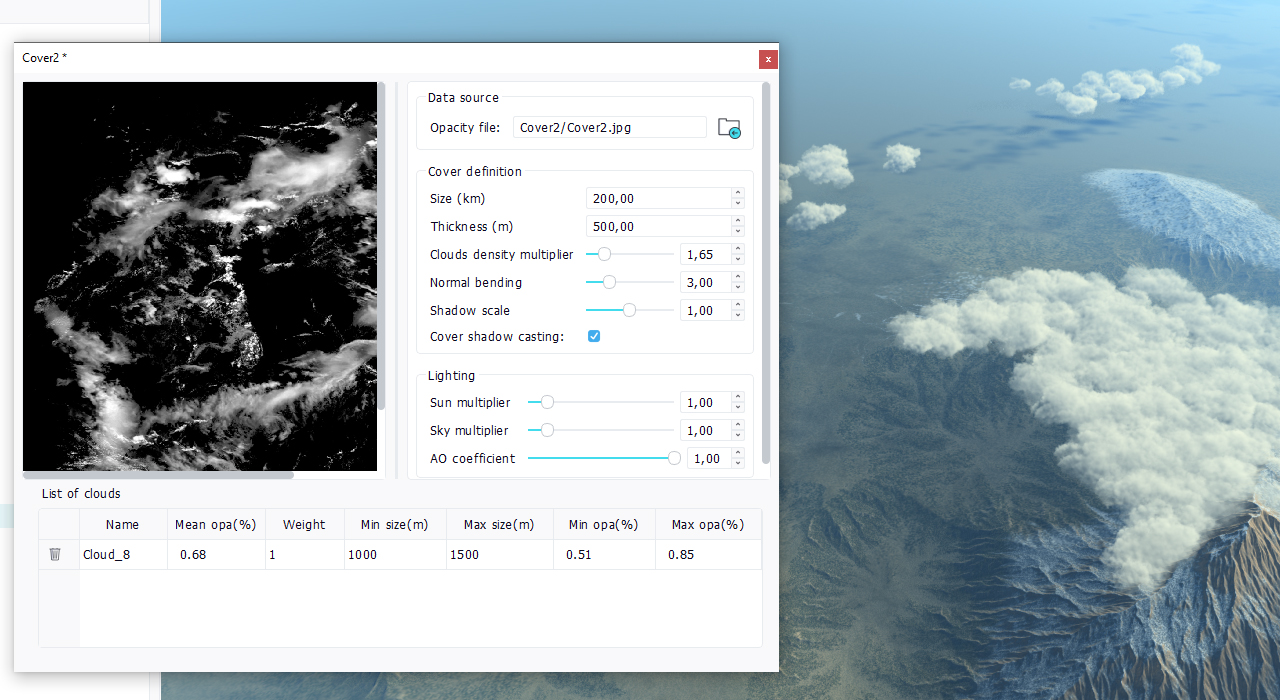
The cloud has a mean opacity of 68% so by default the cover will spread it out in cover areas whose opacity is in between 51% and 85%, so that the cloud design remains correct. NDunes will change the opacity of each scattered cloud to adjust it to the opacity of the cover where the cloud is spreaded. This means that if a cloud is set to be spreaded in a cover area which is mostly transparent, the cloud's opacity will be modified dynamically to match that transparency.
Then, opacity boundaries are freely editable, and the same cloud can be set to be appear anywhere. Below an example where the cloud's opacity range has been increased to 0% - 100%, so that the cloud appear everywhere in the cover:
Clouds covers rendering options
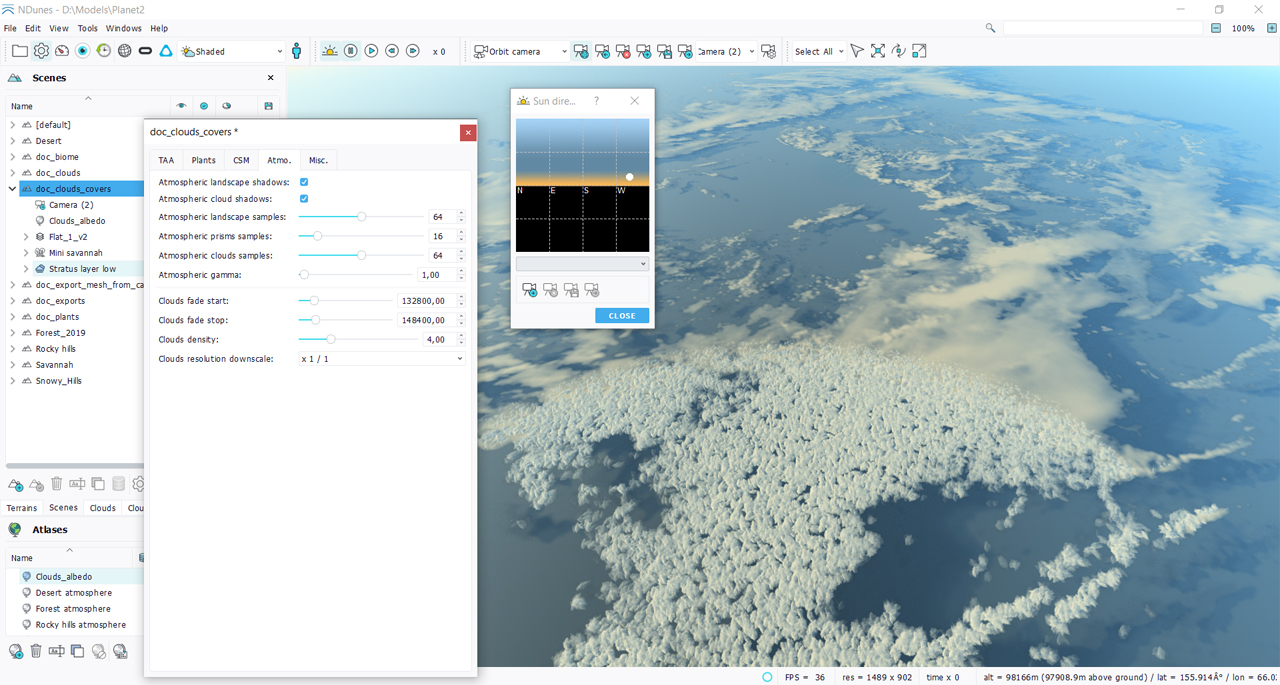
There are several rendering options that can modify the effect of a clouds cover. Some of them are Settings such as:
- The atmospheric clouds shadows option that toggles the atmospheric shadow casting. Note that this parameter is related to the clouds cover "shadow scale" parameter (found inside the clouds cover document) that can be used to strengthen or reduce the opacity of shadows produced by the clouds cover. Several clouds covers cast shadows each onto another. Clouds cover shadows modify the tint of the sun and sky of the landscape and plants being illuminated.
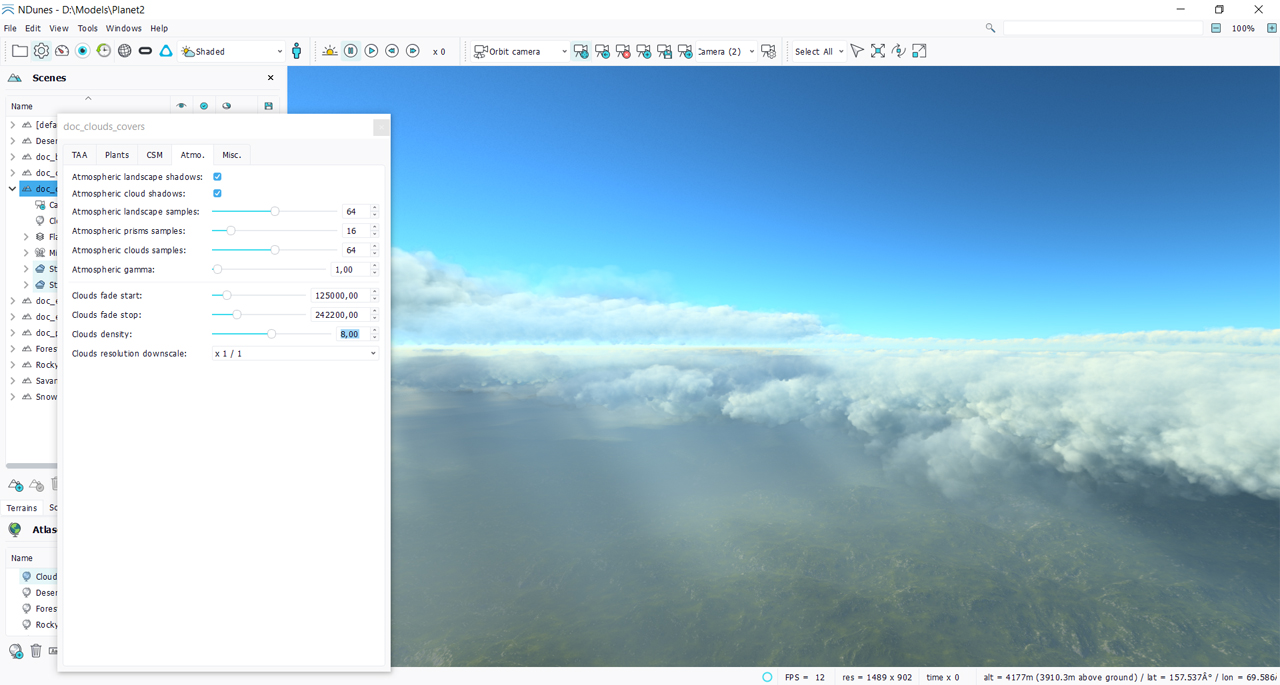
- Clouds fade start & stop distances that are common to all covers in the scene as well as the clouds density multiplier. These parameters are global settings that can globally interfere with the result for all covers displayed.
- The clouds resolution downscale can be used to render clouds at an under resolution and thus speed-up the clouds display process which can eat a fair share of milliseconds in a frame when at nominal resolution.
- The clouds cover can also cast shadows or not. It's interesting not to waste time casting shadows for clouds covers for example for high cirrus layers that will not have any visible effect anyway.
