

Exports
Once an assembly has been created in NDunes, and a scene defined, this scene can be exported to other softwares. Elements that'll be exported are:
Creating an export area
The export specification must be created first, as illustrated below:
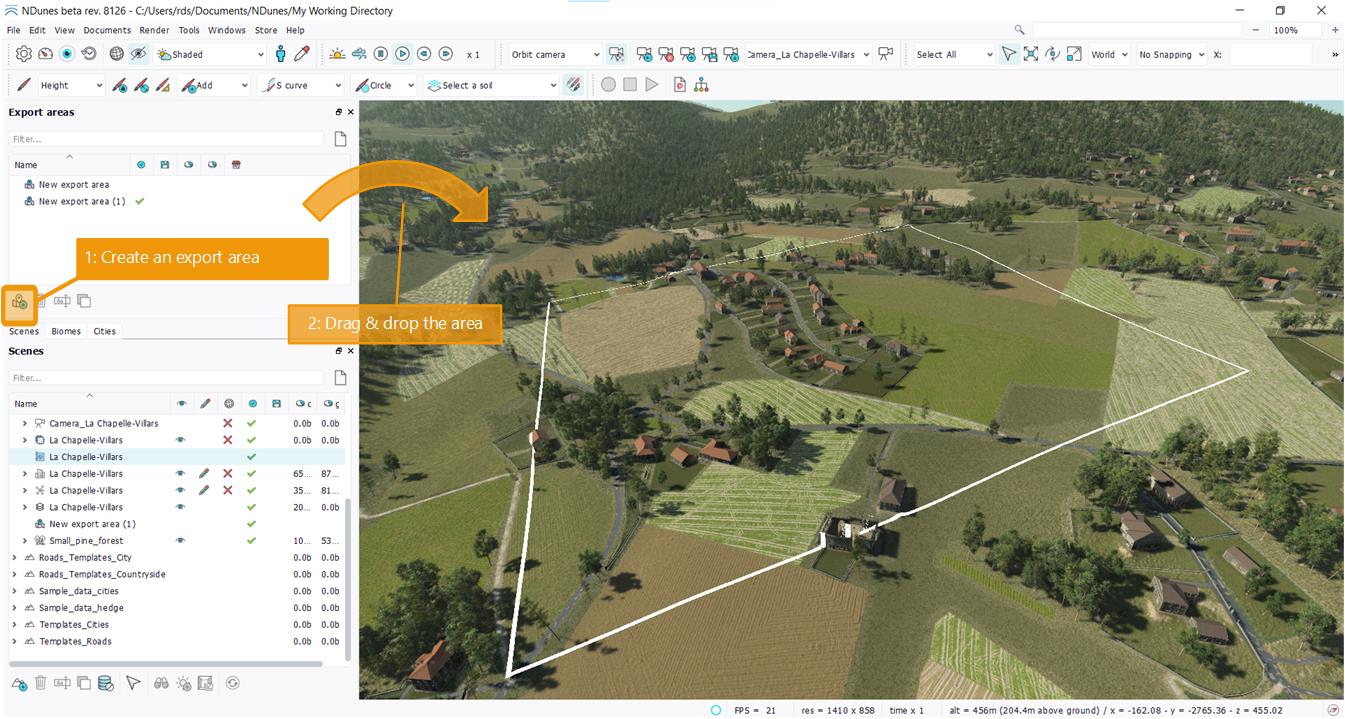
- Create an export area.
- Drag and drop it into your current scene. You'll see the area displayed on screen and the area listed in the different tree views (scene and export areas).
Note that on dropping the area a second time, you'll be prompted to change its coordinates or not:
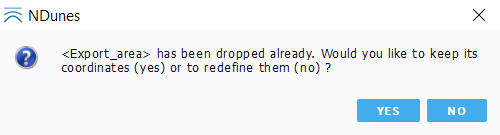
On the first drop, the area is defined and its coordinates are set. These can be freely modified and are saved. On dropping the area another time, NDunes will simply ask whether the area should be redefined or not. This is meaningful as we'll see later that coordinates of the area are often used to synchronize 3rd party modelling tools and are used afterwards as the reference position of geometries added to the scene. So this prompt is just here to avoid loosing an area coordinates (nevertheless, is a loss of coordinates had to occur, a .xml file is saved along with each export that'll contain the exact coordinates used during the last export, so we have a second chance here).
On opening the area document, we'll see two main sections:
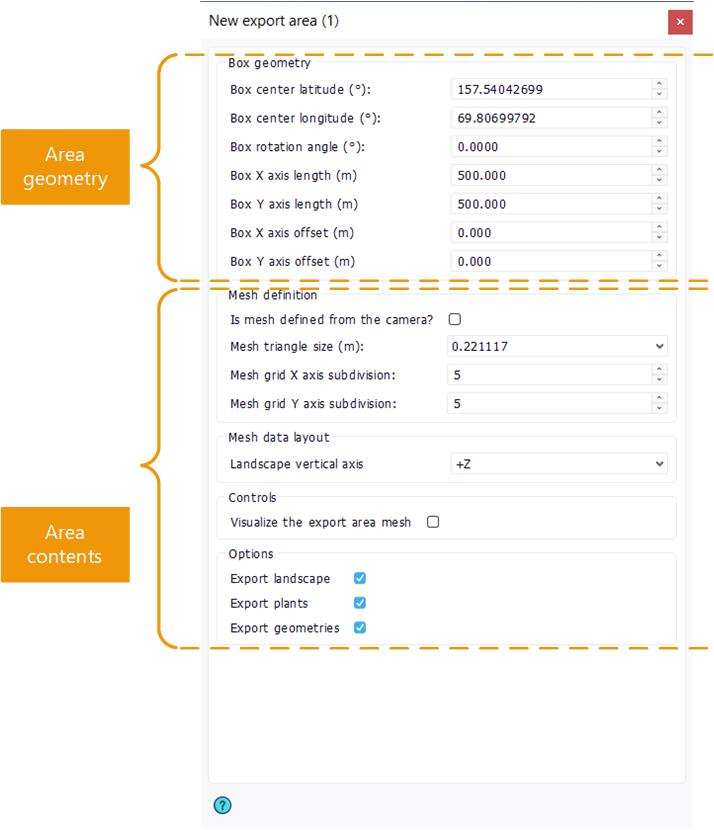
- A first section that contain the position of the area on the planet,
- A second section used to specify the contents of the area.
The area box can be freely manipulated using transformation gizmos or direct input coordinates. Once the area is setup we have a local axis system that can be leveraged by other softwares to synchronize with NDunes.
Latitude and longitudes must be accurate at 8 digits at least to provide a decent stable positioning at a planetary scale.
Exporting large amounts of data
A quick problem that'll come to one's mind is that it might be rather complex to export huge areas due to the extremely high amount of data involved. To solve this, the export area defines two mechanisms:
- An offset mechanism: by setting up offsets in the export area panel, the area can be shifted while keeping the same origin and the same axis system. Therefore, several exports can be made and aggregated together later on.
- An internal area split mechanism: in the area contents, we define a mesh grid subdivision (along the x and y axis of the area rectangle). For a subdivision level equal to 'n' along the width and equal to 'm' along the depth, the system will create n x m separated files that'll each contain a sub-region of the exported area. All these files have a clean connection with no gaps.
Defining an export area contents |
