

Defining a planet's contents
We'll see how the contents of a planet are specified using the atlas lists of documents and how these will be compiled to generate an entire planet. As listed earlier in the Understanding what landmasses are and how to use them paragraph, we'll add Landmasses, Terrains and Biomes to an atlas.
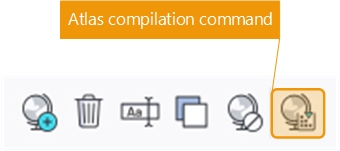
The first step will be to proceed with an atlas map compilation.
Compiling an atlas map
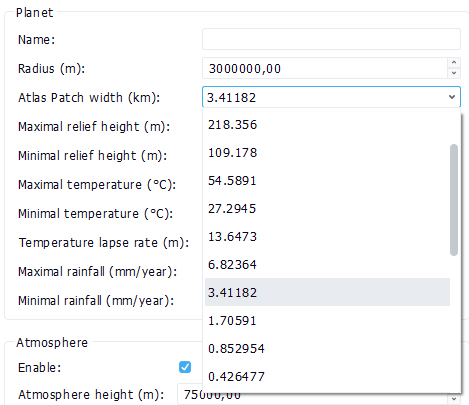
For this we'll have first to setup a bunch of global planetary parameters:
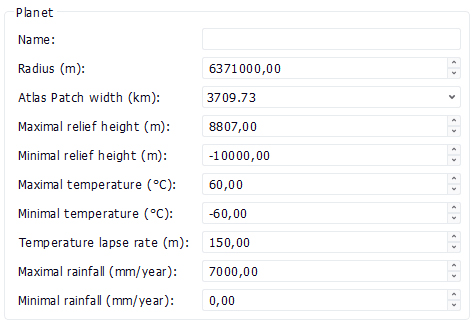
These parameters are obviously critical. The planet radius is the first of them. The Earth has a radius of 6371 kms. It's quite big. If we have terrains that are 4 kms x 4 kms, it'll require more than 30 millions instances of them to cover the entire planet. NDunes can handle that thanks to the calculation of an atlas map and then thanks to the compilation of the entire atlas. Working with Earth sized planets may require at least 64 Gb of CPU RAM in order to be able to proceed with all calculations.
The next critical parameter is the choice of the atlas map size:

NDunes will calculate an atlas map. This map is a latitude / longitude compressed texture map whose pixel width is defined by the "Map size" parameter of the "Atlas map" entry in the atlas document view. This atlas map is defined by all Landmasses registered in the atlas list of landmasses. The compilation of the atlas map will generate this huge texture map.
So if we have a 3000 km planet, its equatorial perimeter is 6,28 x 3000 kms = 18,840 kms. Therefore if we do wish to use landmasses at a resolution of 500 meters, we should roughly have an atlas map set with 18,840 kms / 0,5 kms = 37680 texels.
Once we have set these parameters, we can start focusing on adding Landmasses to define our planetary layout.
Adding landmasses to an atlas
First let's use some tips for the placement of landmasses: let's reduce the atlas map size to something like 8000. It'll make it fast to compile. Make sure that there are neither terrains nor biomes in the atlas so that we can just focus on landmasses placement.
Let's compile the atlas:
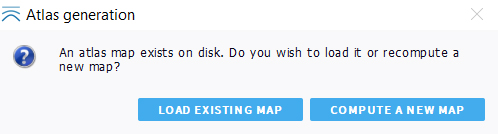
We get prompted:

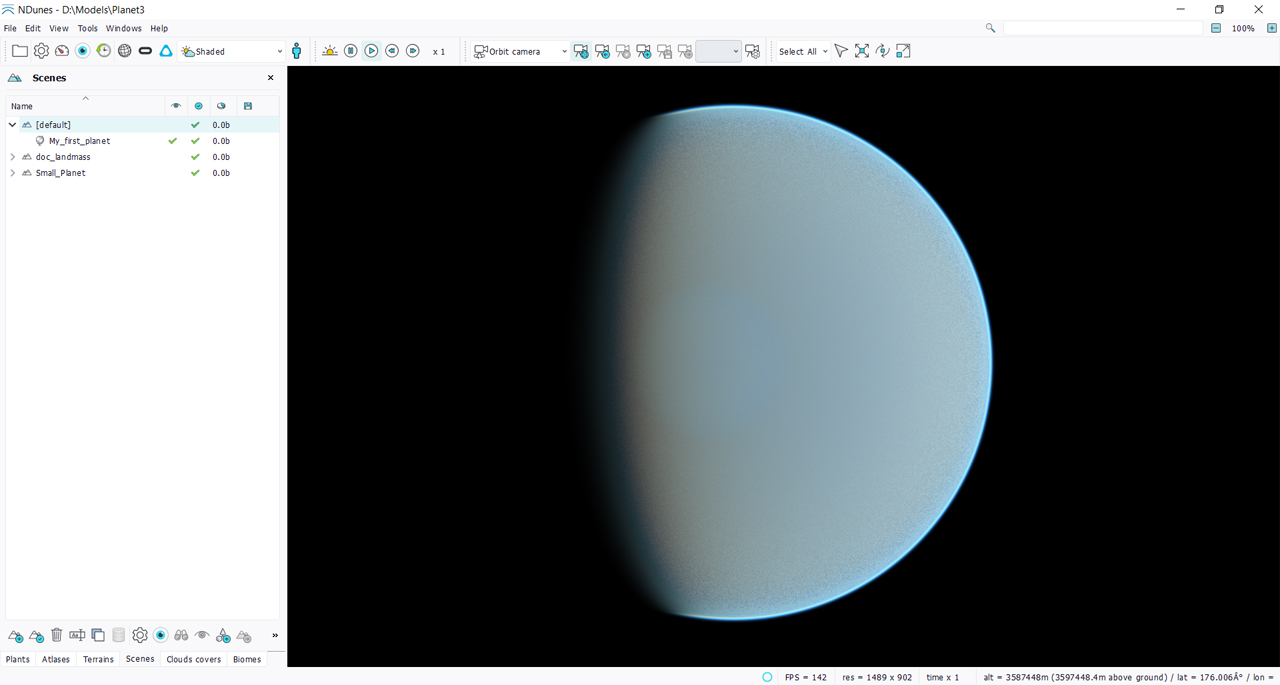
Choose "Complete atlas". The "Current scene" option is used to define limited atlases for a given scenery that usually contains a single terrain. The system will then generate an atlas map. Drag it onto the scene when it has been compiled. You should see that:
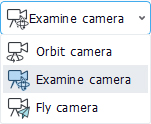
Well...it's empty. Just one tip for now. Switch the camera mode to "Examine camera" instead of "Orbit camera". "Examine camera" is much better to navigate around a planet as the "Orbit camera" will always try to keep the head up on the planet vertical direction and this can be pretty annoying to free flight around a planet.
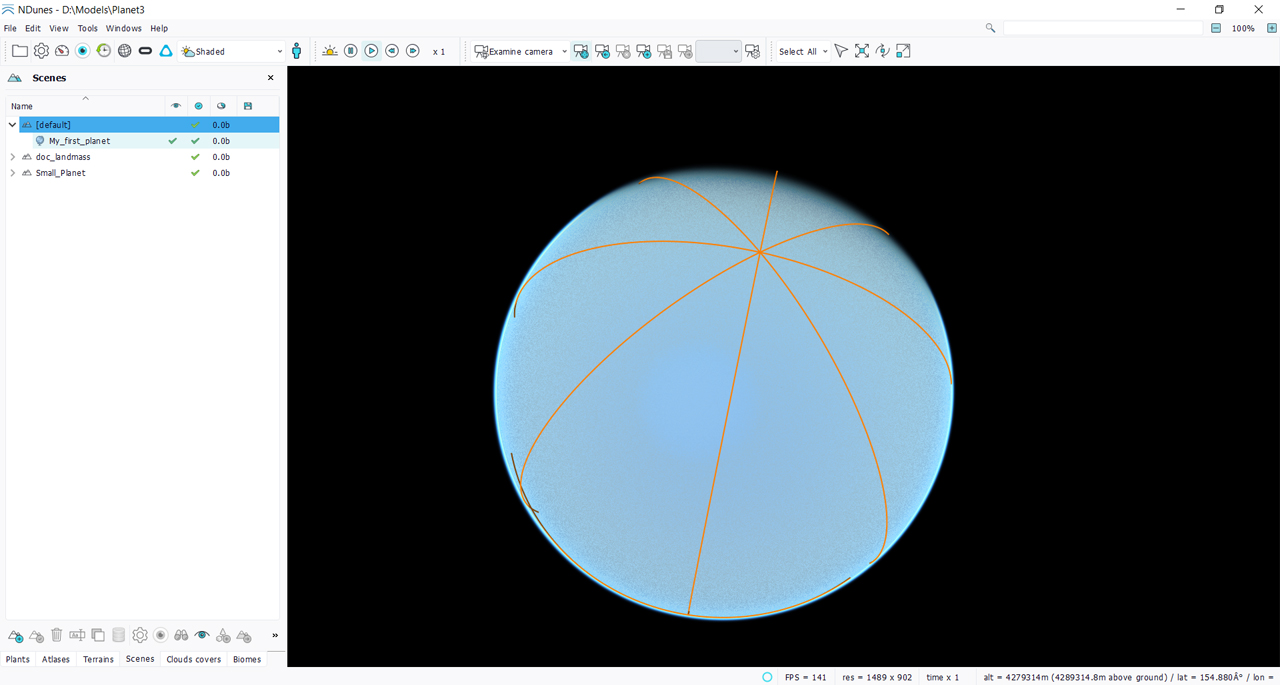
On selecting the atlas in the Scene view, we can poles of the planet:
Then, select the minimal and maximal elevation for your planet:

These values are very important as your landmasses might disappear underwater if the minimal height is too low. So let's add landmasses:
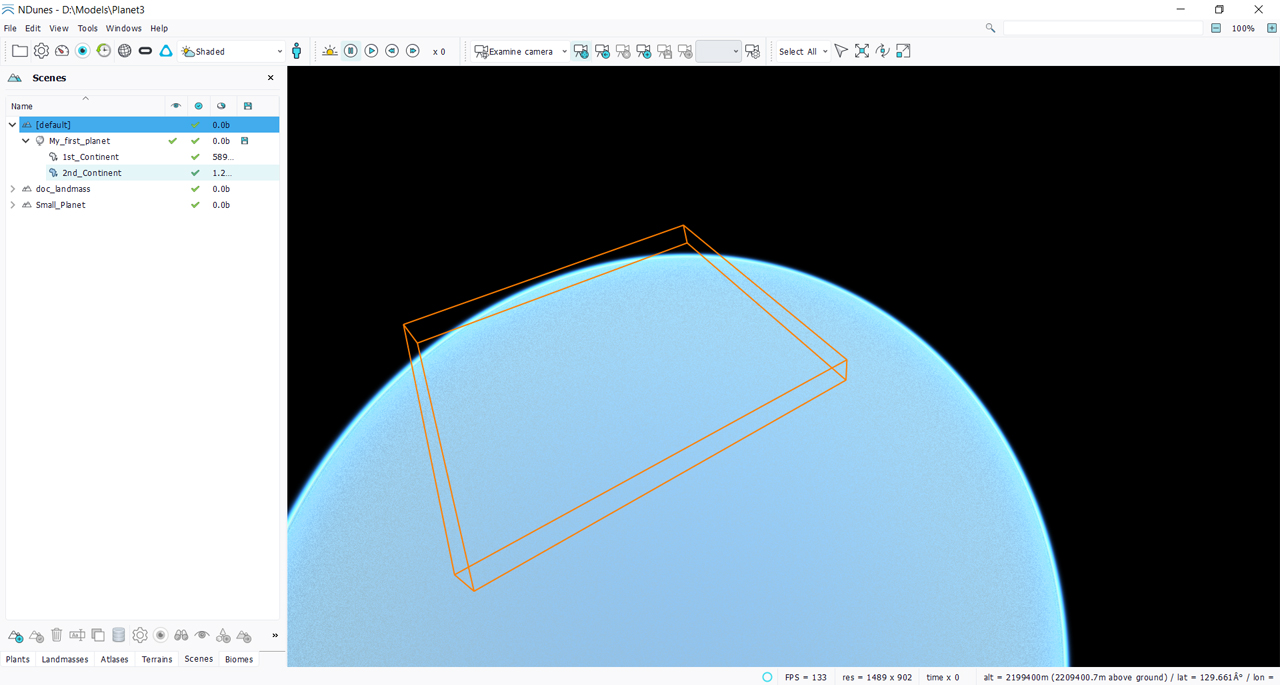
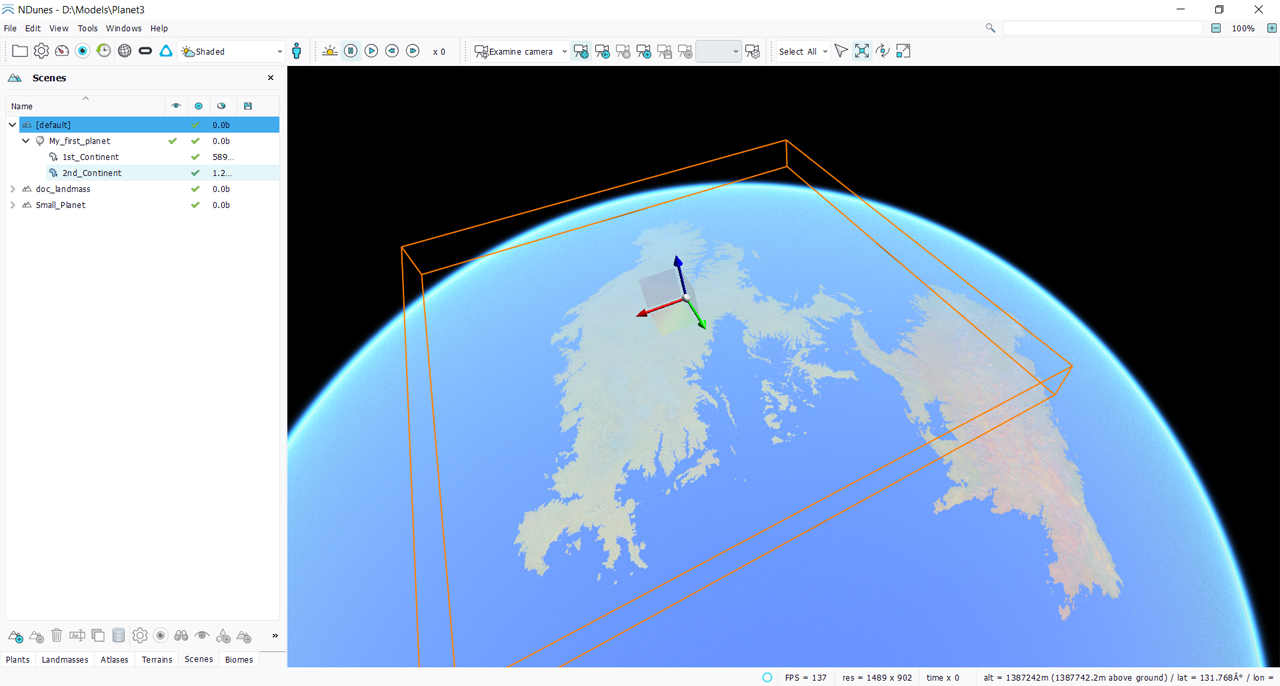
At this point, the atlas map has NOT being compiled, so landmasses are just visible from their boxes when selected in the scene view. Let's compile the atlas. You'll be prompted:
An atlas map needs to be recalculated only if a change in the list of biomes and landmasses placement or contents has occurred. For now NDunes does not automatically detect these changes. An atlas map can be reused only when changes are for terrains. So this saves time when only adjusting terrains regardless of other documents. We can now see our continents:
We can then move our continents using transform gizmos. Once done, the atlas map will need to be recompiled to reflect changes. Since it's low resolution, the process should be quite fast. For now, the feedback is limited and landmasses selection must occur from the scene view for manipulation. Let's work out our first planet. Here it has been calculated with 5 continents drifting away one from each other. The atlas map size has been set back to 40000:
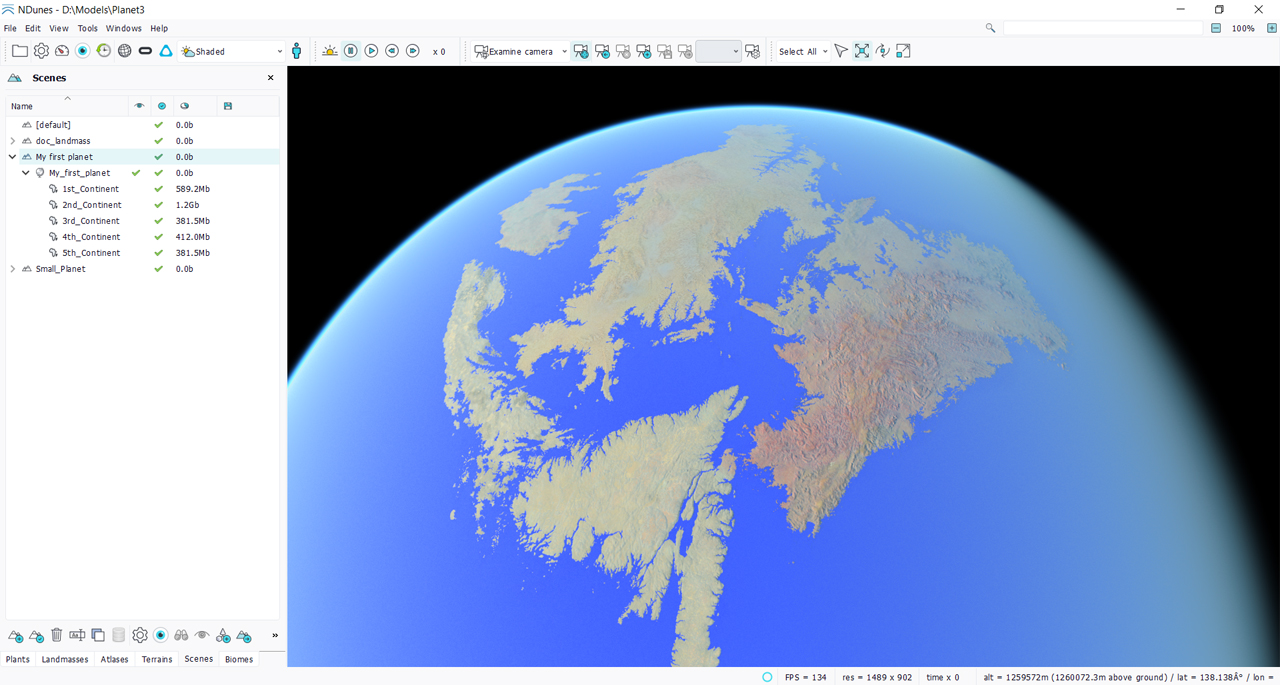
The thickness of the atmosphere has been slightly reduced too as the planet is only 3000 kms. Now, let's add terrains to our planet!
Adding terrains to an atlas
The next critical parameter is the choice of the atlas patch width:
The compilation of the atlas will seed a terrain every "atlas patch width" distance on the map. So this parameter is really important and it must be setup properly. The process of the atlas compilation is like a puzzle. The image to reproduce is the one defined by the atlas map, with its relief defined by all landmasses that have been added to it. To reproduce that atlas map image, we'll use all terrains registered in the atlas list. So the choice of that patch width value will be driven by the dimensions of the terrains we'll have in our list. If we have terrains that are 10 kms wide, we should choose a patch width close to that dimension, so that we can preserve the design of our individual terrains in the result.
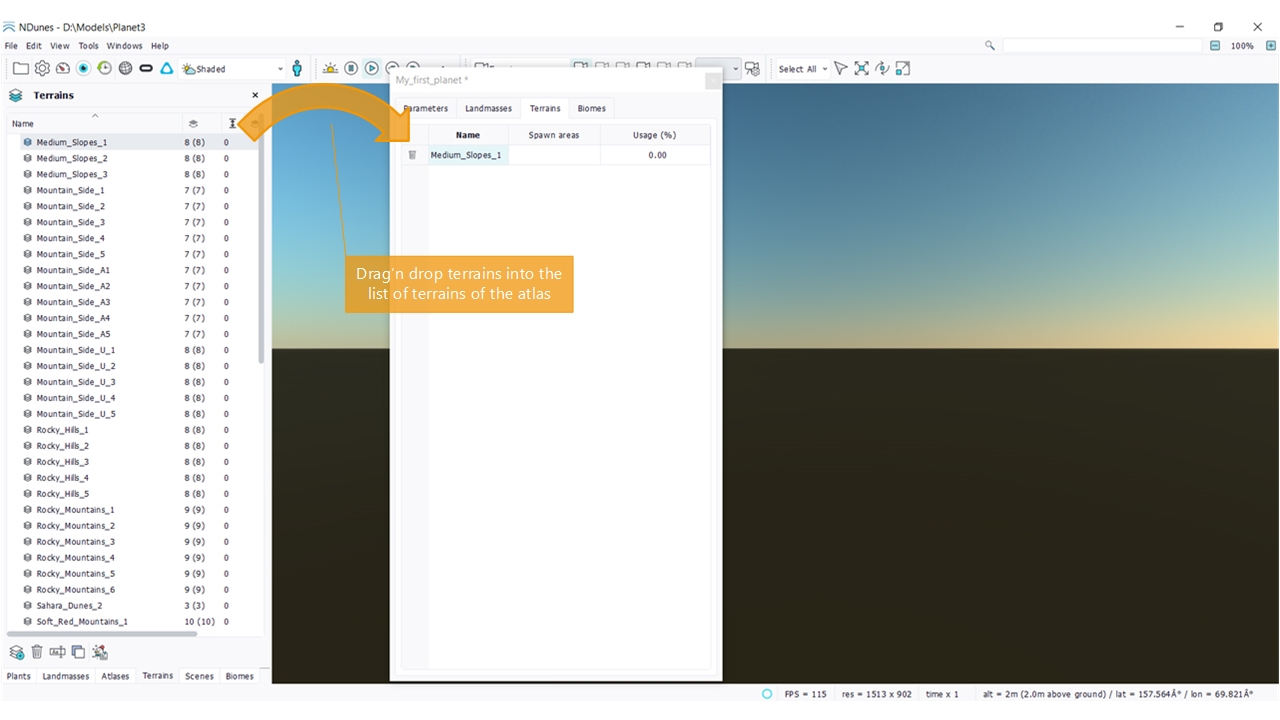
To add a terrain, drag it into the list of terrains of the atlas:
So let's make a few tests with one terrain. We'll use a mountain terrain shown below. This terrain is 4 kms x 4 kms wide, around 1 km high and uses mirror tiling because its source map does not tile:

To illustrate the influence of the choice of the atlas patch size, below are a few generation tests with different sizes:
One single terrain is used with a patch size set to 6 kms on the left and 2 kms on the right
We can see that for a single source terrain which is 4 kms wide, if we use a patch size of 6 kms, NDunes will try to apply areas of 6 kms x 6 kms onto the planet to match the atlas map. Therefore, we can see the border mirror tile at some points used by the terrain mapping and we can see that this limits the capabilities of the system in solving the atlas puzzle. The right side image however uses a much smaller patch size (2 steps lower in the dropdown, so this is close to 2 kms). This allows NDunes algorithm to position much smaller pieces of terrains extracted from the only terrain source we have specified. We can see that this can be used to get a better conformance to the atlas map. We can see that the conformance is better because most round bumps corresponding to mountains find a match and the overall result hides the source atlas map. Of course we have used one single terrain, so we can see that many times the system choosed to match the same part in the source terrain to get to the result.
Note that on using smaller patches, the system will also loose source terrains features, as it may extract smaller parts of them and aggregate them together to form the planet. That's why as a rule of thumb it's generally good to use a patch size slightly smaller than the average sizes of source terrains.
When the best atlas patch size is used and if the set of available terrains is large enough (let's say at least 40-50 different unique terrains), the roundness of the atlas map tends to disappear as it's replaced with good matches sourced from usable terrains. No repetitive patterns should be visible either.
Adding biomes to an atlas
This works as with terrains. Simply drag and drop a biome into the list of biomes to be handled by the atlas to have it considered. On adding a biome, the atlas map should be recompiled, otherwise the biome will not appear.
Note:
More details on this soon, in next versions documentation!
 Defining a planet's atmosphere. Defining a planet's atmosphere. | The single biome strategy |
