

Soils
A minimal soil definition
Creating a soil has been partly covered in the Designing a first terrain page. We will redo it here and add all details:
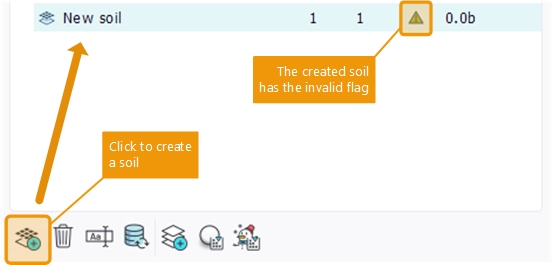
Let's double click the created soil and we see that it contains nothing:
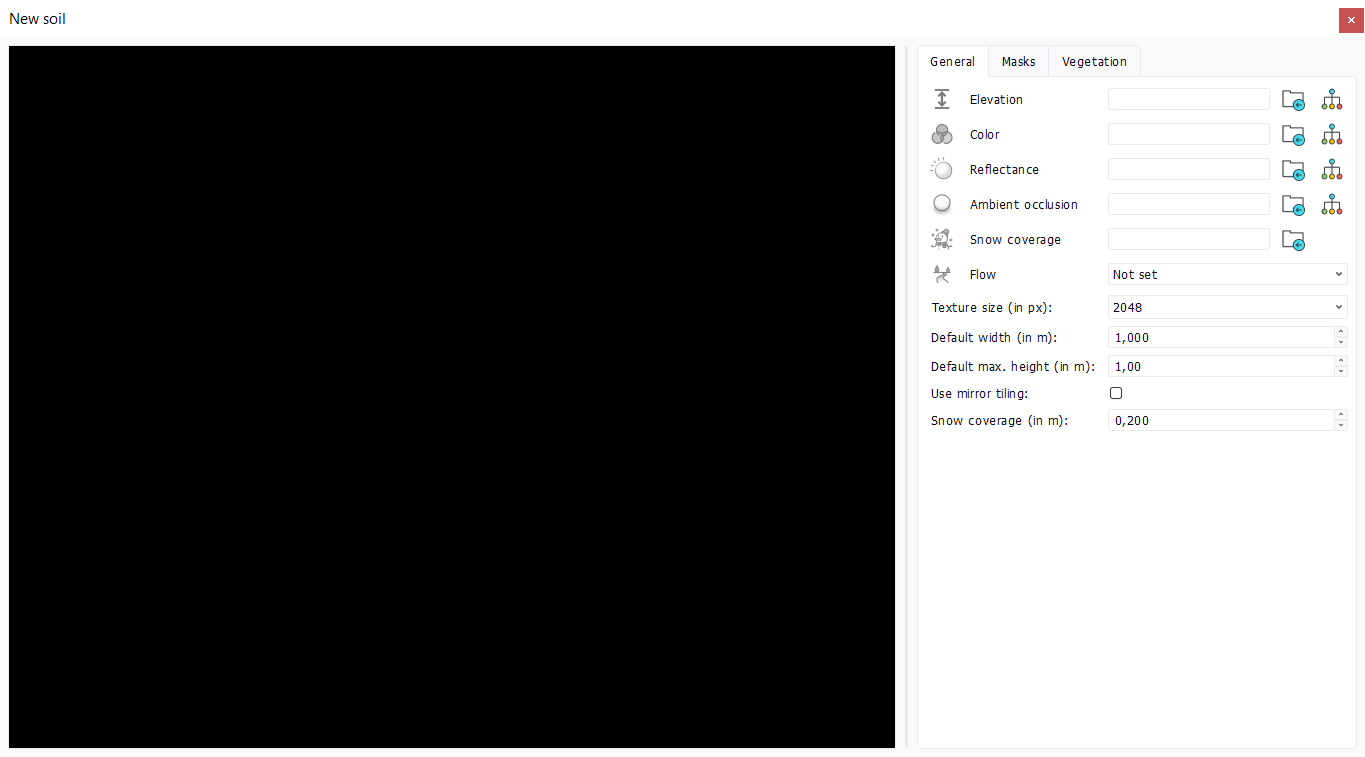
A soil just needs a height map in the elevation channel to work. This is the very minimal set of data it needs. Adding an elevation image will remove the invalid flag we saw above in the soil description. However, we will not go far with only that. So let's assume we need at least:
- An elevation map: preferably a 16 bits per texel texture image (16 bits TIF, PNG...). A 8 bits per channel elevation map will exhibit stairsteps artifacts as we will have only 256 elevation values with that format.
- A color map: so that we can see something not black.
- An ambient occlusion map. We will see how to calculate it automatically given the setup dimensions.
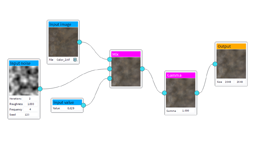
So let's supply the two files:
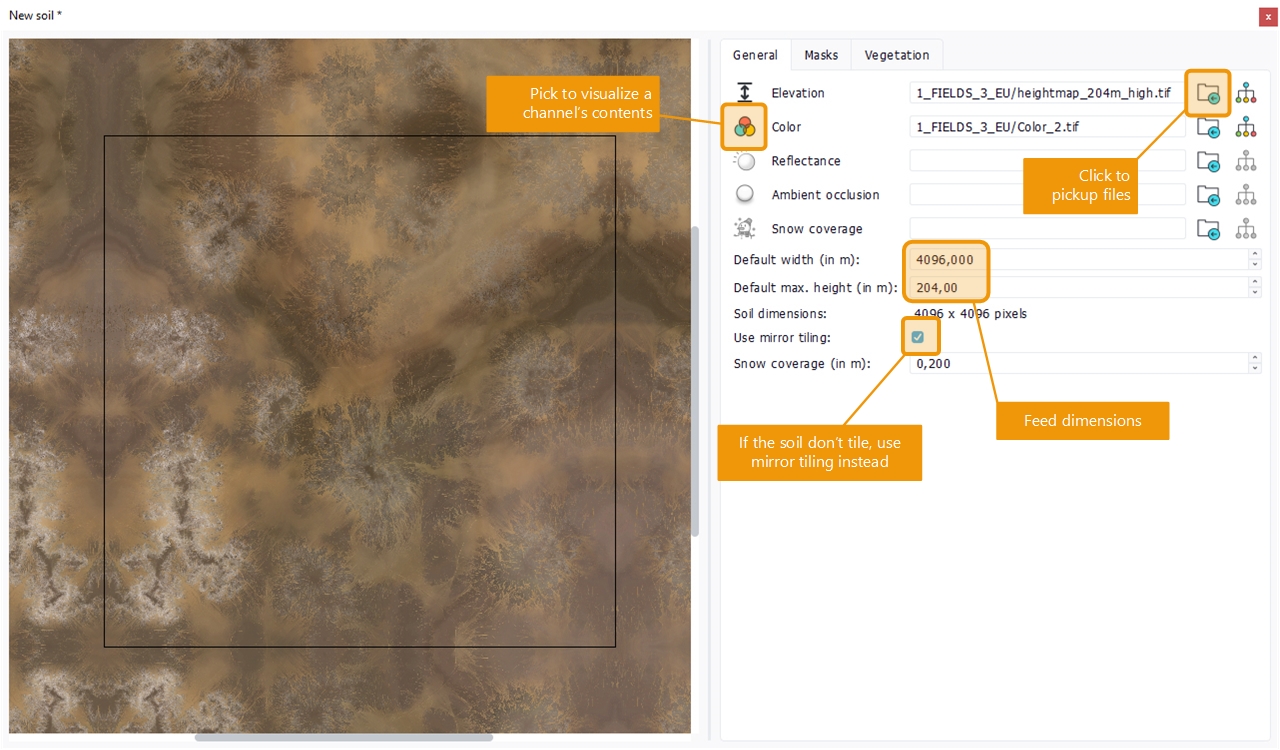
Adding files can be done either by entering a file path (relative to the "Soils" directory below the working directory; see here: Choosing a working directory) or by pressing the file selection button to open a file dialog to pickup the corresponding file.
The button at the very left of the channel can be pressed to visualize the corresponding map channel. This will display a 3 x 3 tile of the soil texture. If the texture don't tile, the "use mirror tiling" button can be pressed to ensure that the soil will tile and will not exhibit any break when its boundaries are reached. Note that even if a soil does not tile, when used in planetary Atlases, this will be handled so that the soil and terrains using it will be properly handled to hide mirroring artifacts.
Then, supply dimensions for that soil. At least supply mean values corresponding to a typical usage for that terrain. These values are important for ambient occlusion calculations and ambient occlusion is critical for the quality of the displayed landscape and overall scene composition. However, even if fed at a given rate, the same soil can be used with variations. For instance a 4 x 4 meters photogrammetry image can be used to cover 2 x 2 meters or 8 x 8 meters, this will not change the result a lot if height / width proportions are somewhat observed.
So let's compute the ambient occlusion. Global tasks applied to soils (this is valid for all documents types) are found in the toolbar of the tree view of the corresponding document or in the contextual menu for that document in the outliner / scene view.
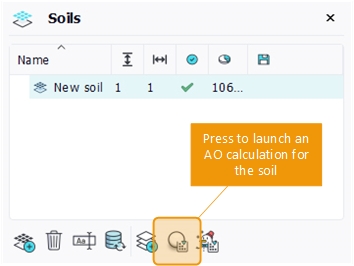
Calculating a soil's AO will generate a texture image bearing the soil name plus "_generated_AO.tif". This texture will be at the root of soils, and can be freely manipulated afterwards as any other image.
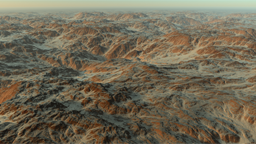
With that soil ready, let's create a terrain and visualize our soil (see here: Designing a first terrain for details on other operations not covered here):
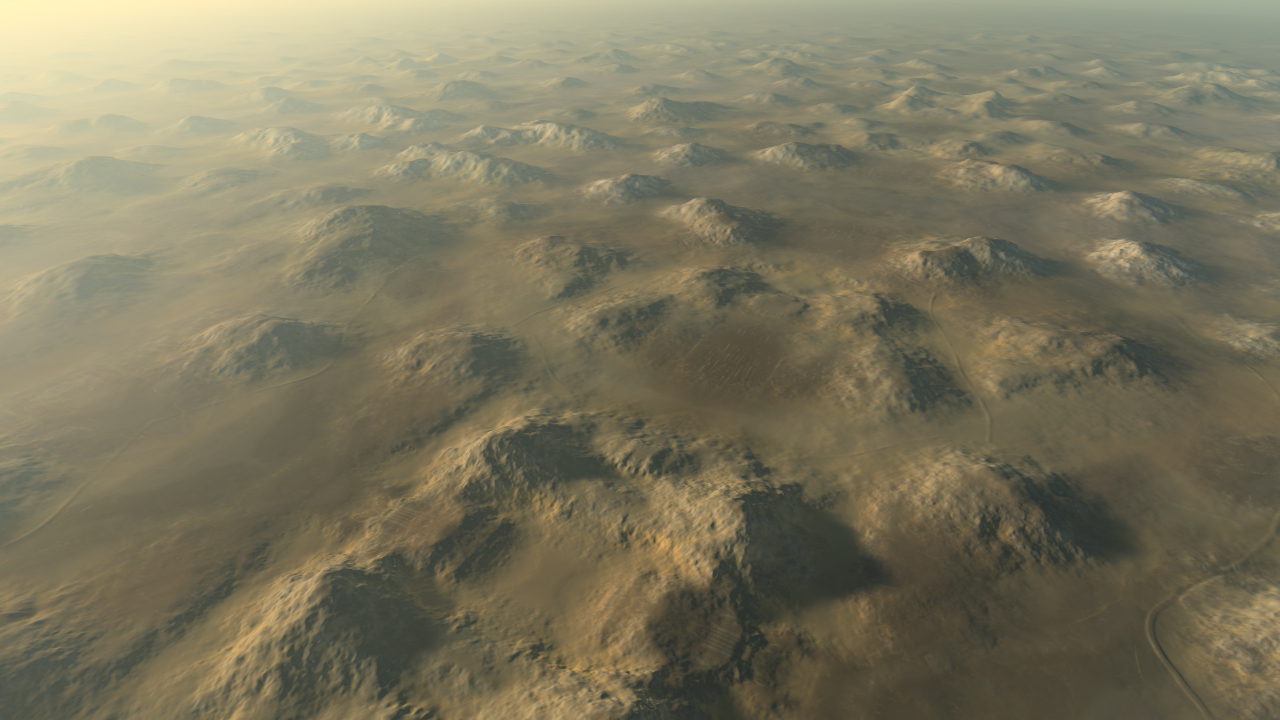
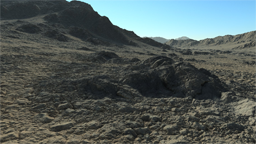
We can see the tiling in the display of the terrain here. This is normal for isolated terrain edition. Now, we can look at each channel contribution if we select the corresponding display mode from the top toolbar:
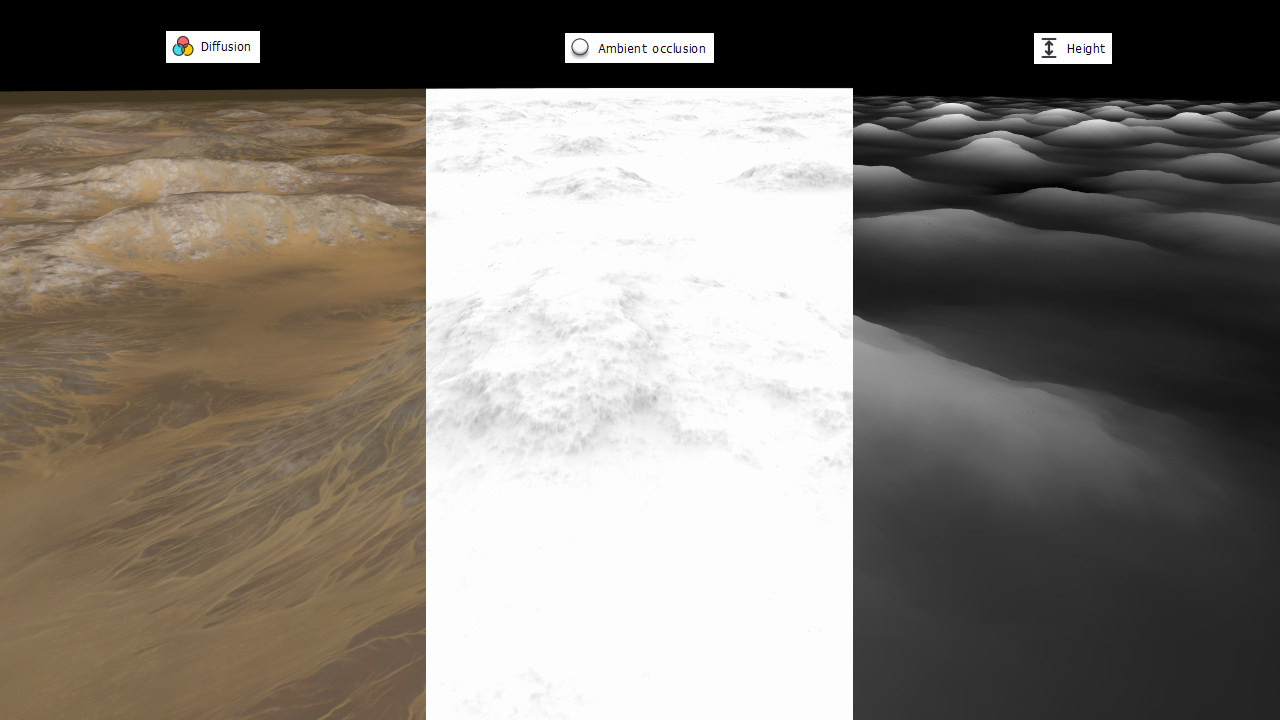
Note that the height display mode will always show the height of the first soil in a terrain (when editing isolated terrains); Secondary soils are blended in OVERLAY, so they do not change the height on a mean basis. When viewing terrains in a planetary atlas, the height display will be global.
First level soil vs. secondary soils |
