

Generating the scene
Once your Blueprint document is completely setup, it is now time to generate your scene to go from 2D to 3D in NDunes !
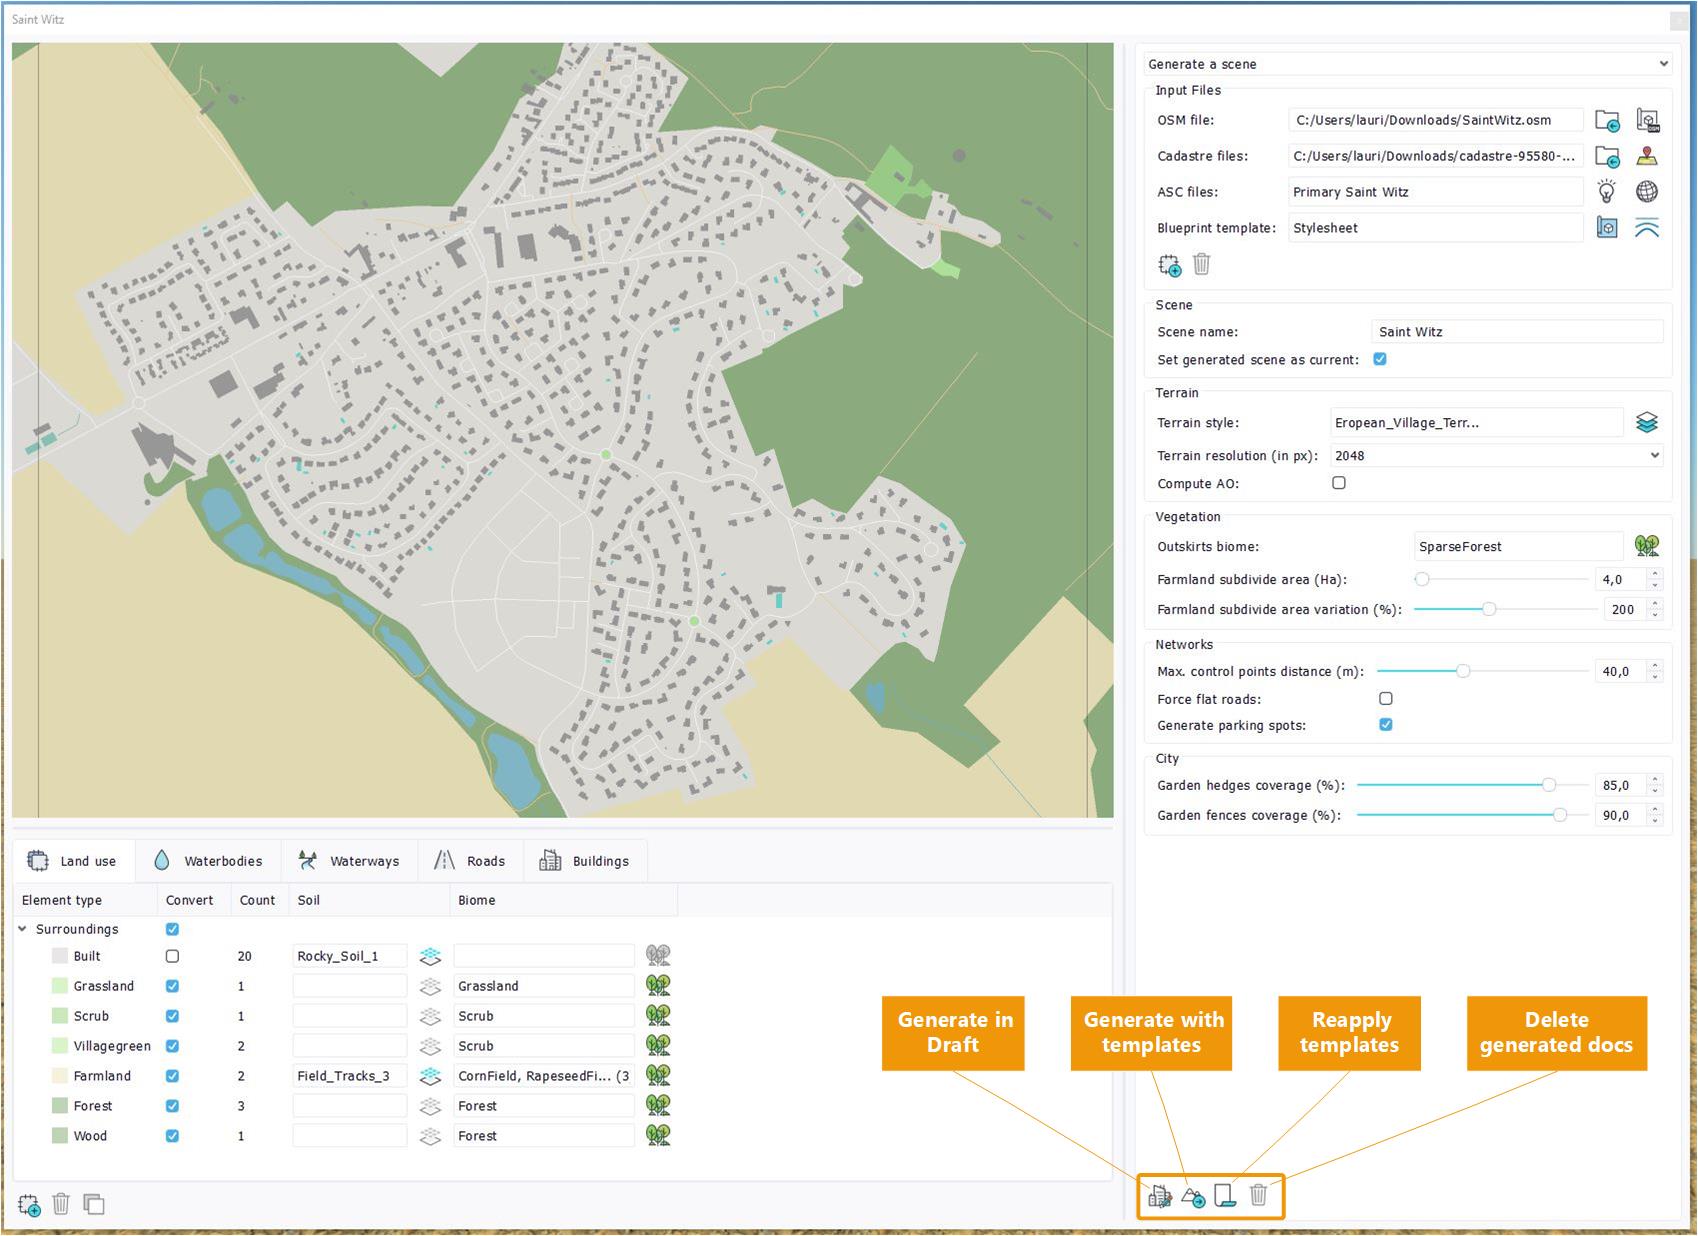
Generate your 3D scene
- Generate in draft: generate the 3D scene in draft mode, meaning all generated documents that have a draft mode will be generated in draft when updated. This generation in quicker because it saves the loading of 3D assets and enables you to start directly in 3D by editing the generated scene with the best performances.
- Reapply templates: if you have generated your scene but want to change one of the classes customization, you can change it in the Blueprint then clic on "Reapply templates". You will save the generation time and directly see your changes. Please note that this is only possible if you have generated your scene in the same NDunes session (meaning you have not closed then reopenned NDunes). Some classes customizations are not re-appliable : convert and generate sidewalks, as it requires creation/deletion of documents.
- Delete generated documents: clicking on this button opens a pannel showing all the documents that have been generated by this blueprint document since its creation that still exist. It enables you to delete the generated documents and keep a clean working directory, as your working directory can quickly become crowded with generated buildings or roads for instance. Every time your generate a new scene from the same blueprint, the delete generated documents pannel prompts as well.
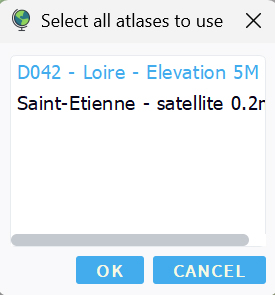
Select an atlas
After pressing the generation button, you'll be prompted to select one or more relevant atlases that contain the landscape elevation information underneath your scene. This is illustrated below:
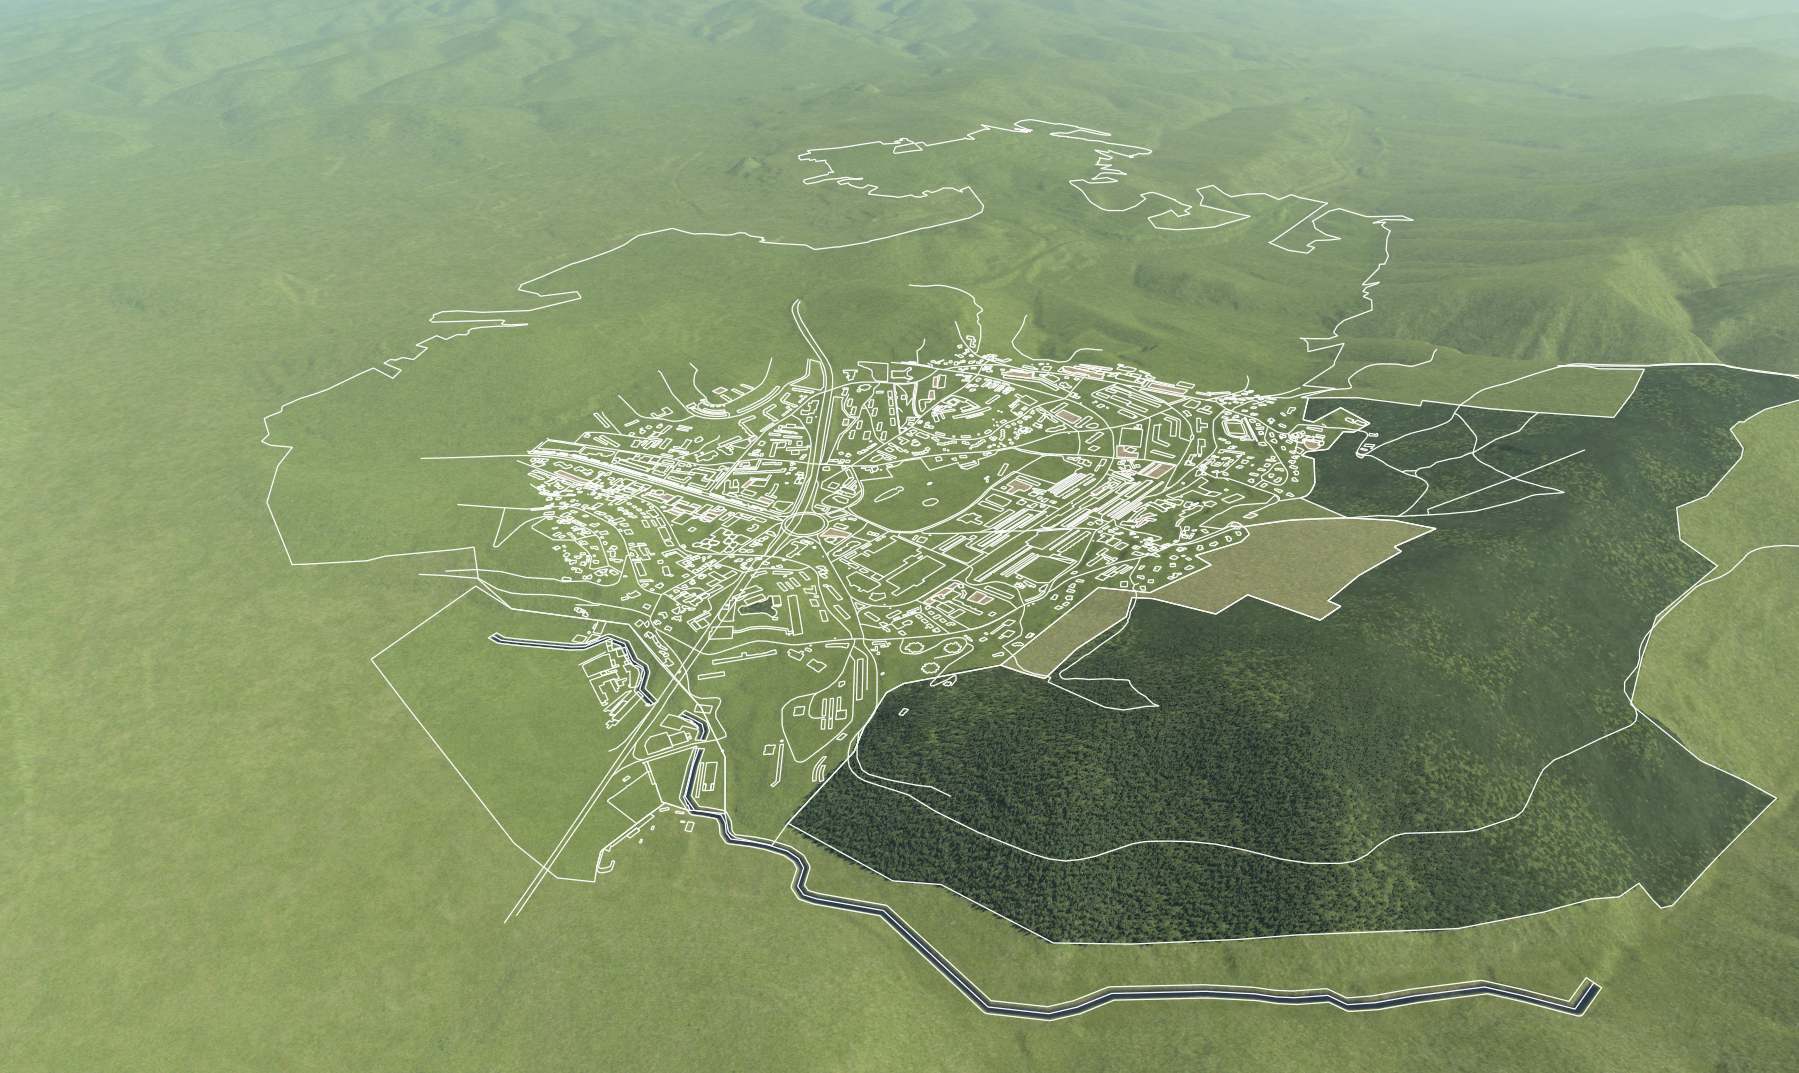
The scene is generated quite quickly, and the city is not updated at this point. You can either run the city wizard or directly calculate it:
 Customization of classes Customization of classes | Creating your own stylesheets |
