


 Cities
The city is a big document that contain several parts:
- Buildings: houses, buildings, hangars, sheds, castles or whatever has a roof.
- Roads: roadways, paths.
- Fences: Often used as garden borders or enclosing fields.
- Sidewalks: Used to define the pavement around roads, fences, and buildings.
- Arrays: Are instances of objects such as street lights or beacons.
- Markings: Are paintings over roads or sidewalks.
A city can be handcrafted or can be generated from Blueprints.
City interface
The city view interface is depicted below:

The general tab:
This tab has all general city parameters and controls the city wizard. Details here: Wizard.
Document tabs:
These tabs contain the list of existing city part of a given category (list of buildings, roads...). Within the tab we'll find the same layout each time: the list of documents on the left (with the recently edited parts, the list of parts in error) and the selected document detail on the right.
Facade tab:
The facade tab is a tab that is used to store texture images that can be mapped onto city parts for a low definition view of the city. These facades are either sourced from another city or locally added to the city. See details here Facades.
The tab toolbar:
- Creating a document: Creates a part of the type of the active tab (buildings, roads, sidewalks...).
- Deleting a document: Deletes the selected part.
- Rename a document: Change the name of a part.
- Depending on the city part, curve point creation and destruction, customization of the curve style.
- Gizmo display and part activation: allow turning on or off each city part independently.
- Depending on the city part, operations on the list of high quality geometries or facades or whatever appropriate for the selected city part.
The general toolbal
- Launch the city wizard (configured in the general tab)
- Exit the city draft mode
- Refresh the city
- Help button: Opens a page in the default web browser to the City documentation.
Generating a city from cartography data
A city can be automatically created from cartography data. See Blueprints for details on that process.
Creating and editing a city
To create a city from the ground up or to edit a city, first set it in the current scene. Otherwise, any attempt to edit the city will end up in a warning message. Please be aware that because NDunes is a geo-referenced software, cities that have been generated from cartography data should be seen within the scene that was used to generate them. This to keep them synchronized with the real landscape they're associated to.
Once the city is in the scene:
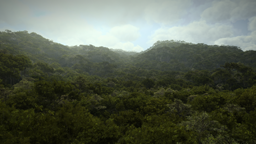
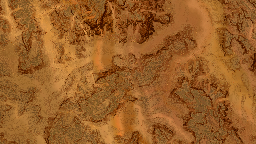
- Launch the city wizard as a first step if relevant. The city wizard operates with satellite imagery to guess property of city parts.
- Setup buildings or roads or any city part. Application of facades will be visible in draft mode. Application of geometries will be visible when the city's draft mode has been exited.
- Press the refresh button each time you wish to see your changes applied (default shortcut is also F4, and a refresh button is present in the main NDunes toolbar).
Draft mode or high quality mode?
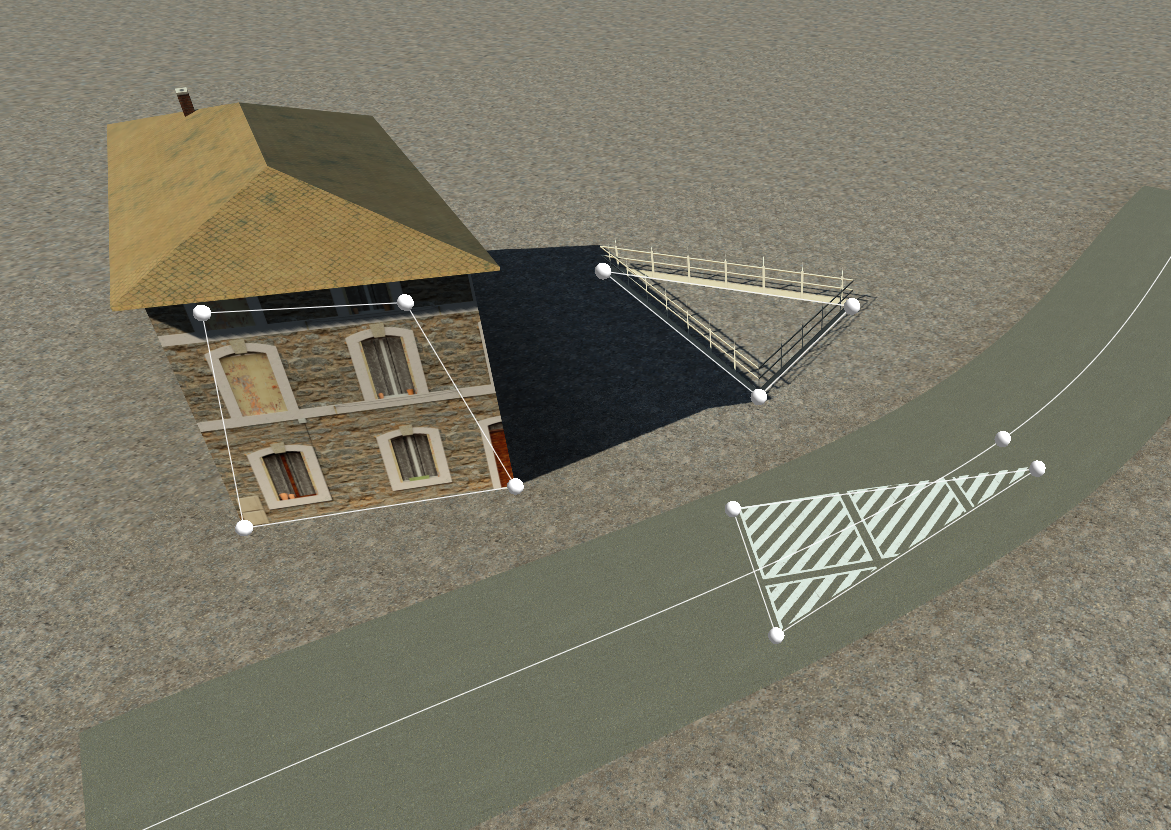
A city by default appears in draft mode. This means that all buildings, roads, fences are drawn using simple representations. This is illustrated below:
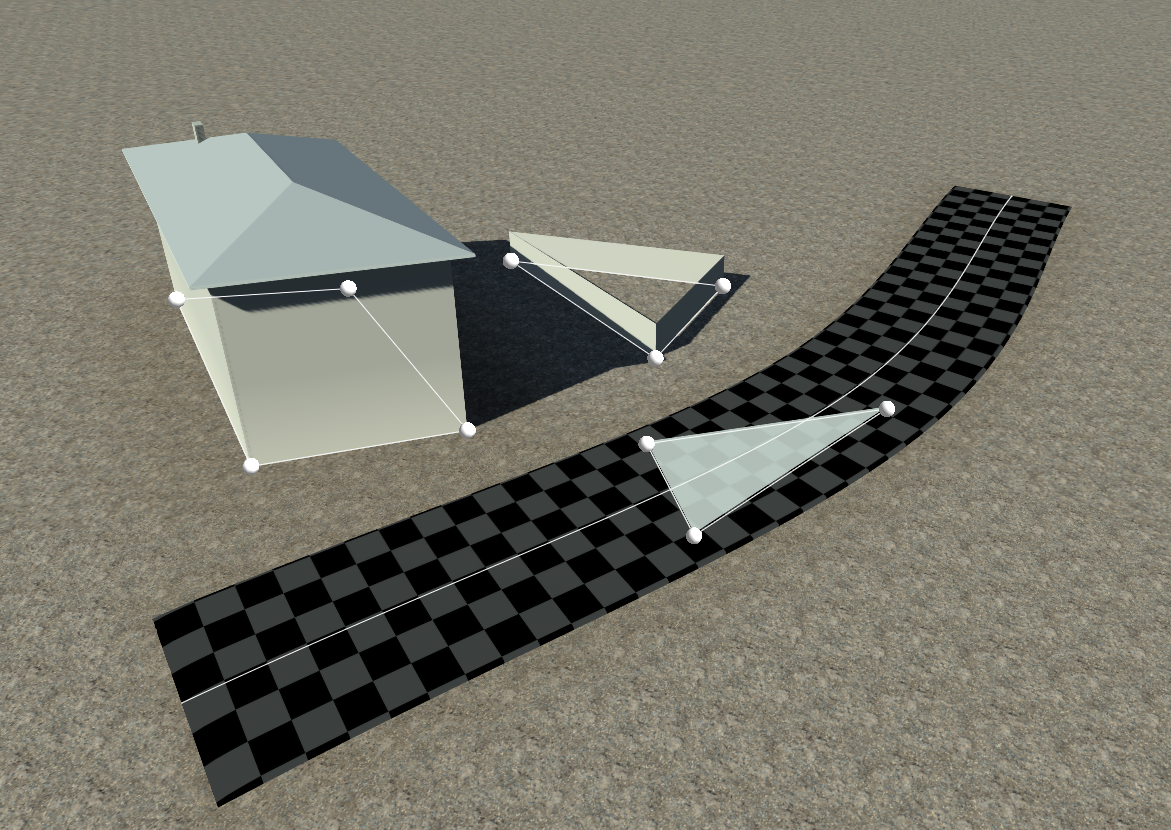
The draft mode is aimed at providing a complete representation of the city while remaining with a reasonable polygon count. Therefore all parts drawn are made simple (except for roads that have to follow the underlying ground and that require some meshing complexity to do so).
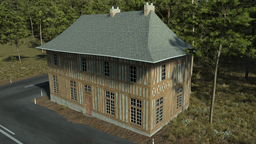
The draft mode can be enhanced using city Facades. Facades are simple textures that are drawn over the simple shapes of city parts, making the city look nice from a distance:
The high quality mode of a city allows the usage of 3D geometries for the definition of city parts. For instance with an industrial warehouse:
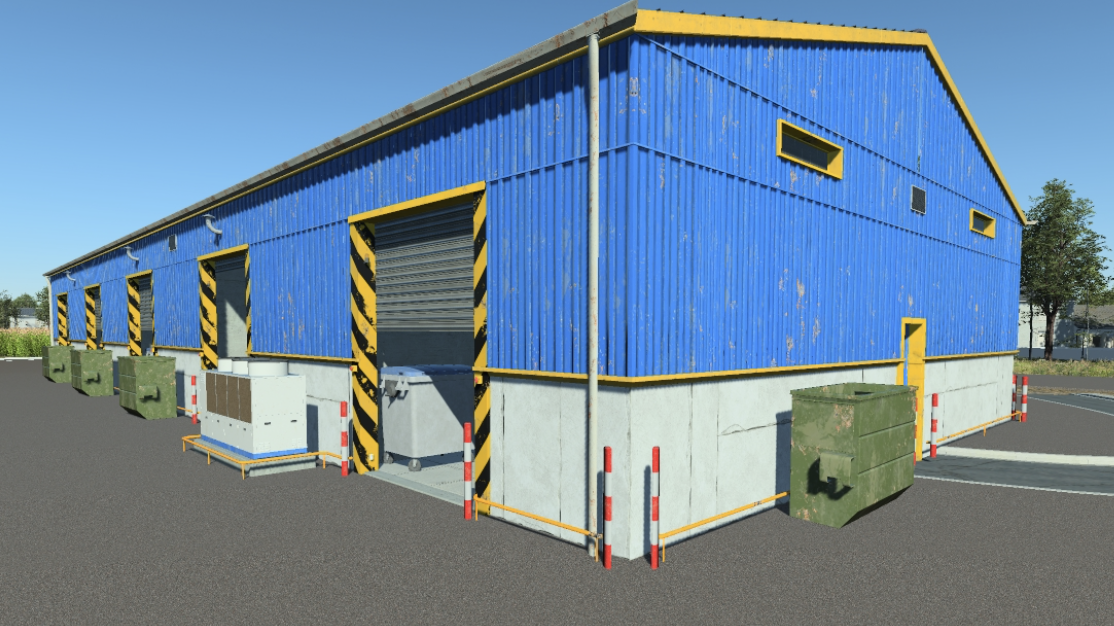
The building here goes from a textured box to a full 3D high quality model. The high quality mode is achieved by dropping parts onto the building and assigning them to specific positions.
 |
