


Animating the camera along a curve path
Creating a curve path
A camera can be animated to follow a curve path. Clicking the button in the toolbar opens the camera view. The view contains an Animation tab.
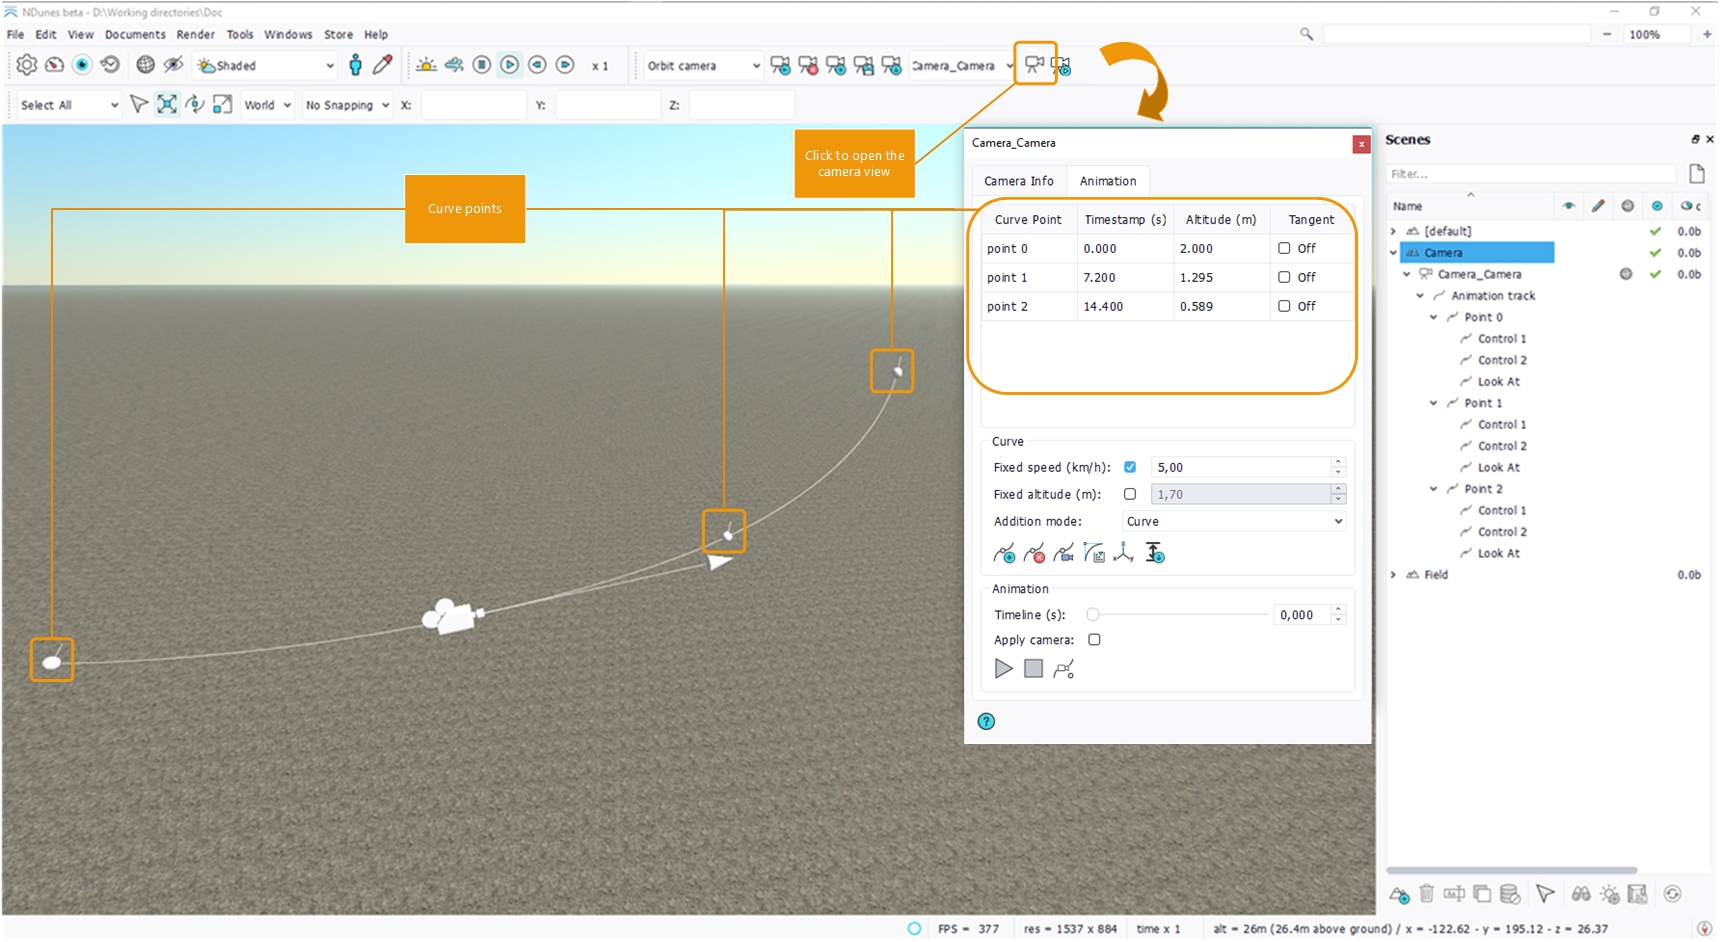
Opening the camera animation panel
The first table in the panel lists all the points in the curve. A curve point can be added with the corresponding "+" button in the toolbar or via the contextual menu.
Note:
If a point is selected in the table, the new point is added just after it.
The curve points are removable by selecting them and clicking the red "x" button or pressing the Del key.
Three addition modes are available via a combo box when creating curve points:
- Curve mode: the new curve point is created in the continuity of the curve;
- Observer mode: the new curve point is created at the observer/viewport position and orienatation;
- Pick mode: the new curve point is created by picking in the viewport.
If the fixed altitude is enabled, any new curve point is placed at the specified altitude above the ground. The altitude can also be set manually from its column in the table.
The upper table has a column named Tangent. When a point tangent is checked, its orientation is overriden by following the curve trajectory.
You can see that the path and points are visible in the main view. The points can be moved using the manipulators (see Using the selection toolbar) or can be updated with the Set From Observer button in the upper toolbar which moves the selected point at the position and orientation of the viewport.
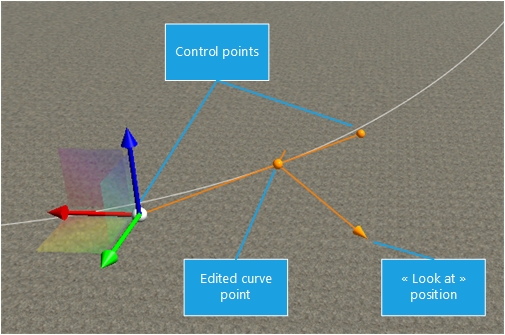
Viewing and modifying the curve in the viewport
The curve is a Bezier path. Each point have two surrounding control points defining the aspect of the curve. They can be picked and moved with the translation manipulator. The selected curve point can be rotated using the rotation manipulator or by moving the "lookat" position resulting in a different camera orientation.
Note:
By default, the two control points move together. However, they can be translated independently by pressing the ALT key while moving the manipulator.
The control points can be reset to a default position by clicking the Smooth button in the toolbar.
Sometimes, after editing/rotating a point, its top vector may not point to the up direction anymore resulting in the rendered view showing a tilted horizon. Re-setting this top vector manually is nearly impossible. The Set Top button of the first toolbar allows to reset the top vector of the selected points automatically.
When changing the ground of the scene, the altitude values of the points may not represent their real position in the scene anymore. The Apply Altitude button translates all the points to their altitude value.
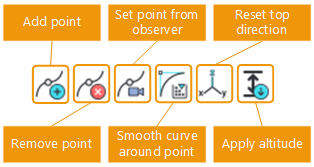
The curve toolbar
Playing the camera along the curve
Each point of the curve is associated to a timestamp (in seconds) visible and editable in the second column of the table. The timestamp controls when the camera will reach the point during the animation starting from the first point.
When enabling and setting the Fixed speed option, the timestamps of all the points are calculated automatically to reach the camera speed specified in the property. In this case the timestamps in the table are locked.
The Timeline slider moves the camera along the curve path following the timestamps of the points. When moving it, you can visualize the camera gizmo progressing in the viewport.
By checking the Apply camera property, moving the timeline or playing the animation will effectively move the current view in the central viewport.
Finally, the last toolbar contains a Play and Stop buttons as well as a button to move the camera to the selected point.
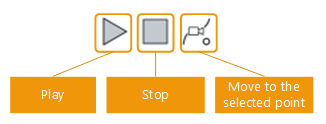
The animation toolbar
Exporting the camera video
NDunes can then export the camera animation shots to be used outside of NDunes as frames and video. See the Rendering a camera animation topic.
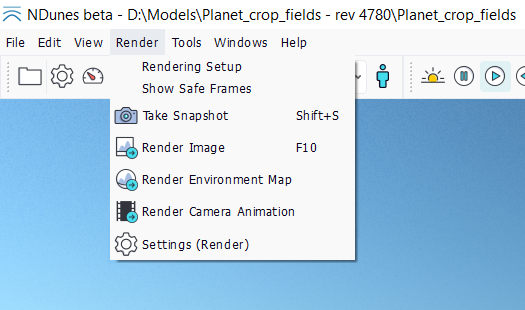
Render menu
 Controlling the camera Controlling the camera |
