


Refining a terrain
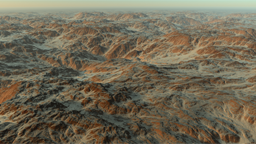
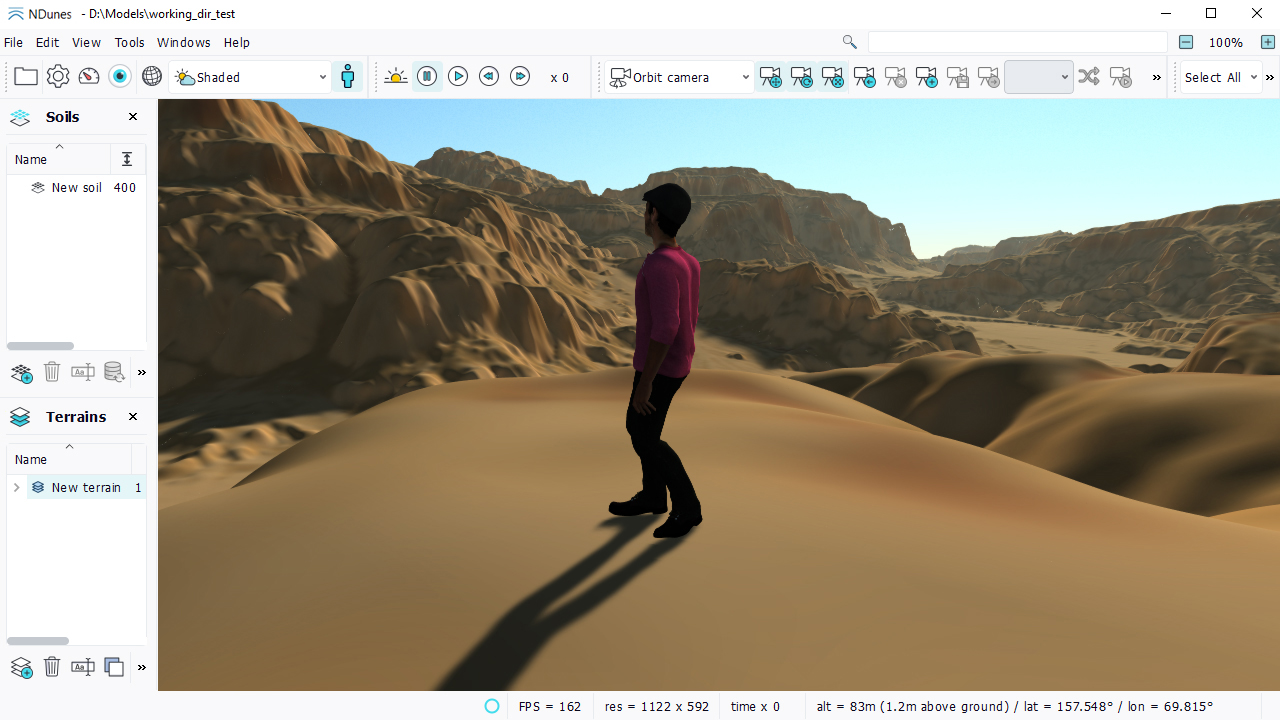
Our first terrain has a resolution which is 1 texel per meter, since it's a 4 kilometers terrain. At this level, if we zoom in, we barely see any detail. We can drag'n drop the dummy of the top toolbar to get an idea of the real size of our terrain:
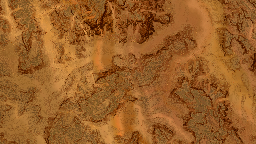
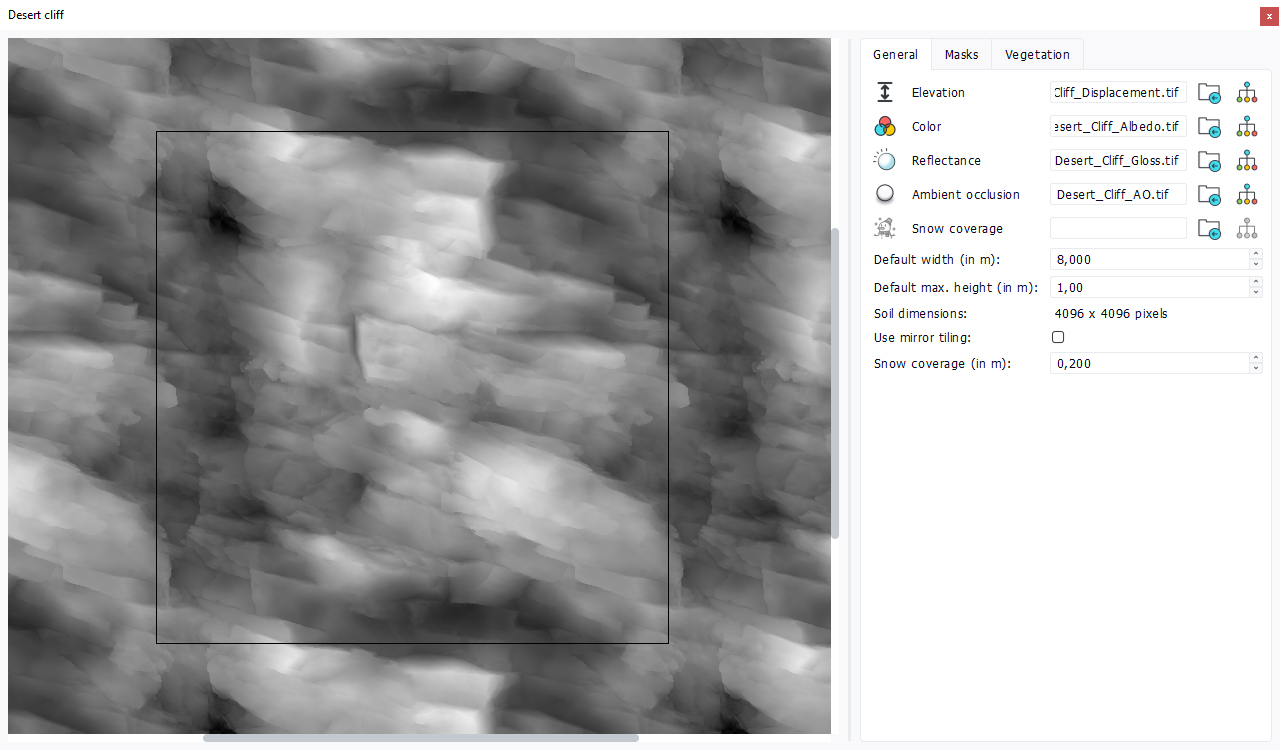
Let's create another soil, called Desert cliff for our example. This soil is a photogrammetry soil with displacement, color, gloss and AO channels. Let's setup it to 8 meters large x 1 meter high, which is more or less the captured area of that scan:
Then, drop it into the main window:
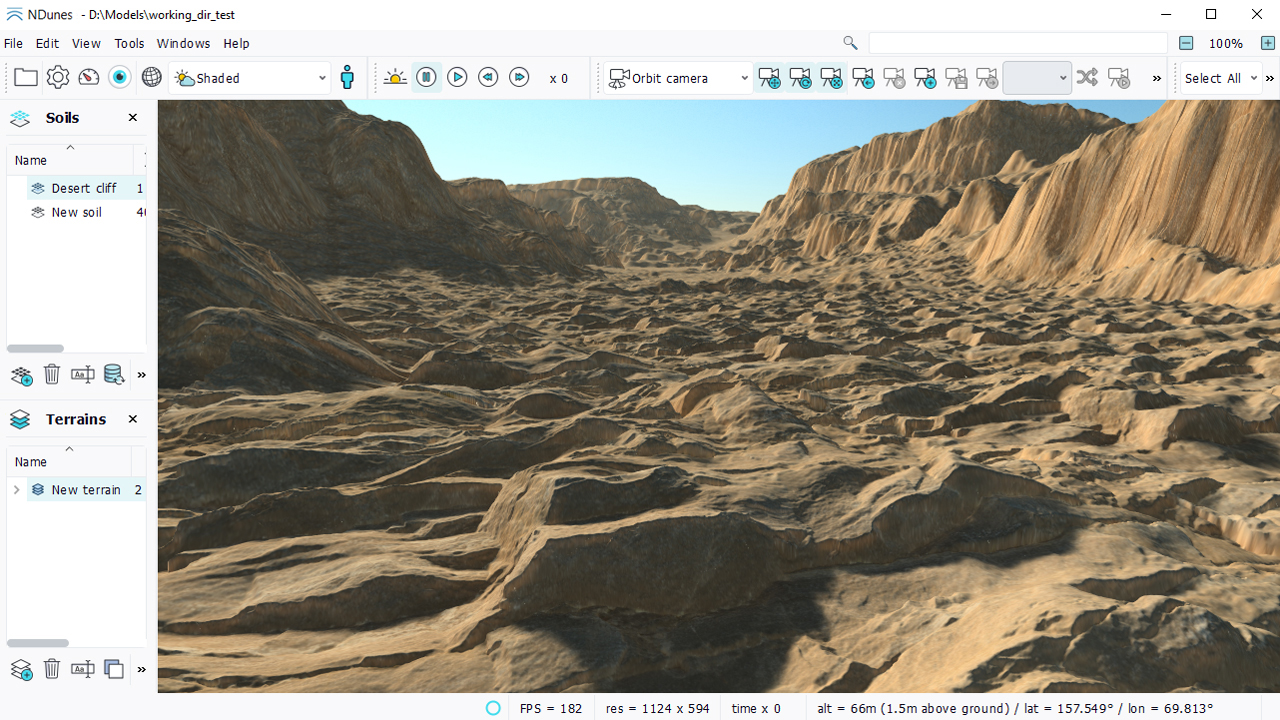
We can see that new soil stacked over the previous soil in the terrain. It gets applied everywhere, and displaces the landscape generated. We can see it in the terrain contents by double clicking the terrain:

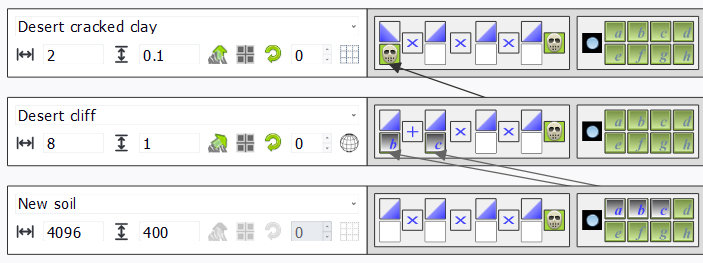
Now let's reduce the blending area of our Desert cliff soil. To achieve this we'll add some masks to the first level soil, as illustrated below:
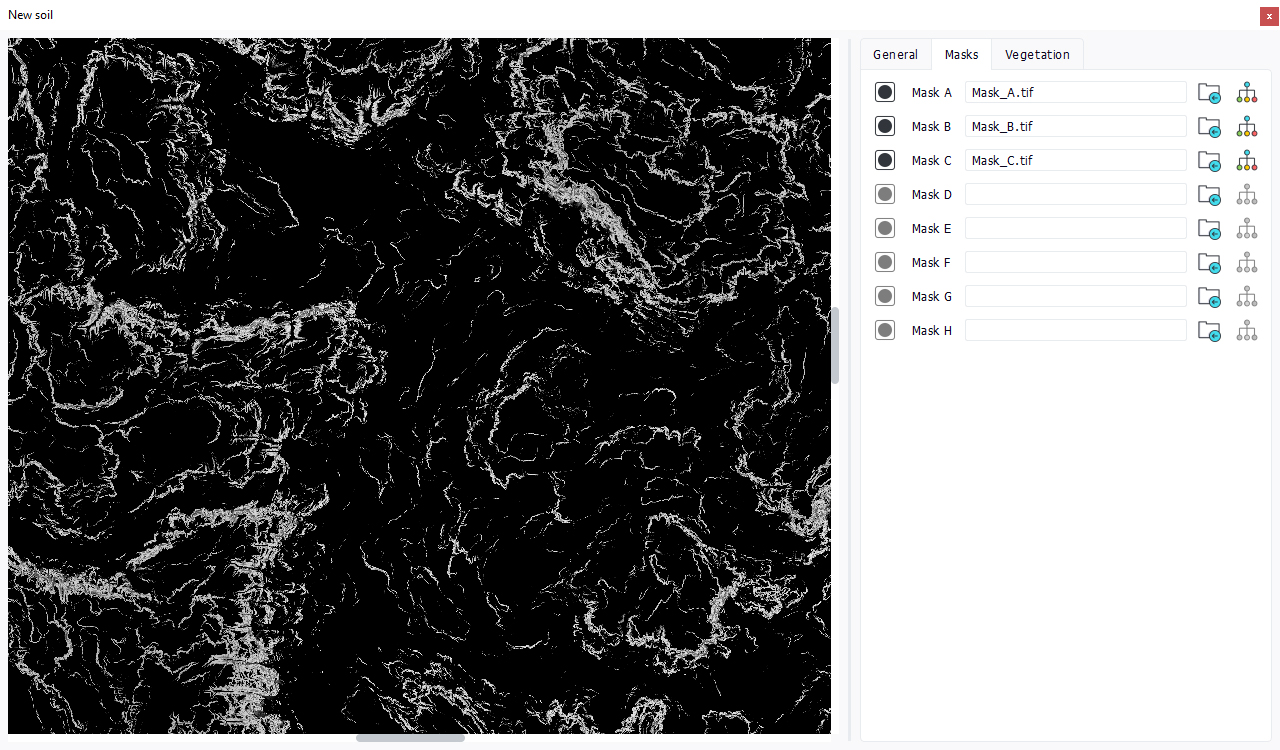
These masks target different slopes in the source soil we created before; so Mask A is high slopes, Mask B mid slopes and Mask C smaller slopes. We'll use Mask B and C here. Let's drag'n drop masks from the "New soil" to the mask area of "Desert cliff" as shown below:

We set a mask combination Mask B + mask C (set the mask operator by clicking over it), so the two slopes regions which are quite close gets merged together in forming a broader mask:
If we look at the dropdown in the top toolbar, we can select the mask channel to visualize the mask generated for the topmost soil in our terrain:
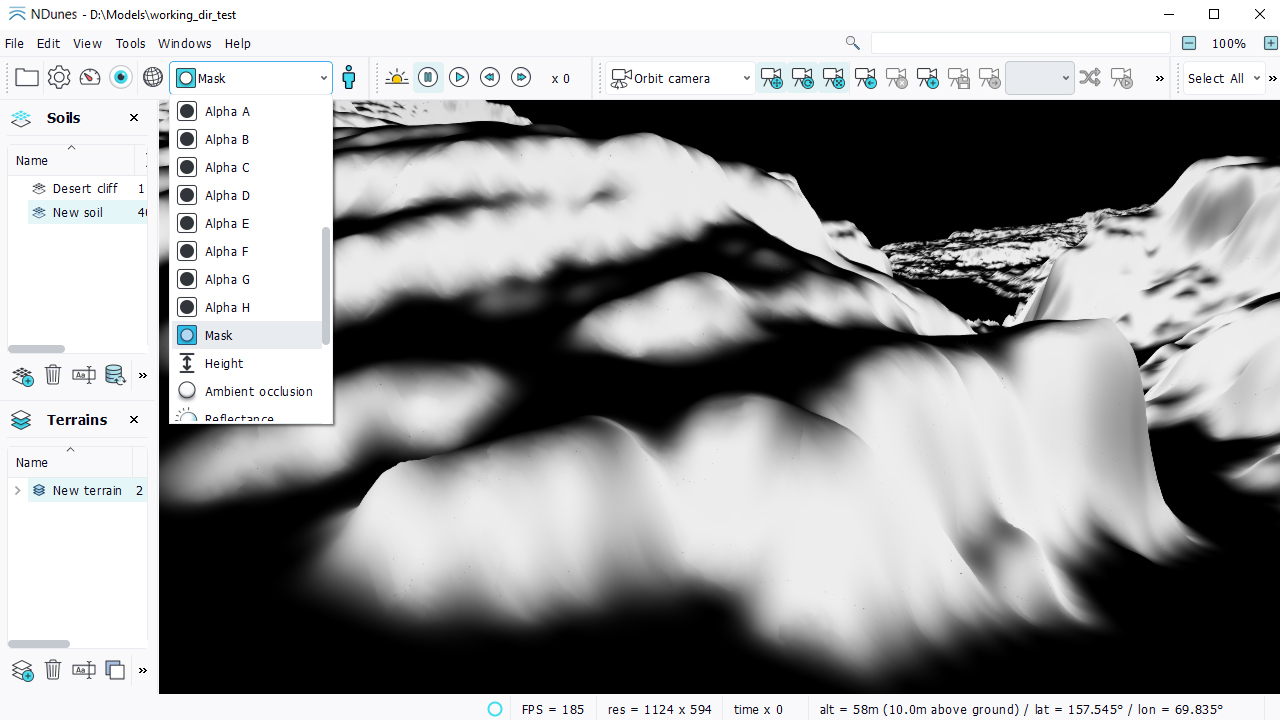
But the results don't look good because the mask area over which the Desert cliff is mapped has a steep slope, causing a visible distorsion in the texture. We'll fix that by triggering two flags in the terrain panel:
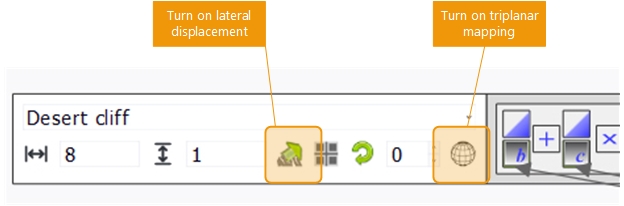
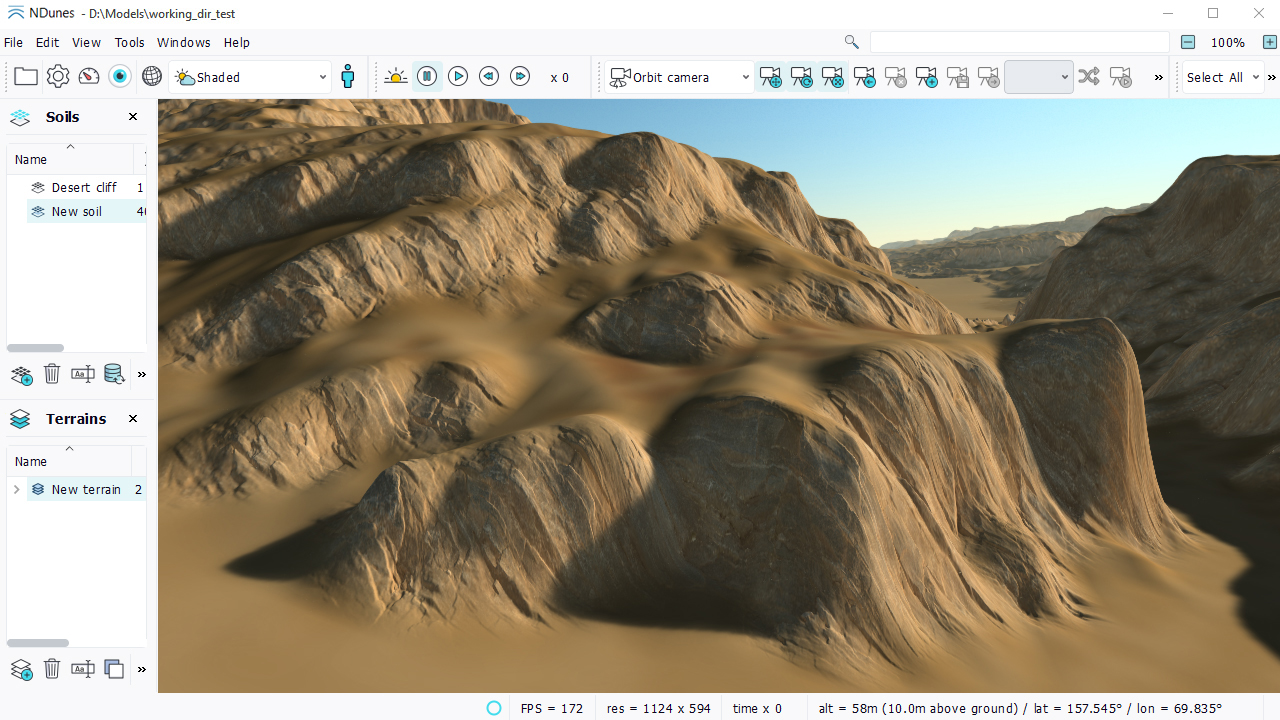
So that the mapping of our soil now adapts to the slopy area we have chosen for it:
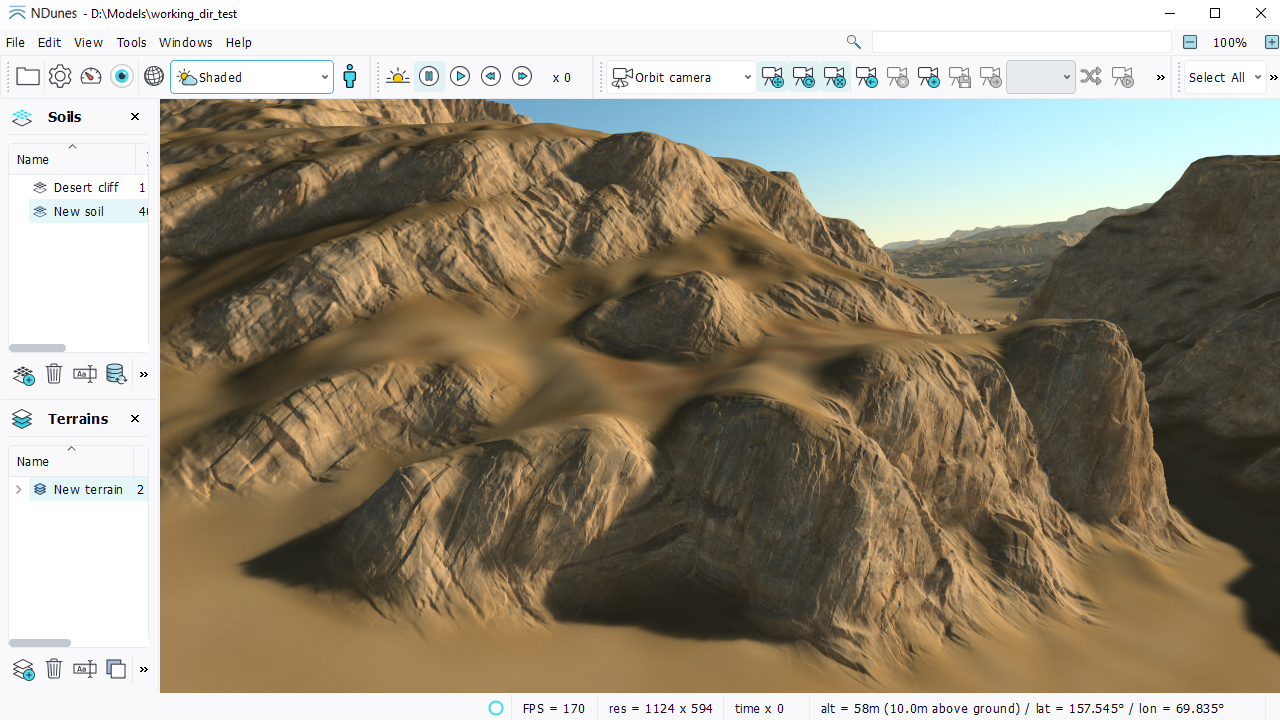
Now the results look better, so let's add another soil to our terrain to fill-in the gaps. This is the "Desert cracked clay" soil:
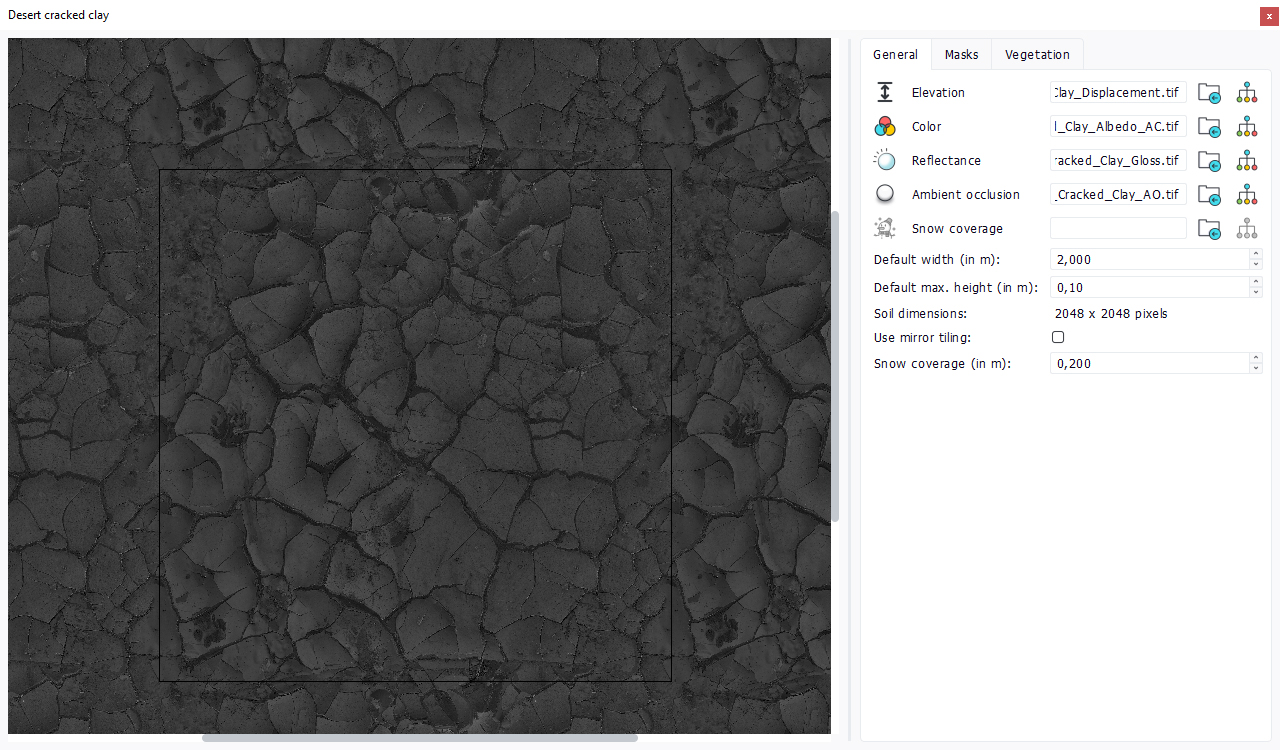
This is another photogrammetry soil. A small one 2 x 2 meters, roughly 10 cm height. We'll map it using the inverse mask of the Desert cliff soil. A profile can be applied to a mask by clicking on the box above it (with the blue triangle that shows the function of the profile). This way we ensure that both soils won't overlap:
And the result we get contains the two soils mapped together. They're blended in mixed mask regions (where the Desert cliff mask is not plain, the negative mask used for the Desert cracked clay is also there):
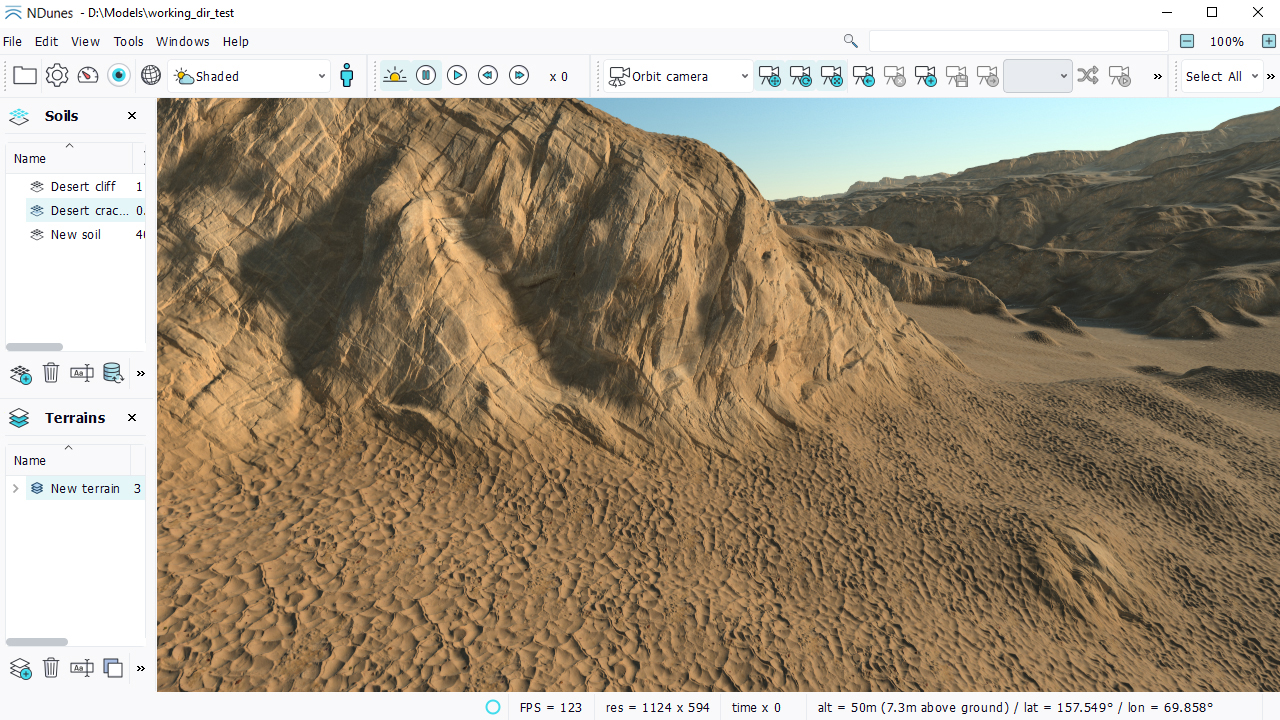
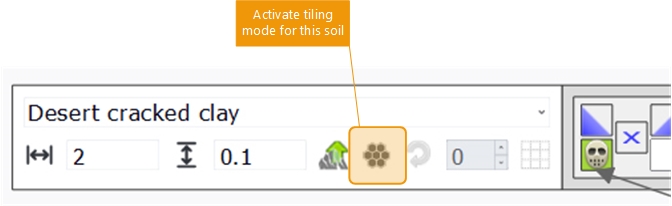
Finally, we see the tiling of the Desert cracked clay soil. We'll eliminate it by turning on the "tile" mode for the soil:
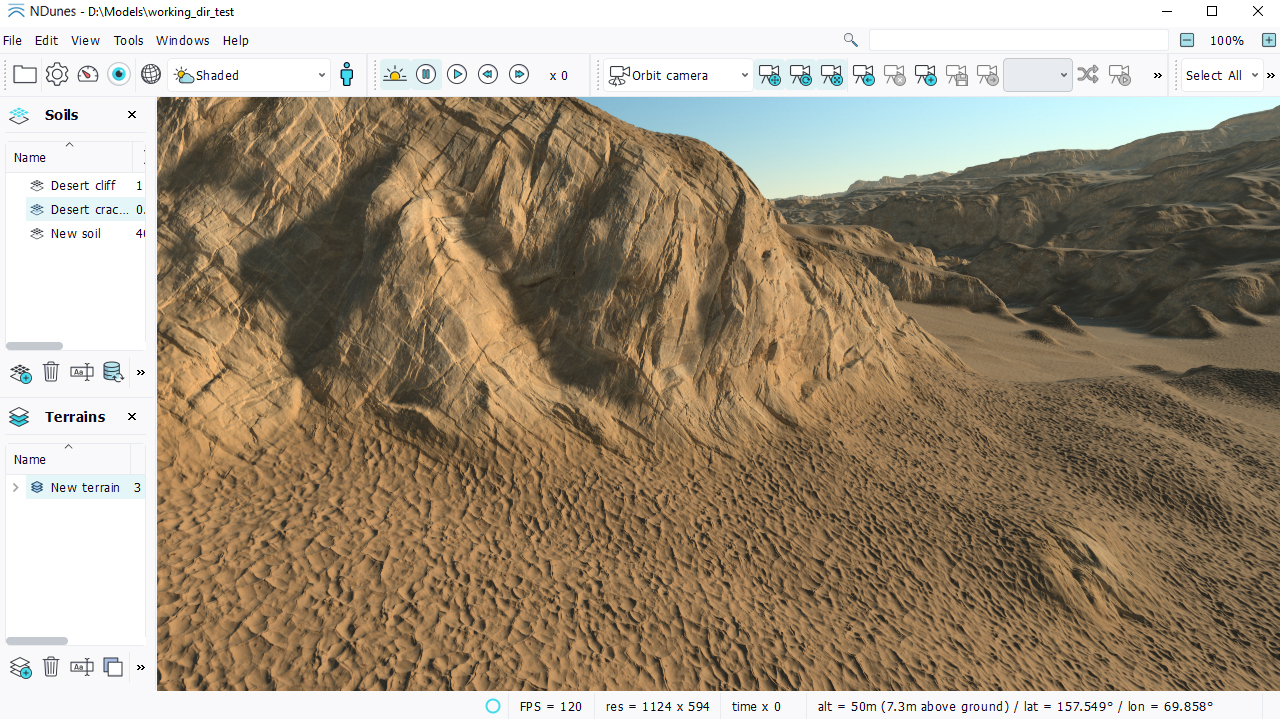
And the final results removes the repetive pattern for that soil:
This covers basics of terrain design. Now, many more things need to be done about coloring, reflectance, density definitions for plants, management of overlay, snow setup, ...See more in the dedicated chapter on Terrains.
 Designing a first terrain Designing a first terrain | The atlas layer |
