Geometry ground decal
In some cases, it can be necessary to import the "ground" of a project in NDunes. To do so and to also exploit the power of NDunes vegetation and soil systems, the mesh of the ground must be imported in the geometry's "Ground" tab.
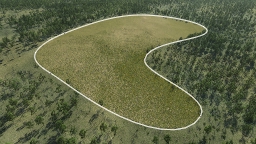
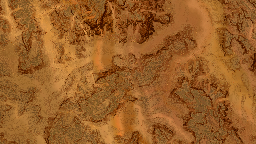
This feature integrates the mesh of the ground as part of the terrain using the Decals system. The terrain will be sculpted according to your imported ground mesh, which allows the user to apply Soils and Biomes on it using the decals, which would not be possible if the ground was imported as a regular geometry source file mesh.
Note:
If the project is not separated already, it will be necessary to separate the ground part from the model part in your CAD software. For example if your project contains a house with a terrain you will need to seperate the house from the terrain and export it separatly if you wish to import the terrain as a Ground Decal.
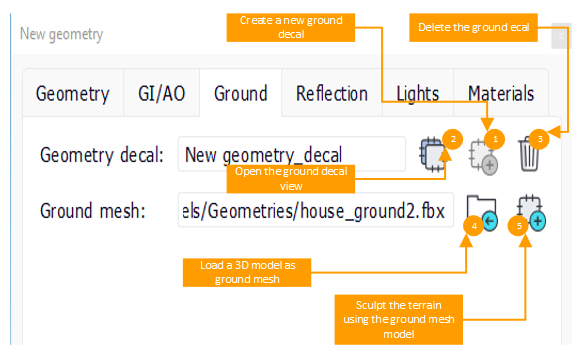
- Create a new geometry decal linked to the geometry by clicking on on the button 1. You can then modify the parameters of the decal by opening its view using the button 2. The differents parameters of the Decal view are explained here : Decals
- Import the ground mesh using the button 4 to browse your files and import it.
- Now automatically create a decal area in your geometry decal that will sculpt the terrain according to your ground mesh by clicking on the button 5.
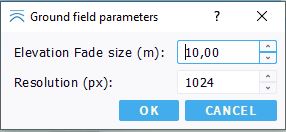
You have two options to set for the sculpting or your terrain using your ground mesh :
- Elevation fade size : in meters, it is the size of the falloff around the sculpting of your mesh, to avoid a sharp elevation sculpt.
- Resolution : in pixels, the resolution of the elevation texture that is generated from your mesh and used in the generated Soil document. With a higher resolution, the ground field computation will take more time, but your sculpting will be more precise.
 Decal linked to the geometry Decal linked to the geometry | Adding reflections |


