

Adding snow
NDunes features an automatic thick snow generation system, that can be a great time saver to generate landscapes covered with snow.
Adding snow to a terrain
The snow system design principles may sound somewhat odd but are, in fact, closer to a natural schema making the solution flexible: the presence of snow results of the combination of a low temperature (below 0 degrees Celcius) and a significant amount of rainfall (more than 200 mm/year).
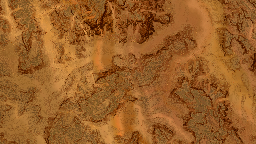
First, we'll need to prepare soils to receive snow. Each soil has a snow map, which depicts the interaction of the snow with it:
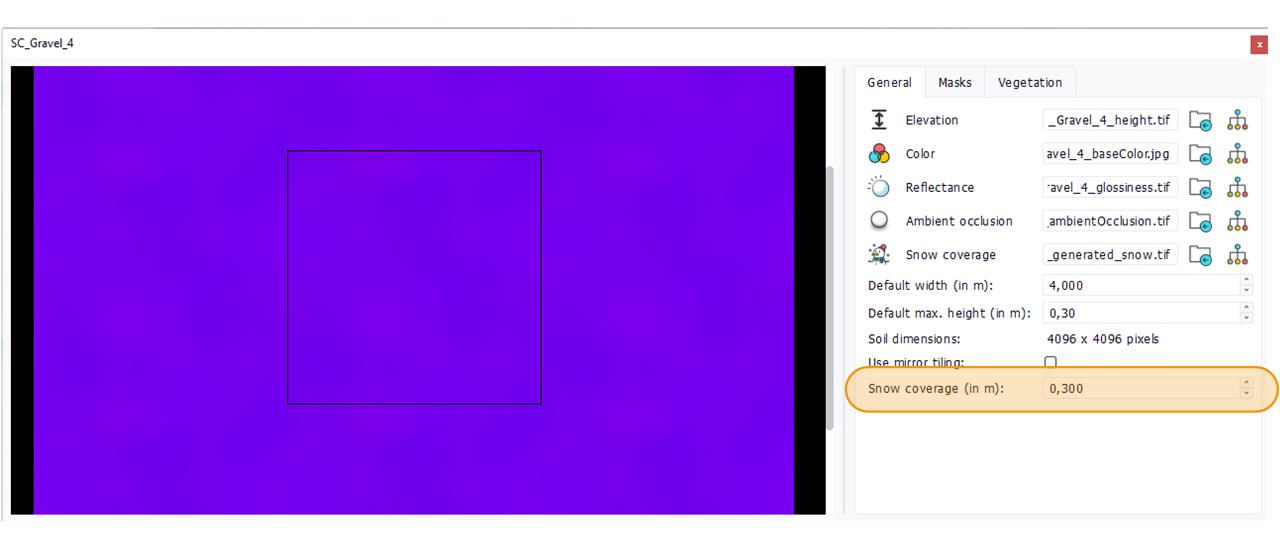
The snow map is calculated for an average snow thickness (highlighted in the image above) and given the size hint informations of the soil (width and height in meters), and it's not a readable image. The calculation is launched from the soil toolbar and hopefully, it does not take much time:
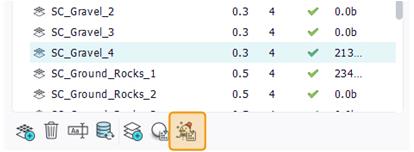
Note that the same snowman icon exists in the terrain toolbar. It can be used to cover all soils in a terrain with snow at once. It's detailed below (see here: Modifying the snow coverage, globally). Here's a terrain covered with snow using different coverage parameters:
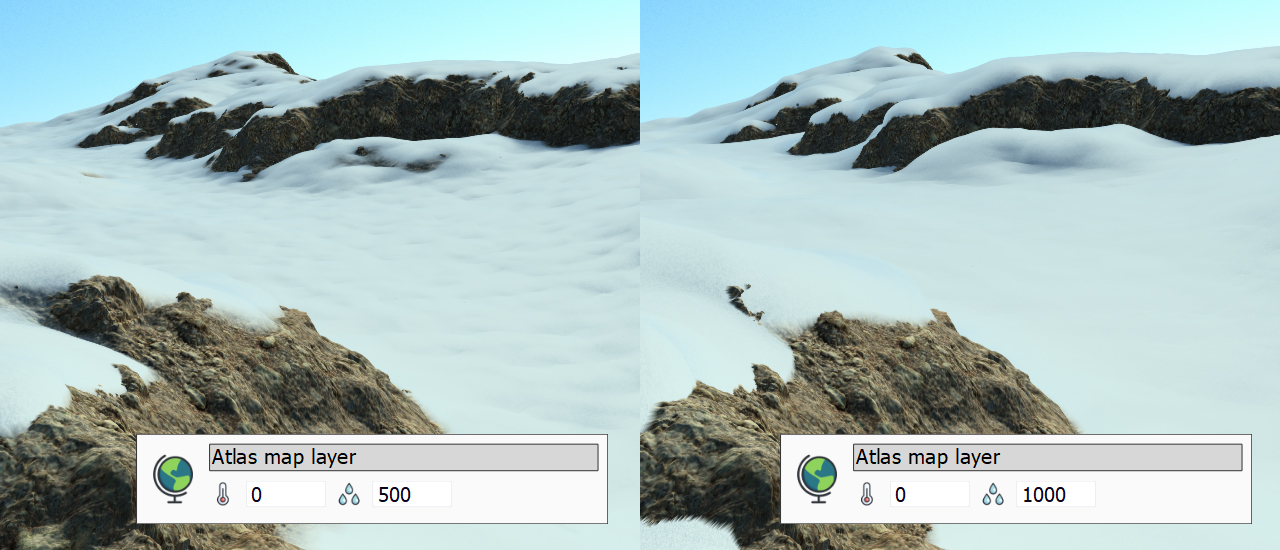
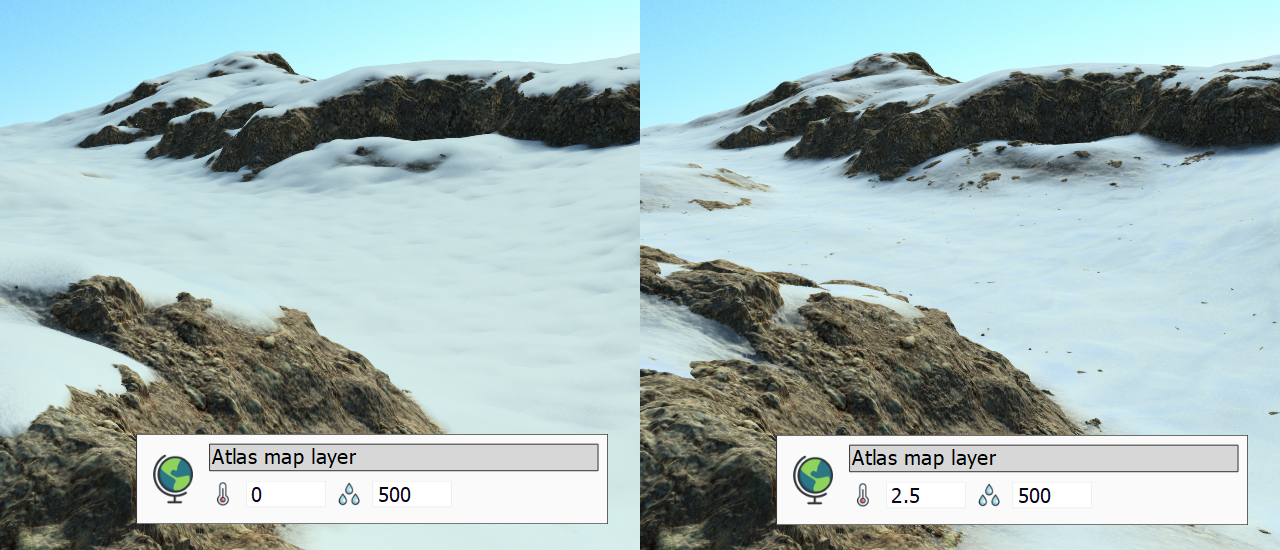
We can see that the amount of snow covering the soil varies with the temperature and with the quantity of rainfall declared in The atlas layer:
- At a temperature of zero degrees, snow appears. The temperature is related to the current altitude, based on the temperature lapse rate which is minus 1 degree every 150 meters in altitude. In the image above, we're around 400 meters of altitude, so with an atlas temperature set to 2.5 degrees, we're reaching zero. We can see that there's only a thin snow cover then.
- Then, the amount of rainfall strengthen the thickness of the snow: the first image depicts the variation between 500 mm/year and 1000 mm/year. One meter of snow is added for 2000 mm of rainfall per year.
The look of the snow can then be customized by selecting a snow soil layer. This is in the terrain view that this can be done by picking up a specific snow soil:

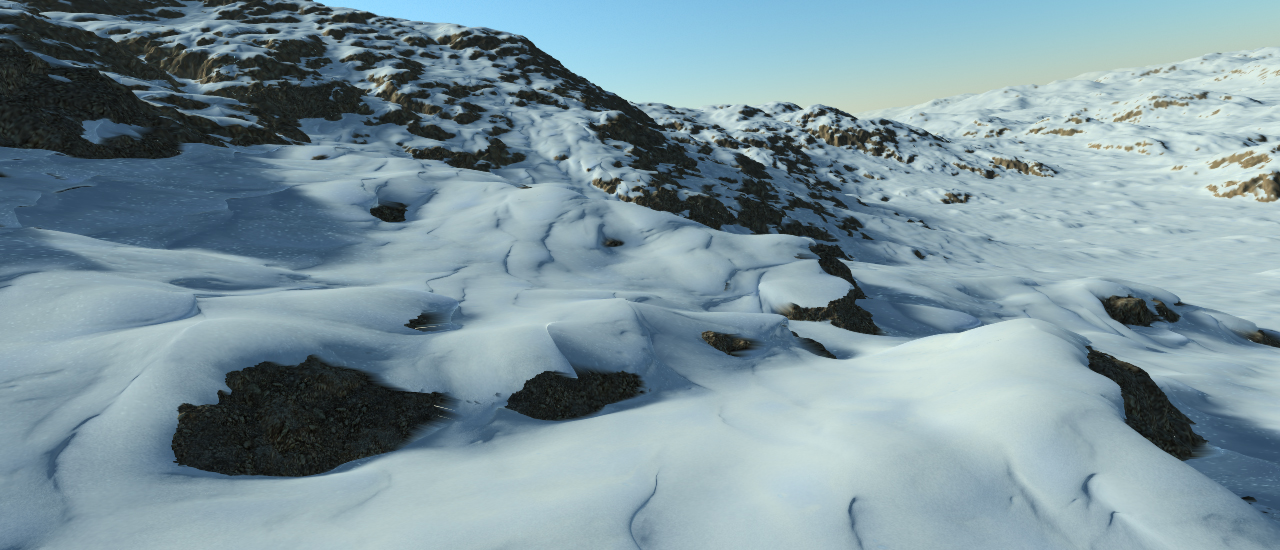
This can be used to strongly sculpt the shape of the snow:
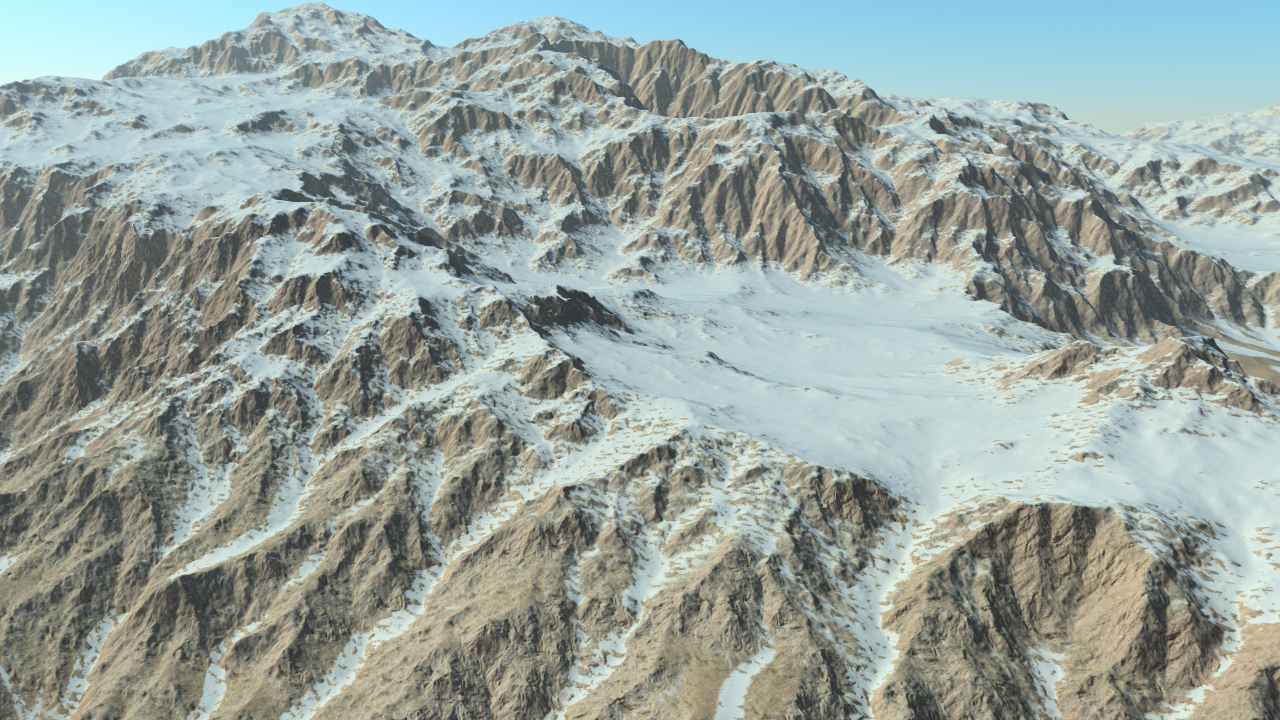
At this point we have depicted how a snow layer can be easily added to a terrain. Some limitations must be understood however. As we explained above, the snow map of a given soil is calculated for an average snow thickness. This snow thickness is important as it'll rule the amount of details that will be covered or not for a given terrain. For instance setting a 20 cm snow thickness and then applying 1500 mm/year of rainfall will add almost one meter of snow to the terrain. This'll create snow bubbles as the map was set for 20 cm. This is illustrated below:

We can see the created snow bubbles discussed above on the second image starting left: the amount of rainfall is too high for the snow thickness calculated for the soil. However, if we set the snow thickness to something greater (60 cm in the example above), we can see that 1500 mm/year of rainfall is now well suited and the snow will cover most tiny details.
All set together, it's not an universal snow coverage mapping algorithm that we have introduced here: it requires a kind of 'mean' measurement to determine the amount of details that should remain visible or hidden in a given soil that has to be covered with snow. Once setup, the amount of snow that effectively covers the terrain can vary around these boundaries.
Using flow maps
Flow maps, described here: Adding flow maps, add a great amount of realism to how snow can flow down trails that can be user defined. Flow maps just need to be defined for first level soils and then they'll automatically influence temperature and rainfall to allow thin tongues of snow to flow down mountains:
Modifying the snow coverage, globally
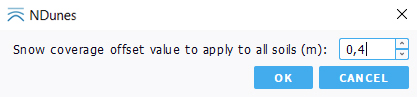
Adjusting that amount of snow can be done for an entire terrain as a whole using the terrain toolbar snowman icon:
By pressing it, a global offset (positive or negative) can be applied to all soils in the terrain:
 Density modifiers Density modifiers | Mapping a soil on a vertical cliff |
