


Sculpting a terrain from scratch
We'll illustrate a quick terrain creation using soil brushes, as detailed in the paragraph before here: Sculpting soils with other soils
Create a new soil to be painted
Let's start by creating a new soil to be painted. There are two things to consider before starting:
- What will be the size and elevation range of my terrain. For instance, let's paint a 8 x 8 kms terrains, with a max altitude of 4 kms.
- What channels do I wish to paint at once? Here we'll assume we'll paint the elevation, color, and a few masks to store densities and flows.
So let's setup a terrain of that kind:
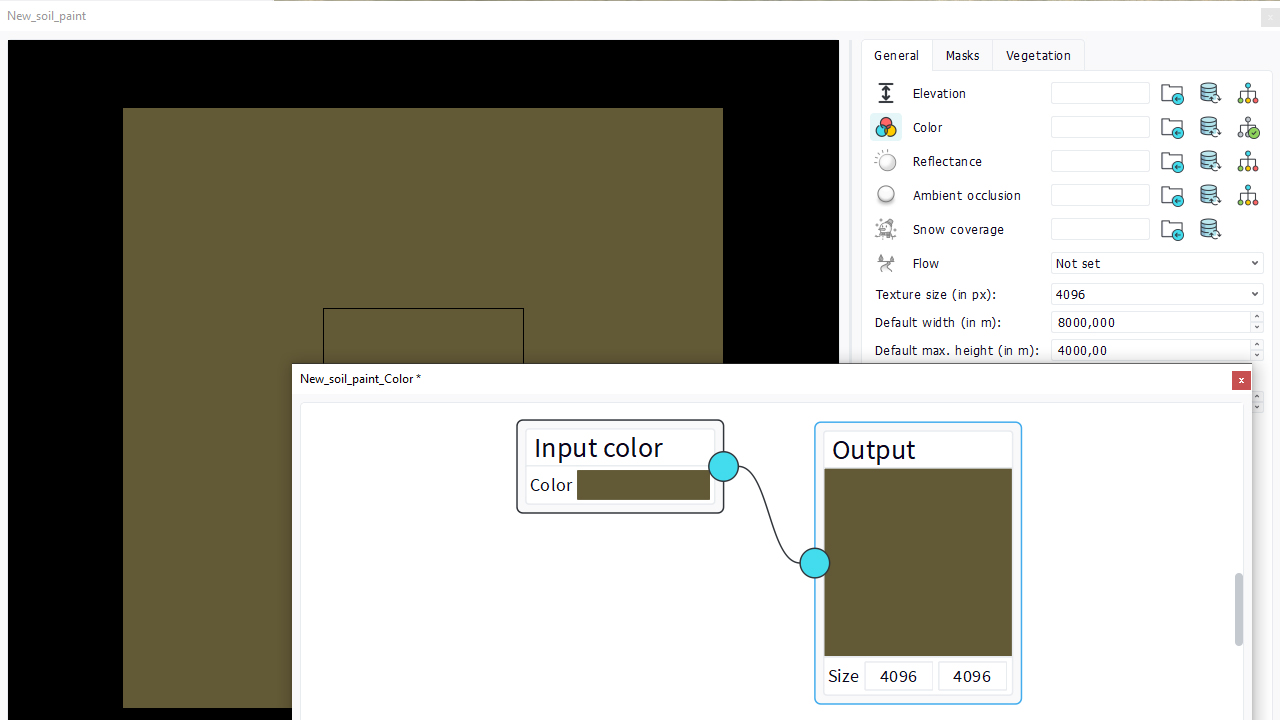
An easy way to setup initial images is to create simple node graphs for each channel with some startup values. We'll take care of the startup elevation, based on what we intend to do. For instance if we intend to carve some elevation, maybe the startup value shouldn't be zero and a bit greater than that.
Create a new terrain to paint with
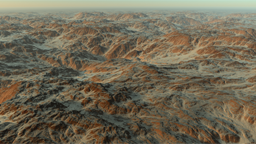
Let's create a terrain, add our soil to it, add it to the scene and voila:
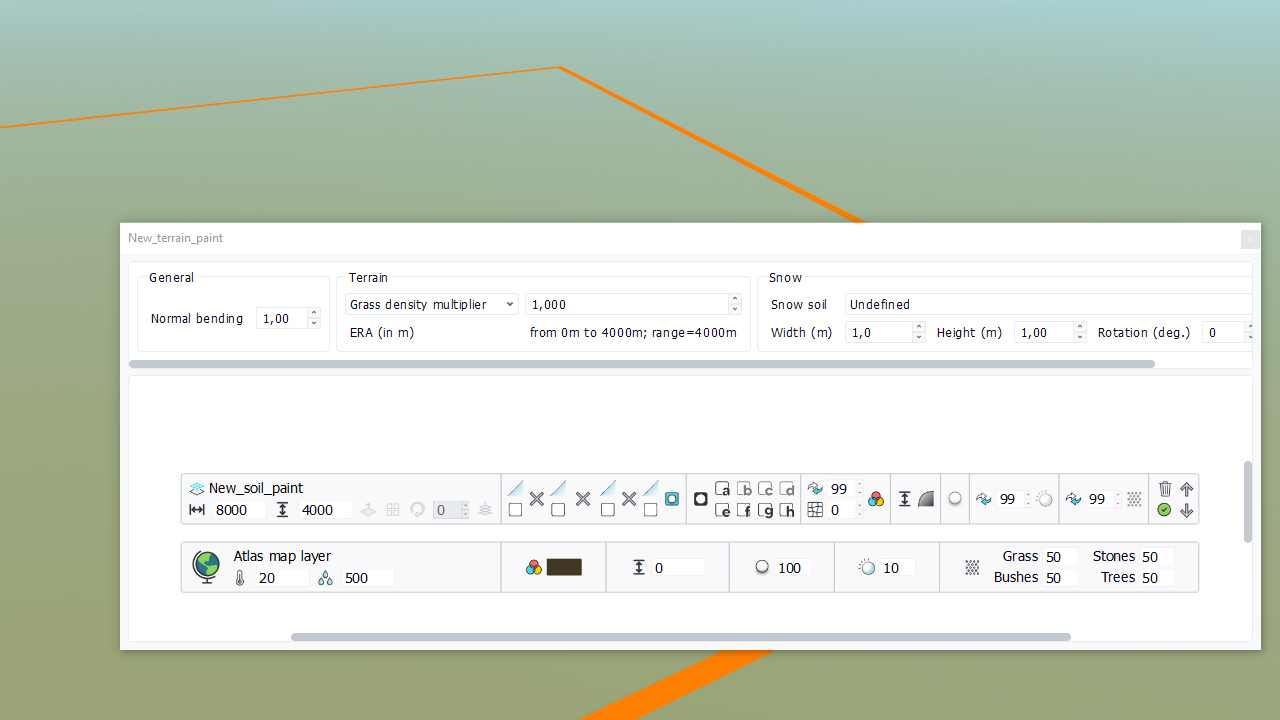
Our terrain has a size of 8 x 8 kms, and a relief amplitude set to 4 kms. We can use brushes in that area! The initial elevation channel of our soil was set to a dark grey (0.2 value) so this is around 800 meters (0.2 * 4kms = 800m).
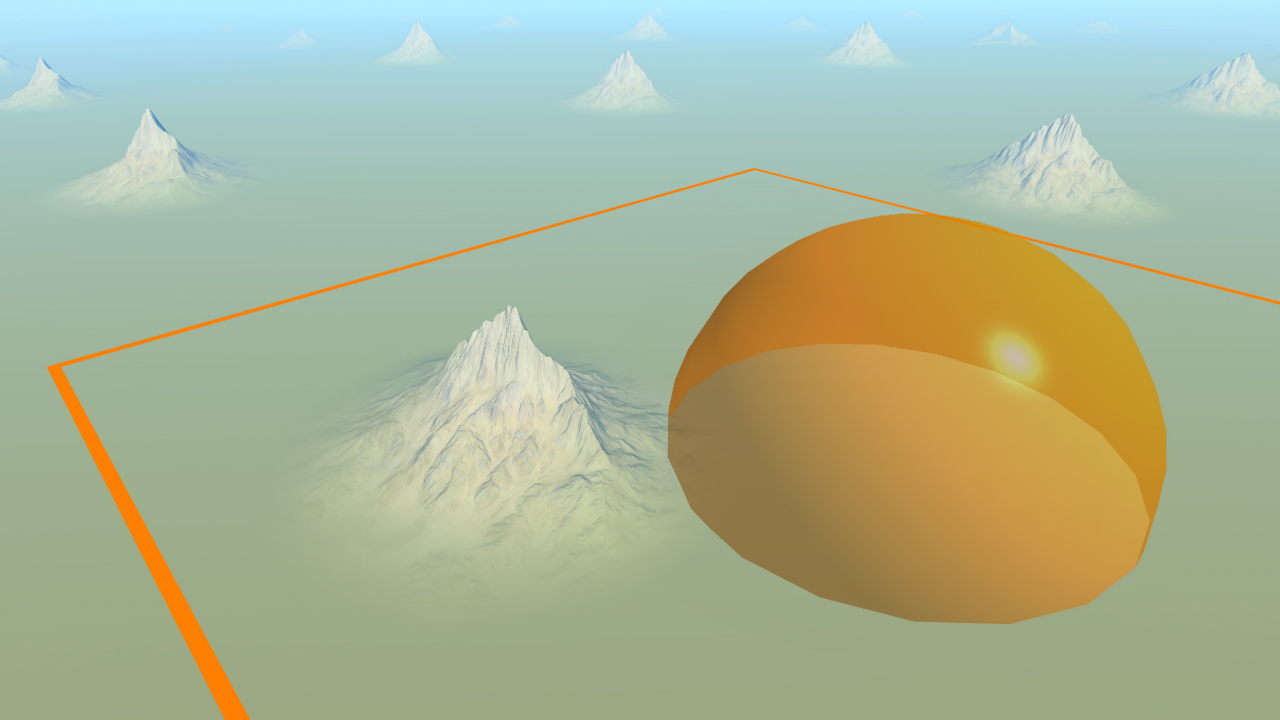
Let's paint!
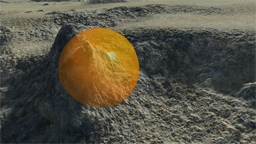
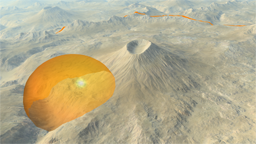
Let's select a mountaineous soil and apply it. We set it to 3 kms wide, around 500 m high and apply one single brush paint click (you can also disable the brush stroking to be sure not to apply the landscape several times):
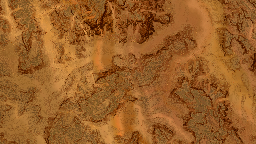
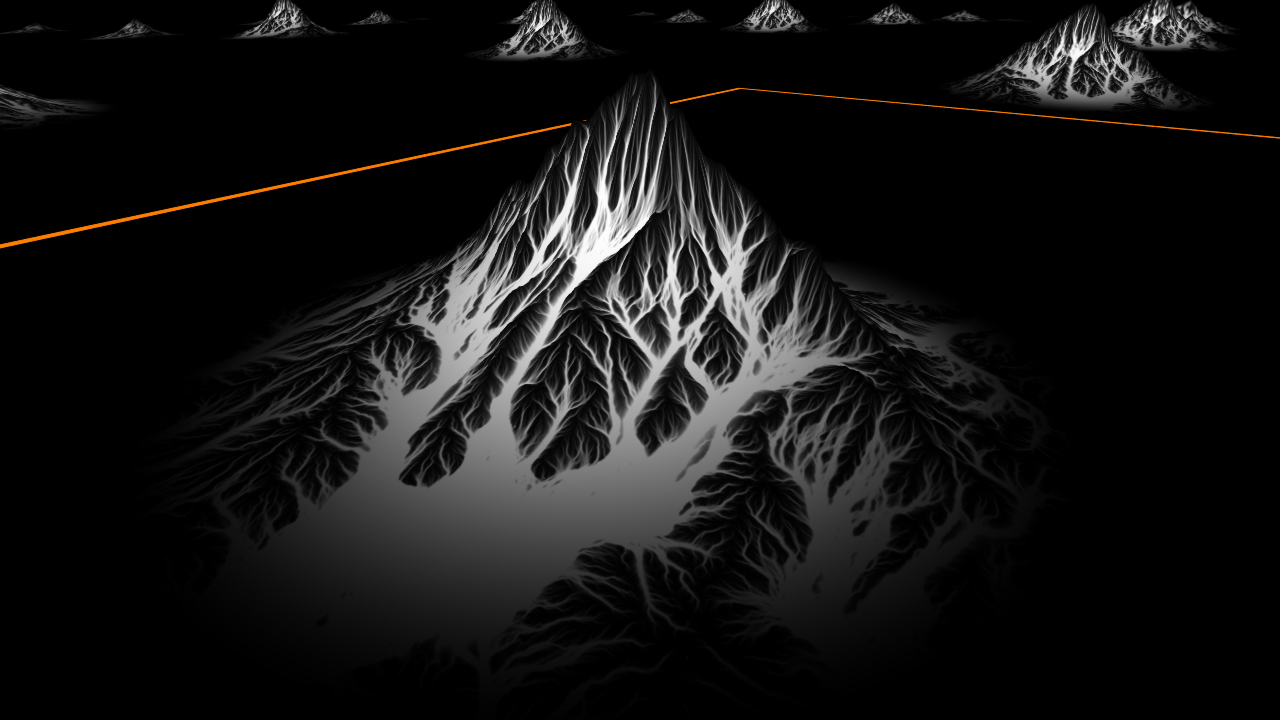
All channels have been painted in one click: so this means the elevation, color, all masks that were shared between the two soils. We can see the "Alpha A" channel after the painting. In the source mountain used by the brush, it did contain the flow map of the mountain:
Then, we can continue, and carve our new terrain with as many soils as we want to create complex landscapes!
 Sculpting soils with other soils Sculpting soils with other soils |
