


Designing a first terrain
Let's start by getting the documents we'll need:
- Soils: Soils documents that contain elementary ground descriptions.
- Terrains: Terrains documents that gather soils together to form a complex terrain.
So let's show the views for these documents from the application's view menu:

Then, create a new soil and a new terrain:

At this point, the terrain is empty and the soil is invalid. This is seen in the validity column of each document. you can see a small orange triangle there. We'll need to fill in the soil and to set something in the terrain before we can see something. Let's start with the soil by double clicking on the document to open it:
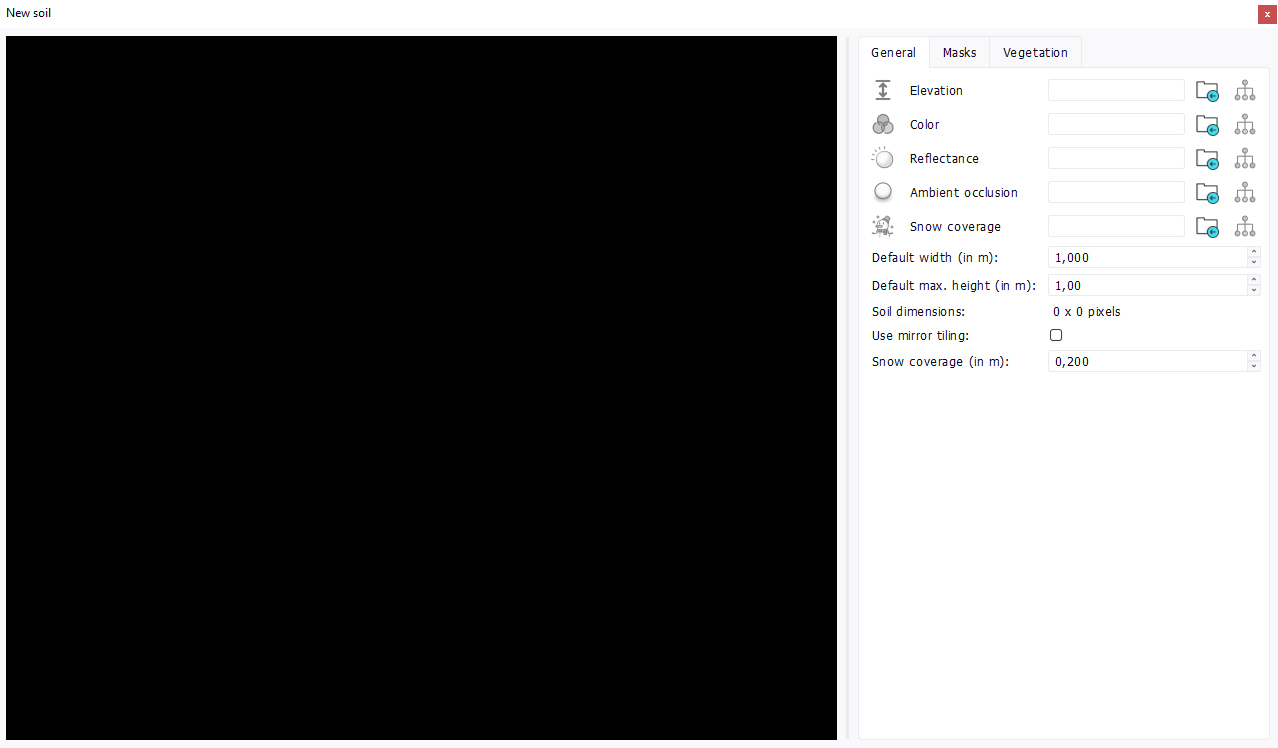
To have a valid soil we'll need at least an elevation map (tip: if you don't have one, you can freely download our Sample data). To avoid getting black soil we'll setup an elevation map and a color map, each it its channel:
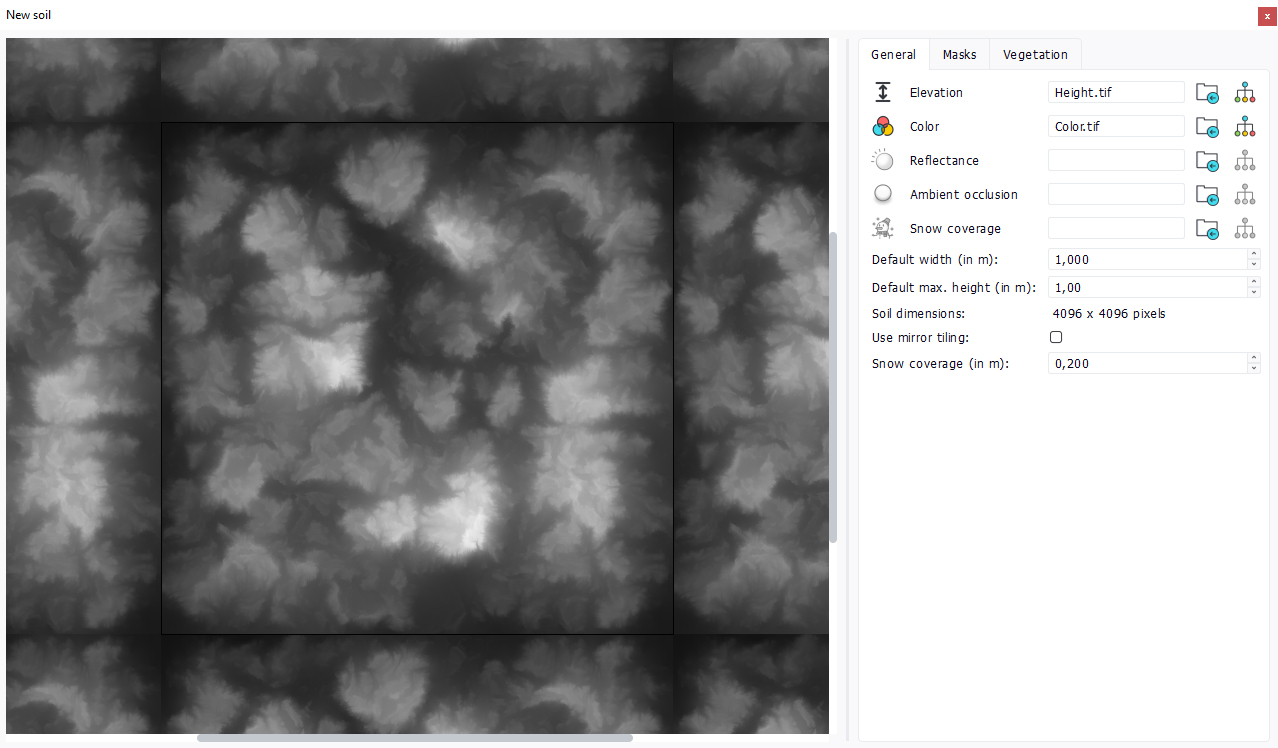
Here, the chosen maps were authored with a 3rd party landscape design software. The only important point in importing these maps is that the elevation map should be 16 bits per texel to get a decent numerical accuracy when rendered afterwards.
Then, we'll need to specify the dimensions of this terrain, as indicated below:
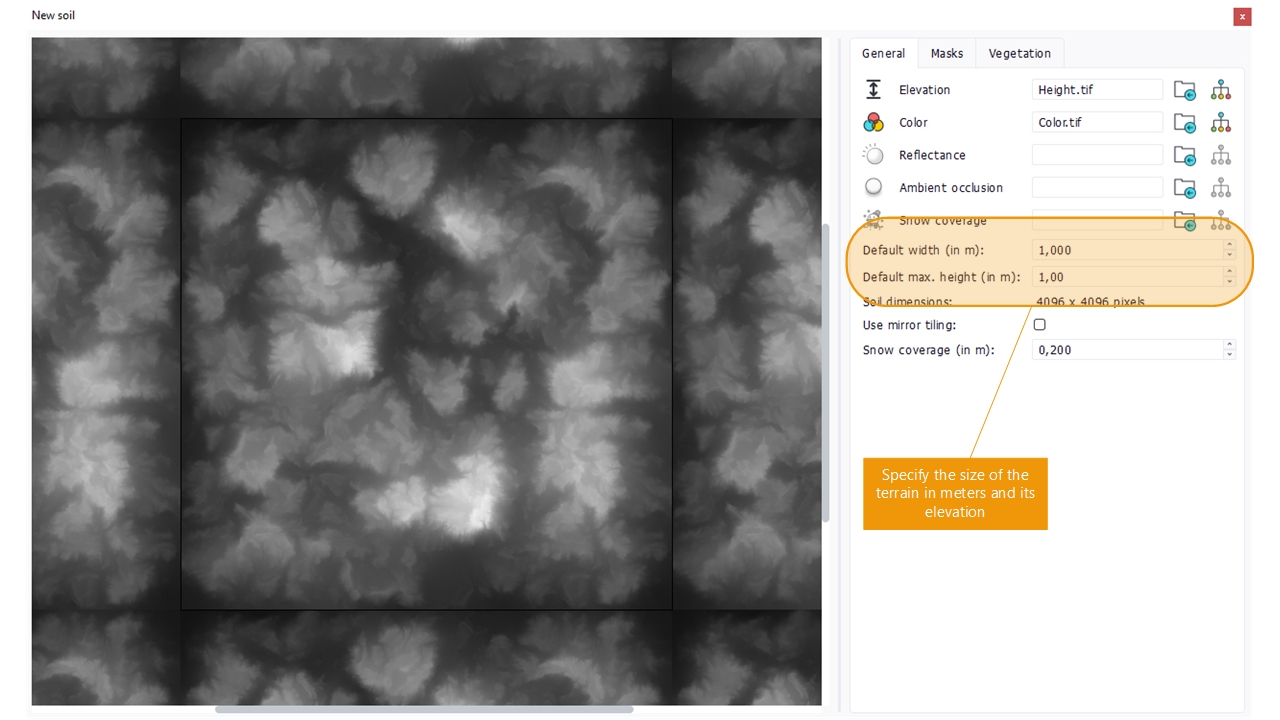
We'll setup a 4 kilometers terrain (1 texel = 1 meter) and say this terrain is 400 meters high. These values are indicative and can be changed afterwards in the terrain directly. However, they're important as the soil ambient occlusion field (AO) will be defined from them.
Now we'll calculate an ambient occlusion using the soil document toolbar commands. Make sure that the soil is selected and click the AO calculation button (note that several soils can be selected for batches of AO calculations). The process takes a few minutes for a 4k x 4k soil map:
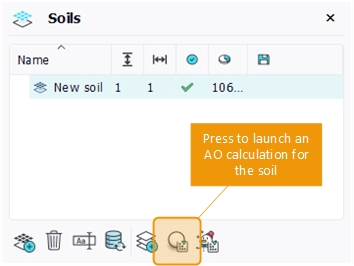
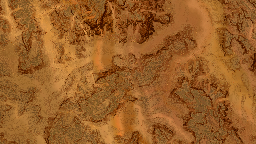
So that we get this result if we click on the AO channel icon of the soil to visualize the generated texture map:
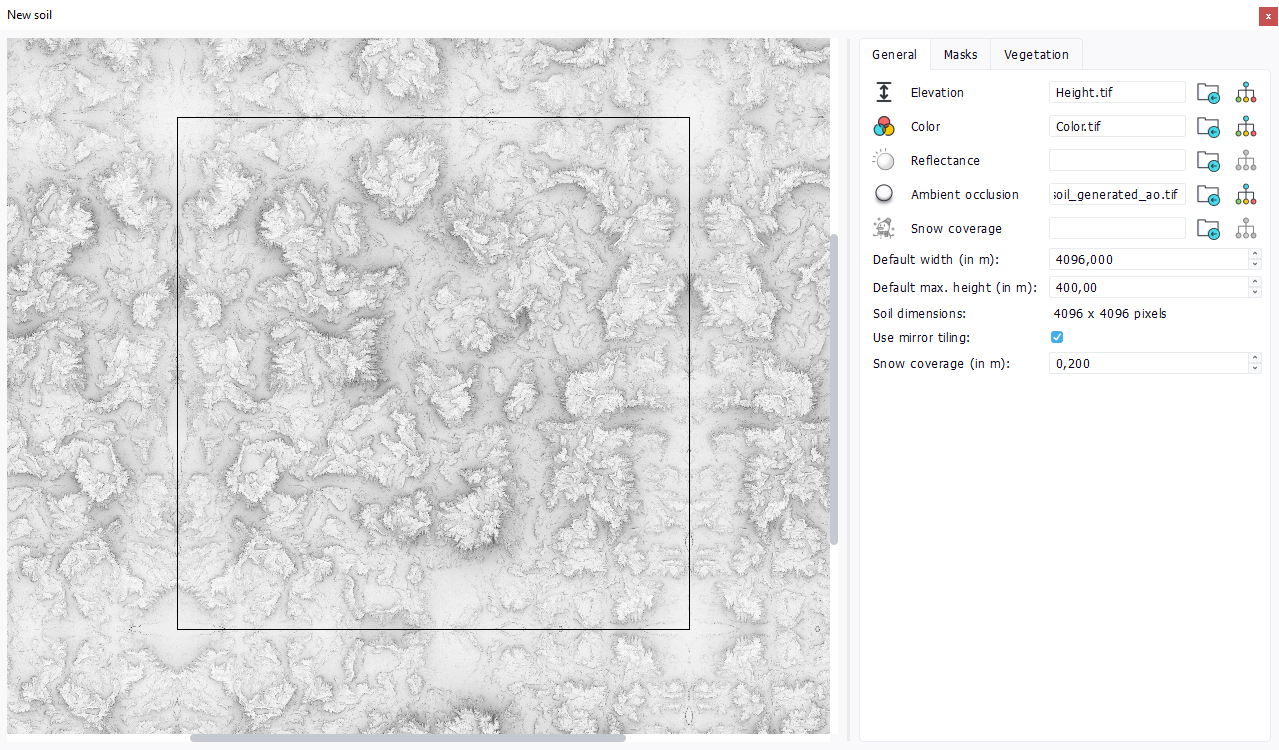
At this stage we have a basic simple soil that can be used and visualized in a terrain. Just as as side note, if the source maps did not tile, the "use mirror tiling" button can be activated to display the soil with a mirrored tiling, making it look nicer.
Now let's add this soil to the empty terrain we have created before. To do this:
- Drag'n drop the terrain in the main window: this'll add it to the default scene and we can see this in the outliner (scene view).
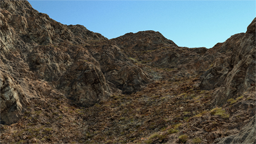
- Drag'n drop the soil in the main window: this'll add the soil to the terrain. Here the terrain with the soil will appear.
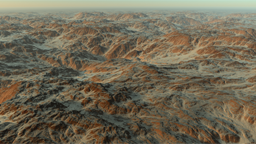
Let's zoom out a bit to see it entirely:
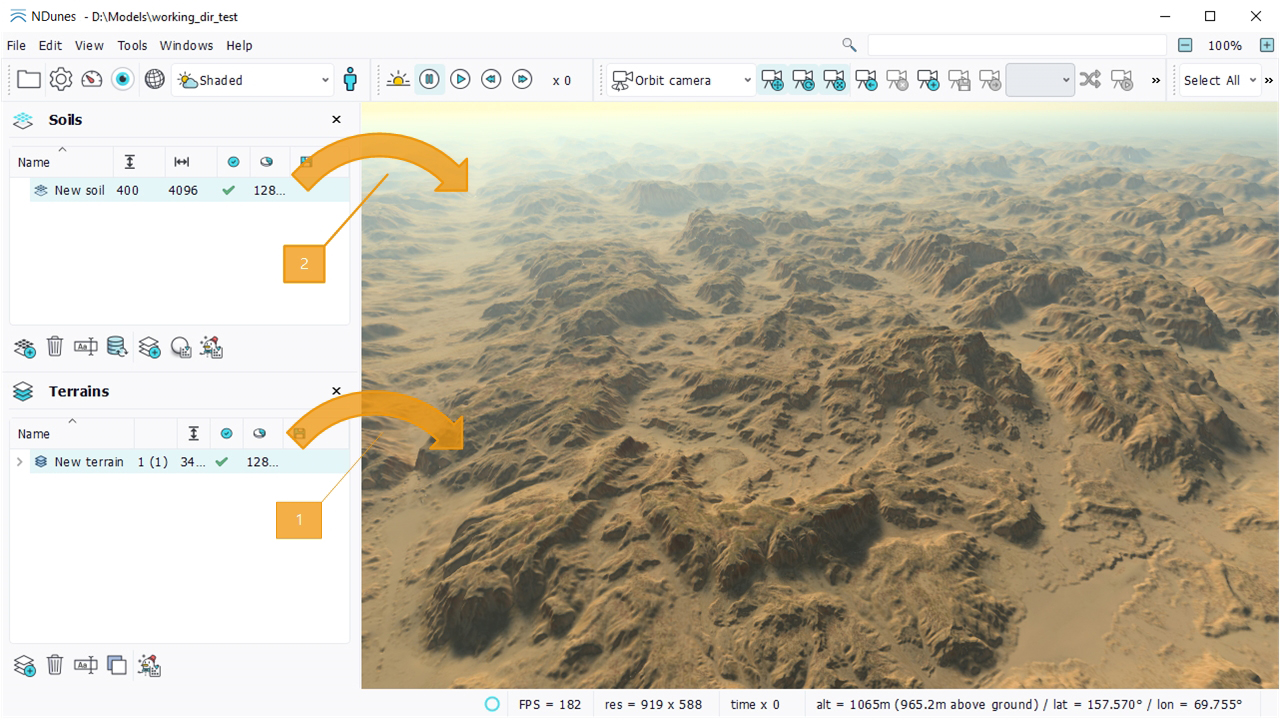
The terrain gets repeated a number of times in the main view and its smoothly faded away to make the overall view more pleasant. If we double click on the terrain document we can now see its contents:

We can see two rows in the graph view:
- A "bedrock" layer, called the "Atlas map layer". On a simple terrain it's a flat map with a number of properties that are transmitted to the soil. In a continental design, it's based on the scene atlas contents.
- The first level soil. This soil level defines the global relief of a terrain; Next level soils will only sculpt that first soil layer.
At this stage we're ready for the next step (see here: Refining a terrain, or click the bottom right of the page on the next link) and to add more complex and detailed soils to sculpt our new terrain.
 Terrains Terrains | Refining a terrain |
