

Terrains
Terrains are kind of 'building blocks' of the product. They can be used standalone for a variety of purposes (landscape design, flythroughs, ...) but they can also be assembled together to form larger continental or planetary bodies. In that sense, Terrains are really elementary bricks that can be combined together. We'll detail all this below.
Overview of the terrain architecture
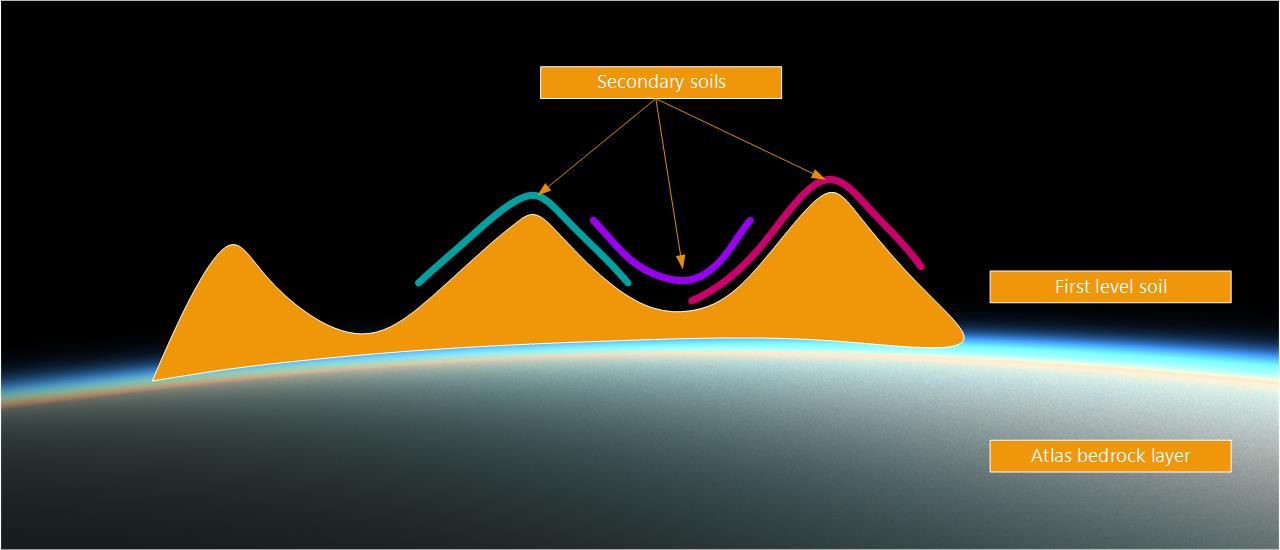
The terrain architecture has three layers:
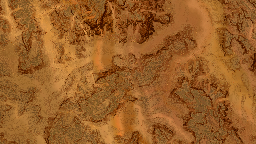
- The atlas layer: this is the 'bedrock' of all planetary construction.
- The first level soil: this soil is very important as this is the definition level of the terrain.
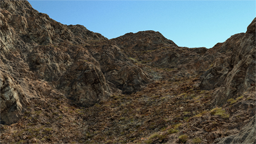
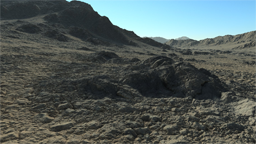
- Secondary soils: these soils are refinement soils (see an early usage example here: Refining a terrain) that bring details and realism to a terrain.
This is illustrated below:
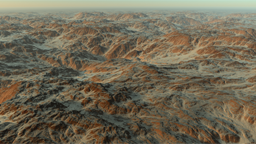
The atlas layer can be flat - which is the default when starting terrain design - or it can be the result of Atlases.
When defining a terrain, each layer is defined as a row in the terrain document view which gets opened on double clicking it:
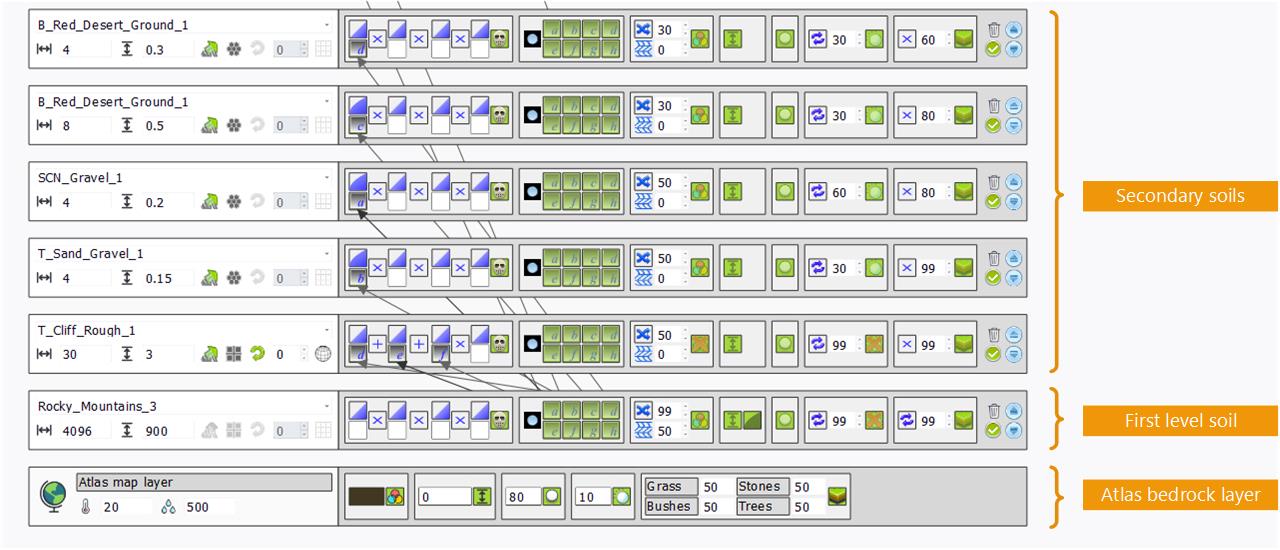
Each terrain layer influences layers after it. So the atlas layer modifies the first level soil and the first level soil modifies secondary soils: this architecture is at the core of the terrain design and helpful to create variations from a single terrain when large scale continents have to be created.
A stack of 11 secondary soils plus a primary soil can be added to a single terrain.
A layer's height, color, reflectance, ambient occlusion and vegetation densities will influence subsequent layer's height, color, reflectance, AO and densities. Of course, this influence can be taylored and even suppressed at will using controls defined in the graph. Let's illustrate this:
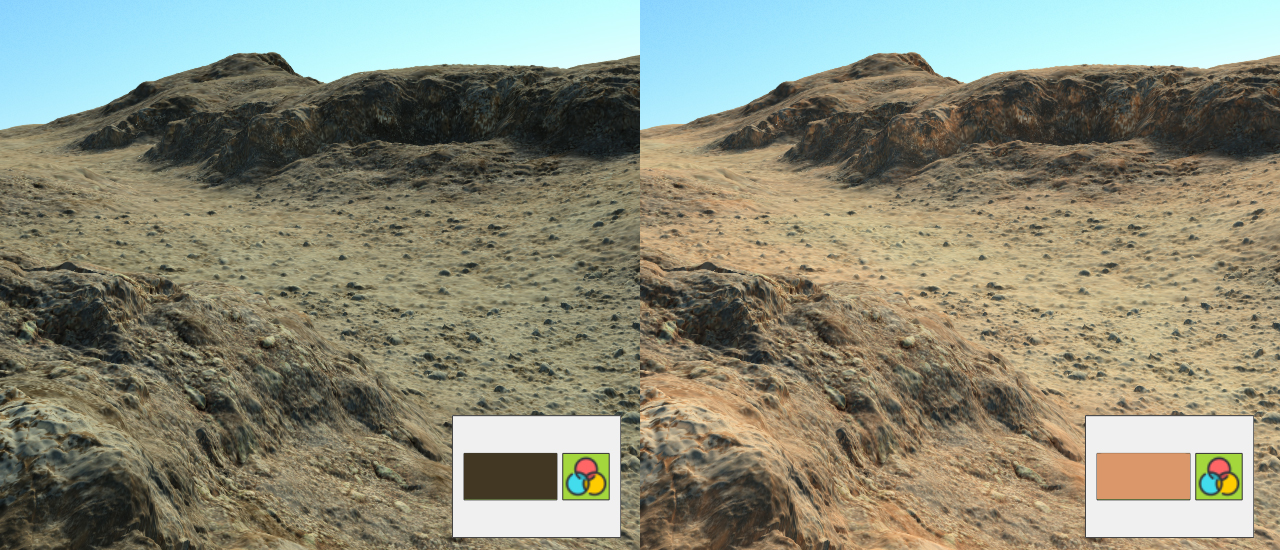
In the images above, the atlas color has been modified and it overally influences the soil layers above it. This is due to the usage of the 'overlay' color blending mode. Some soils allow more or less influence of the underlying layers colors. This is defined in the soil blending parameters of the terrain. Of course, each terrain will decide how a given soil is to be blended and the amount of influence it'll carry from underlying layers.
Designing a first terrain |
