

Automatic generation of the scene
Note:
The prerequisite before following this step is to prepare a satellite, which you can do following the Preparing an atlas for the city wizard page.
- After preparing all external data as well as an Atlas with satellite imagery, you can generate a scene automatically using a Blueprint.
- Then, you will use the City Wizard to automatically adjust the generated scene to have a textured Draft mode with adjusted heights of the buildings.
Assuming you downloaded the sample scene, you will need to import the scene in your project folder. Please refer to the Saving an archive of the scene page for importing an archived scene.
The Blueprint
Using the Blueprint system allows you to generate automatically a scene from input data.
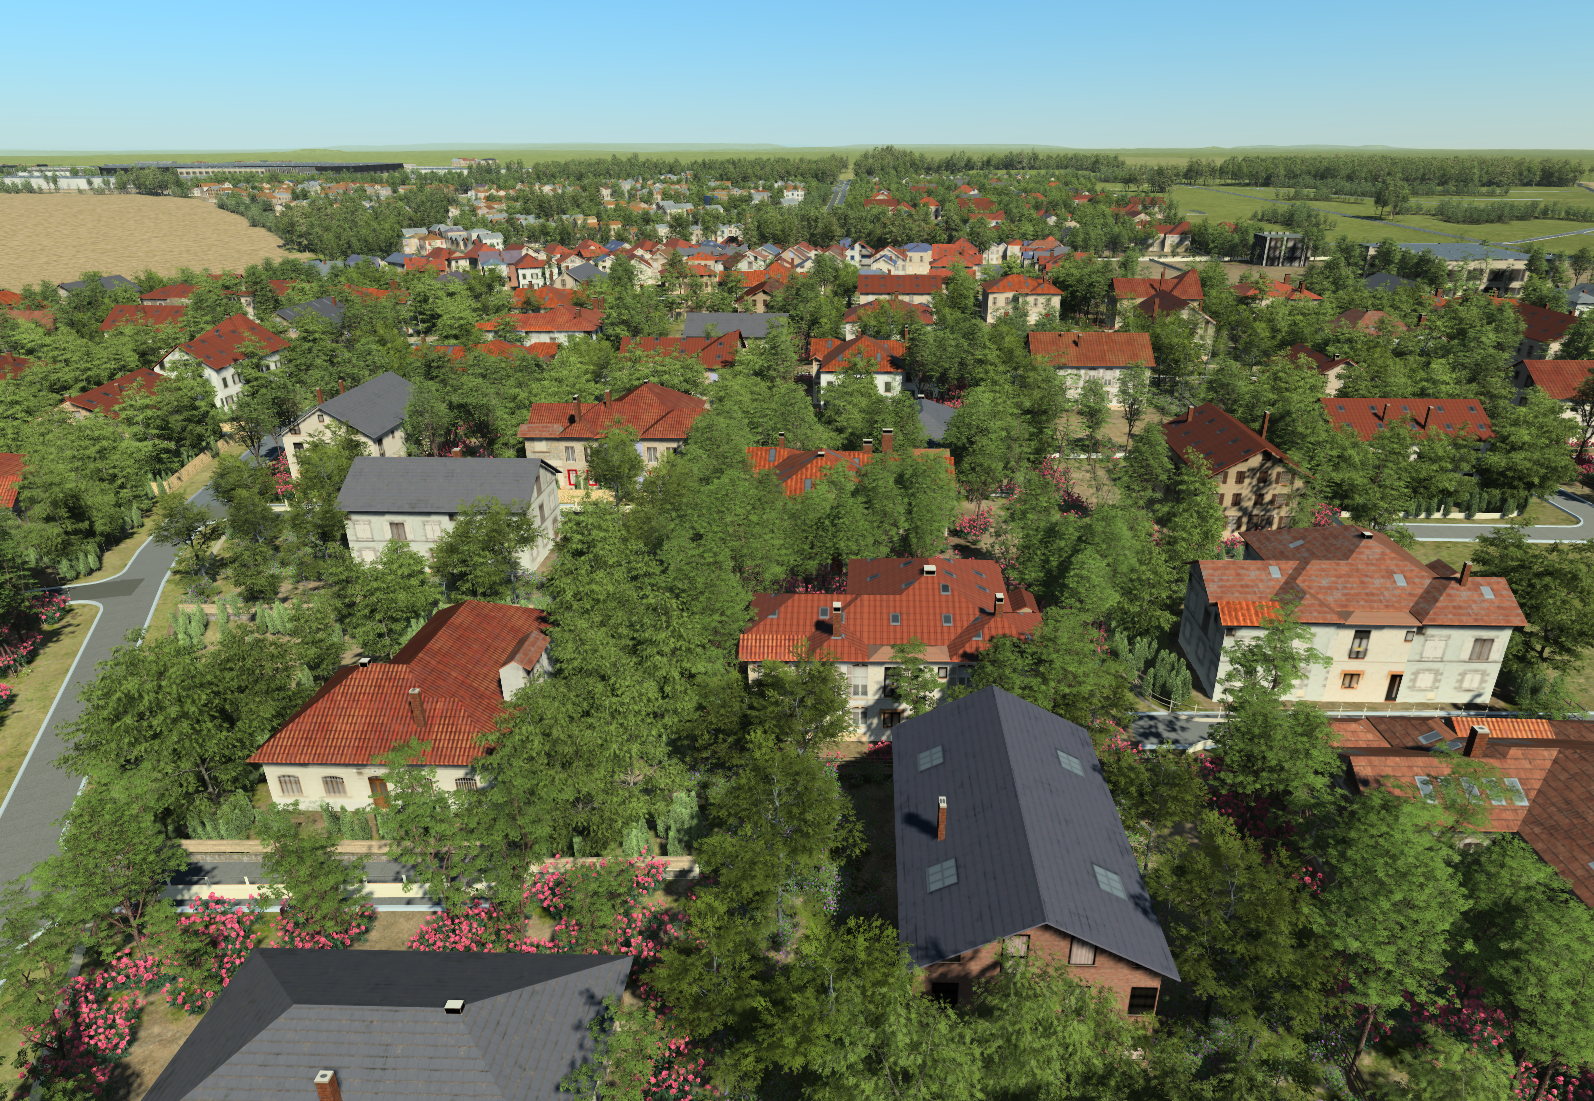
Open the scene "Solar_project" by drag & dropping it to the view.
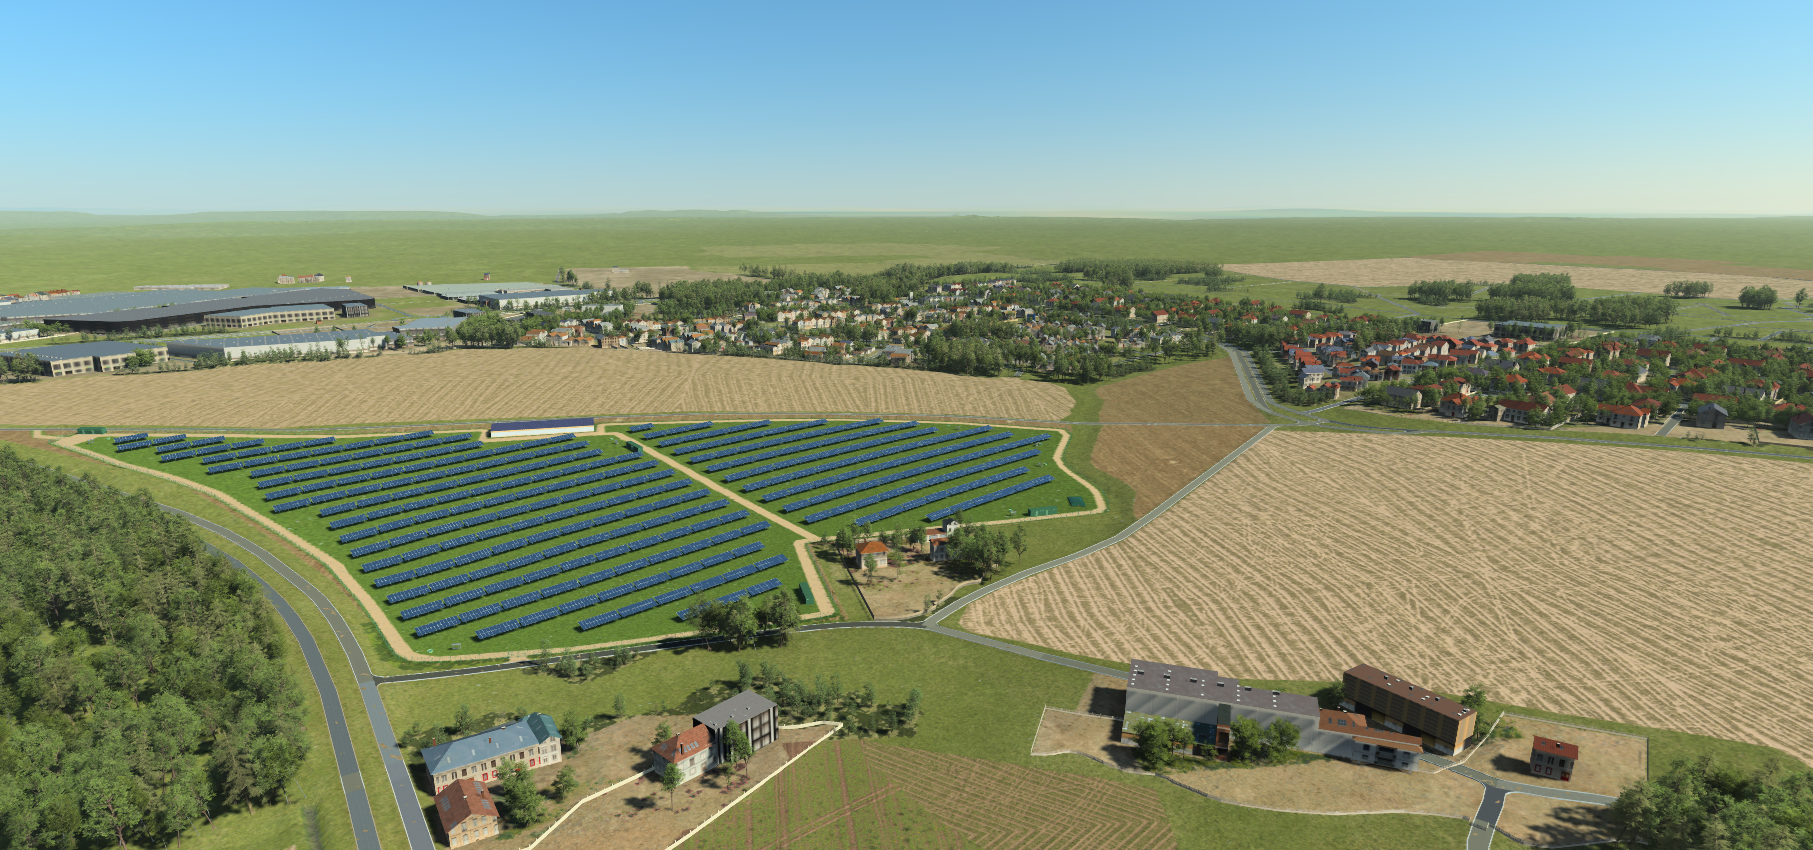
This is the scene you should see.
Let us see how the Blueprint was configured. Open the Bleuprint "Solar_project".
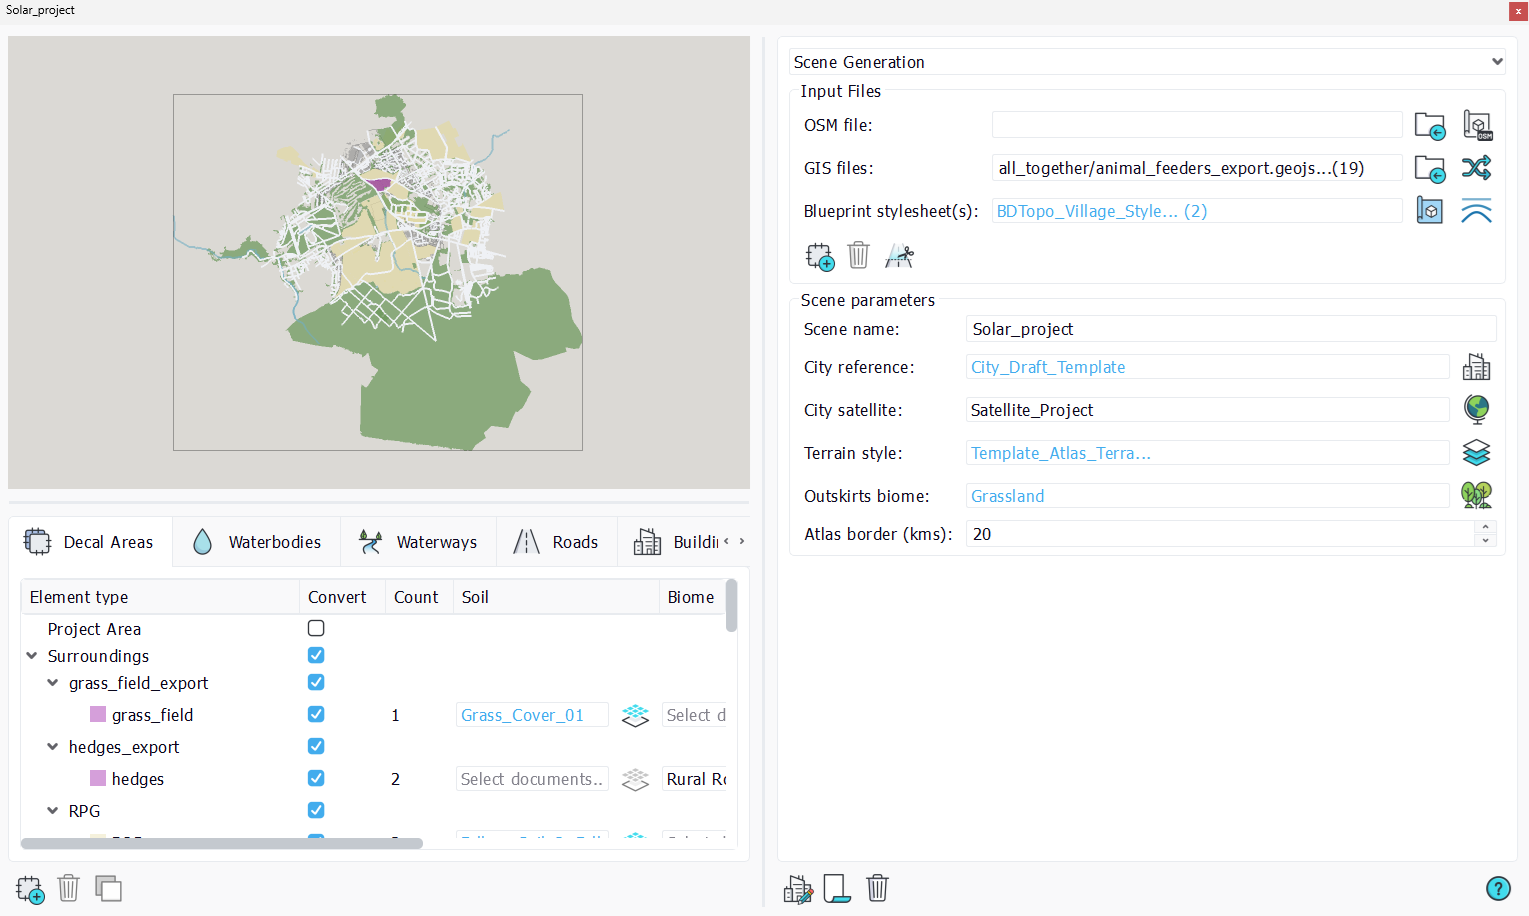
As you can see, we have input all the necessary input files (publicly available and project specific) and used the necessary templates.
Note:
For more info on how to configure the Blueprints, please refer to the Blueprints page.
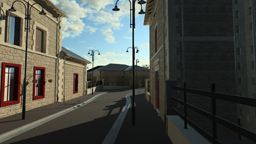
City Wizard and the automatic adjustment
The City Wizard allows to adjust the textures and heights of the buildings and it was used in our sample scene.
This is the result.
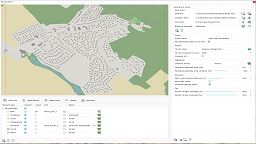
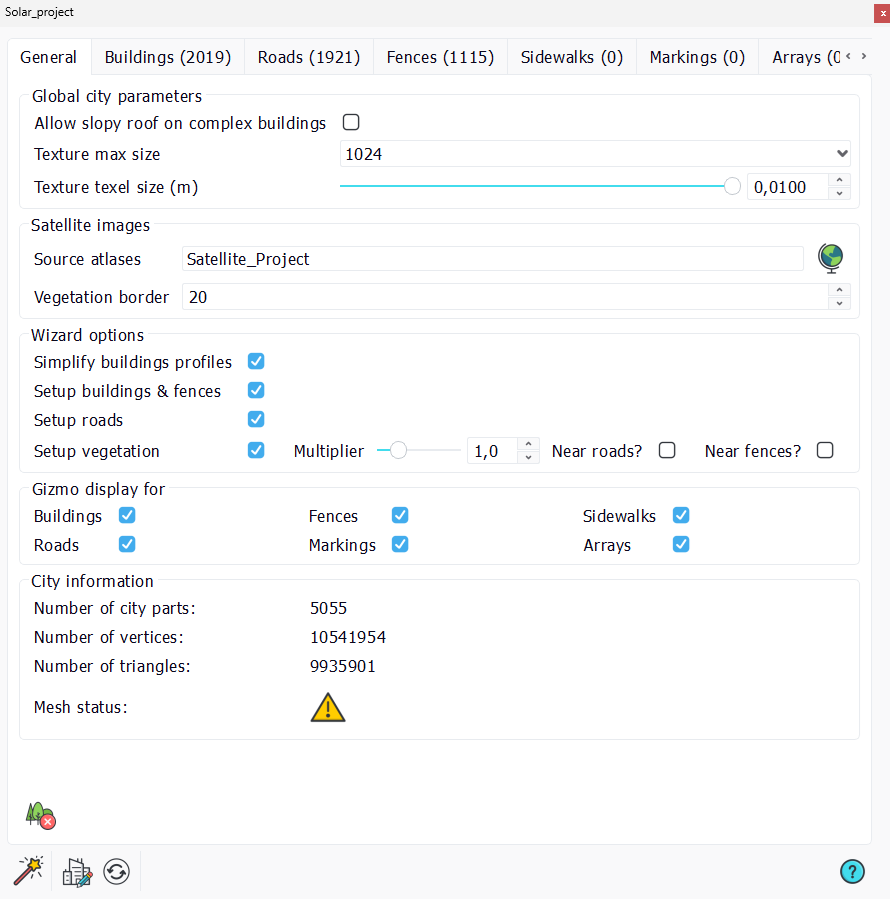
Open the City document and you should see the "General" tab and you should see this:
Note:
For more information about the City Wizard, please refer to the Wizard page.
 External data External data | Animation |
