

Create Overlays
Overlays are NDunes documents that can display 2D images on the surface of the terrain in NDunes. You can use any image implantation plan, cadastral plan, screenshot from CAD software or sattelite images, that will help integrate the project in the scene, or edit the scene to fit to reality. This can help to adjust the position of some objects in the scene. You can refer to the Overlays documentation for more information.
Create Overlay
References : Overlay Creation
To create an overlay :
- Click the "Document" menu in the navigation menu.
- Select "Overlay" in the unfolding menu to open the Overlay panel.
- Click the "Create a new Overlay document" button at the bottom of the Overlay panel.
- Open the Overlay document and load an image.
- Drag & Drop the overlay from the panel to the viewport.
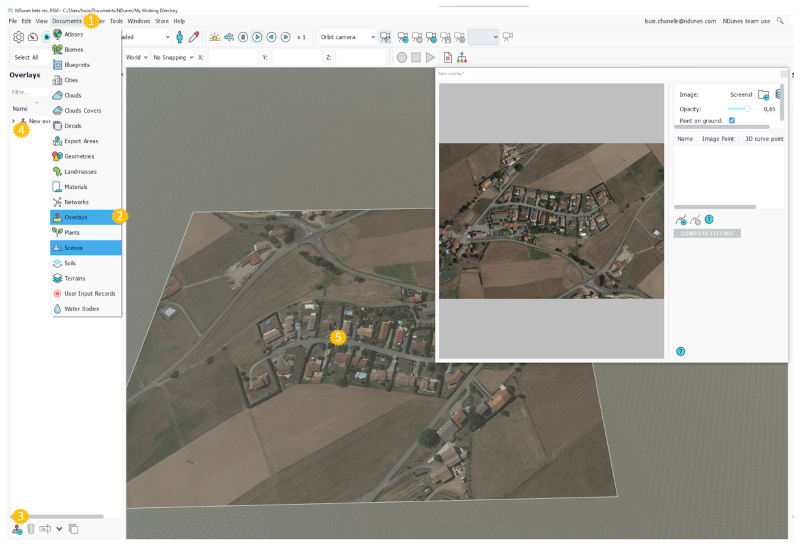
By default the overlay will be applied where you drop it in the viewport, to fit it to your project area you can use the fitting feature in the Overlay view :
Fitting overlay
References : Fitting algorithm for overlay maps
- Double click on the Overlay to open the view.
- Create 3 "Fitting points" using the button on the right panel.
- For each fitting points, Click on the "Image Point" cell and select a point in the image.
- Click on the "3D curve point" cell and select a Curve point in the scene.
- Click the "Compute fitting" button.
- Activate the "Paint on ground" option if it is deactivated.

The overlay will then automatically adjust its position, scale and rotation to fit the Scene.
Note:
You can only use curve points in NDunes as reference, so when placing the point on the image make sure it references a curve point in the Scene. The best curve points to use in order are bulding angles, garden angles, roads intersections, decal/fields angles.
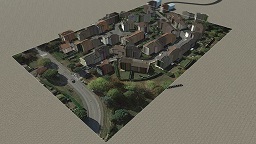
 Scene setup Scene setup | Project integration |
