Overlays
Overlay documents enable you to render a flat image inside your 3D scene. It has been designed as a tool to help you create your 3D objects while following some guide lines on an image.
Creating an overlay
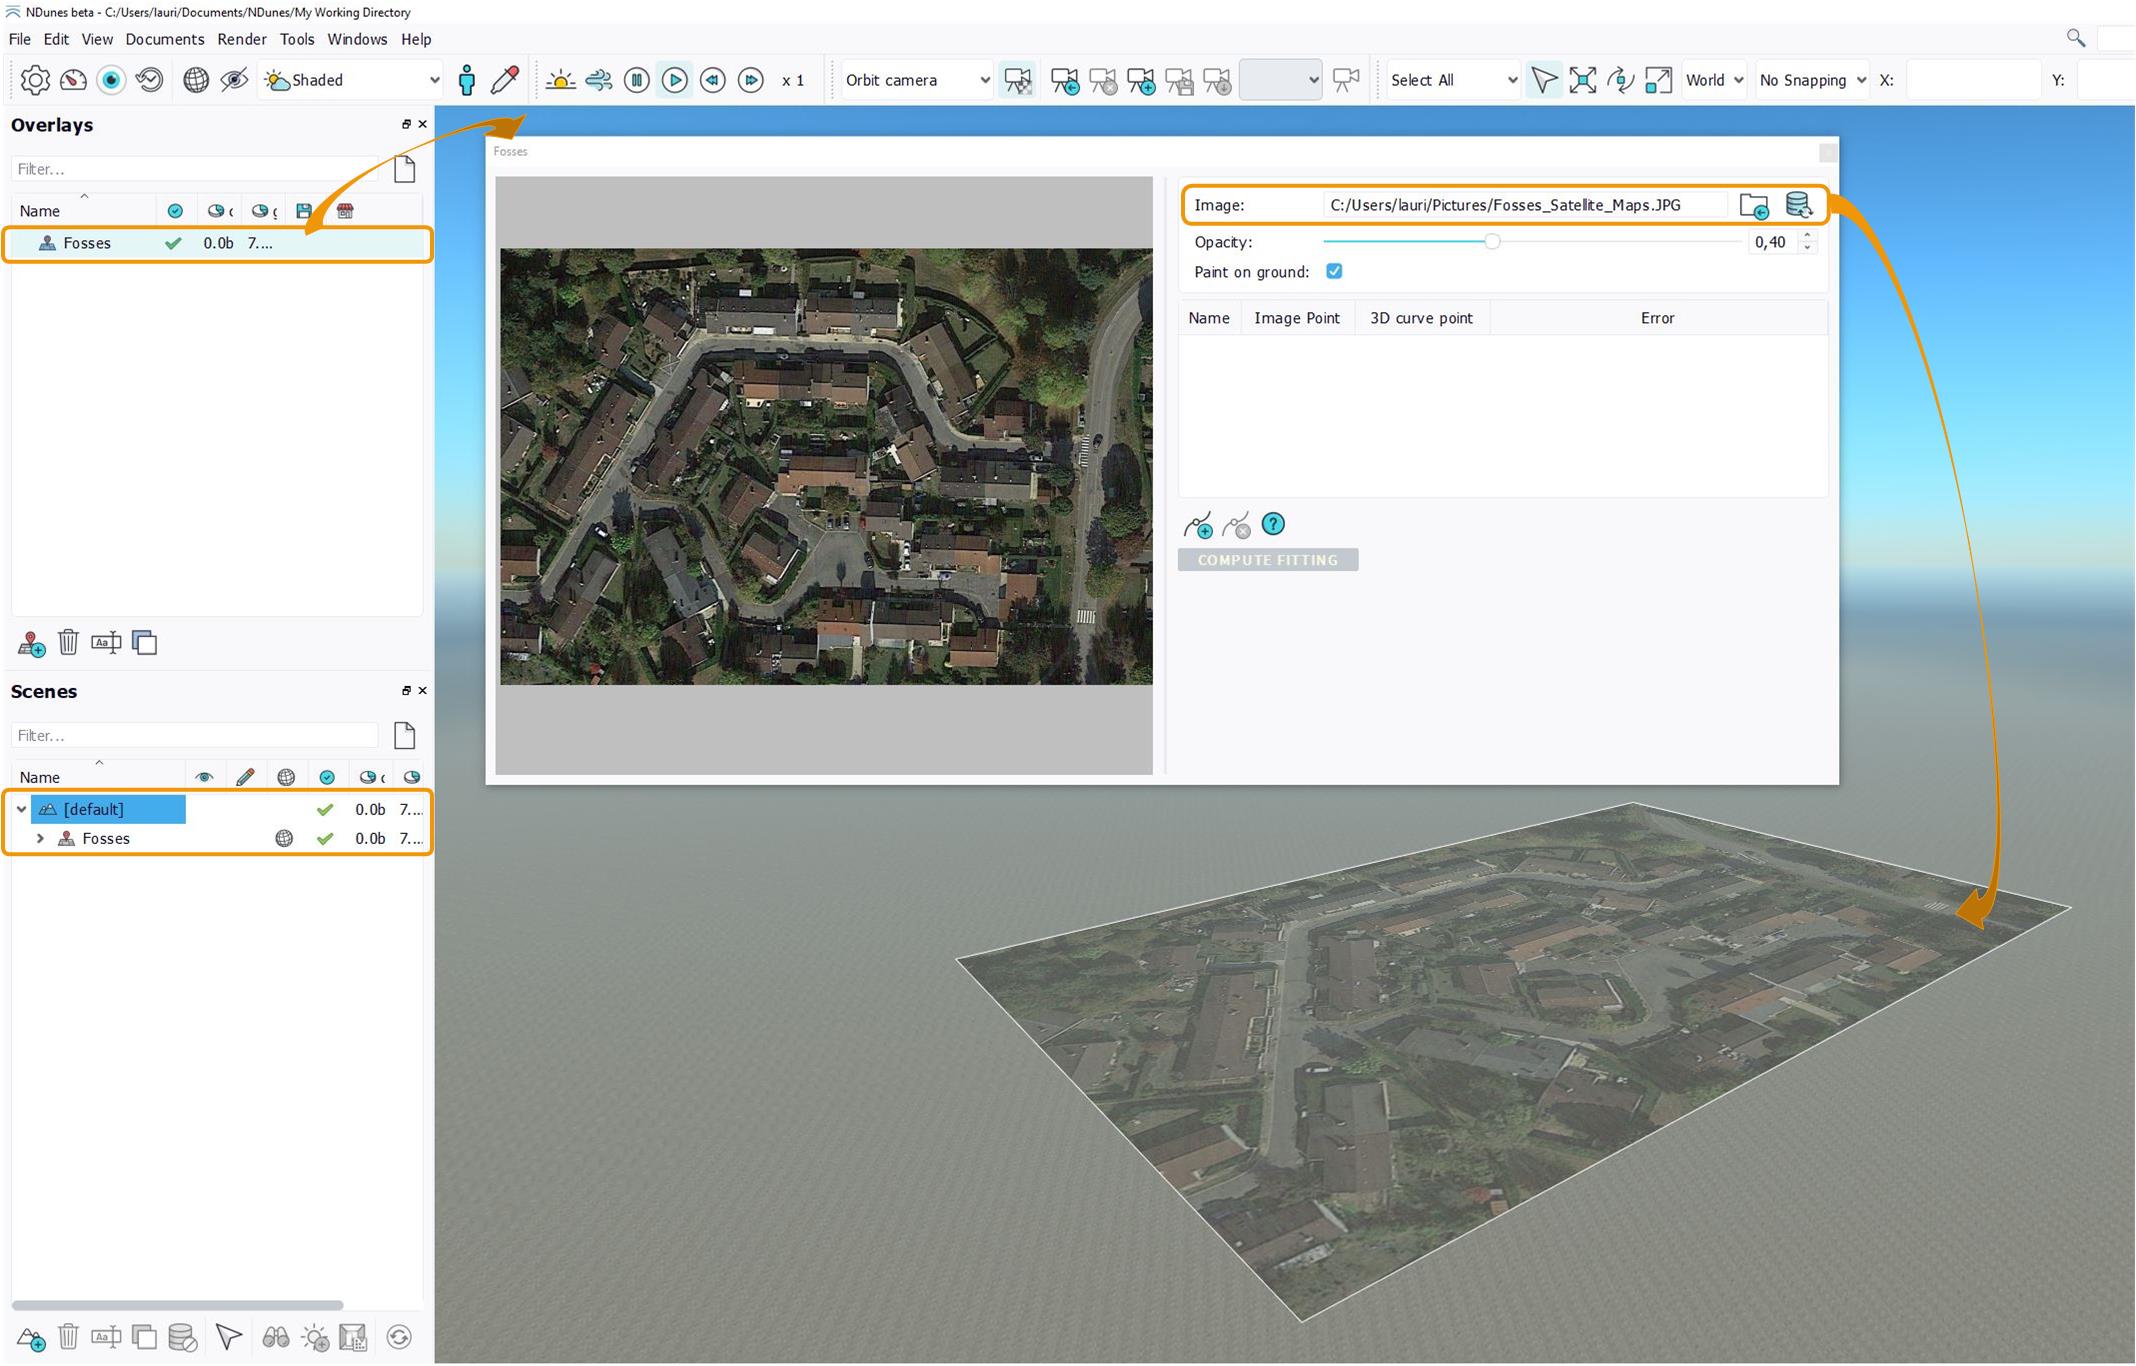
Create a new overlay document, drag it in the current scene, and double-click on the document to open it's view.
In the image section, select your image file (supported formats are jpeg, png and tif). It will appear in the overlay view window, as well as in your viewport.
Rendering options for the overlay
You can choose the opacity for your overlay rendering, 0.0 being fully transparent ( you can't see the overlay ), 1.0 fully opaque ( you cannot see any 3D object behind the overlay ).
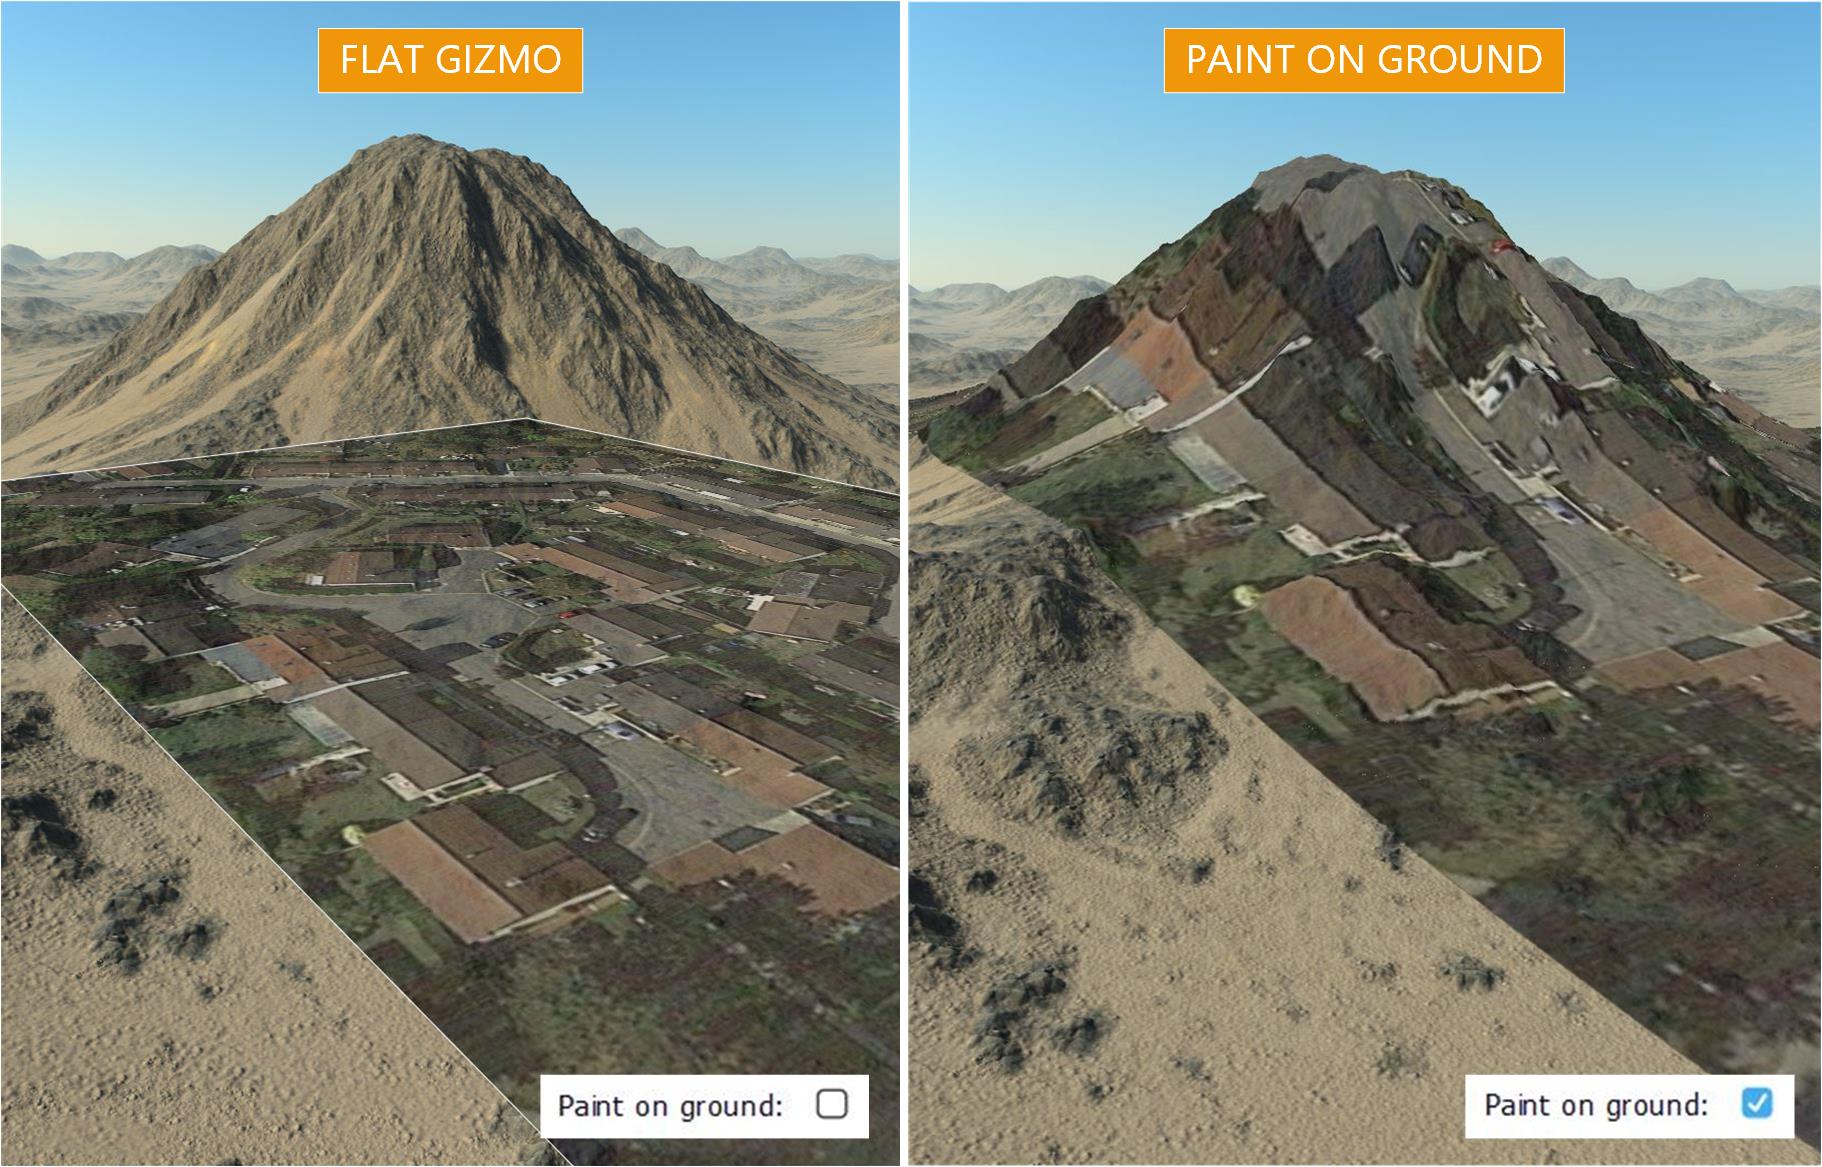
The paint on ground option will paint the overlay image on the 3D meshes (landscape, buildings...). If unchecked, the overlay will be displayed "flat" as a floating custom shape.
Fitting algorithm for overlay maps
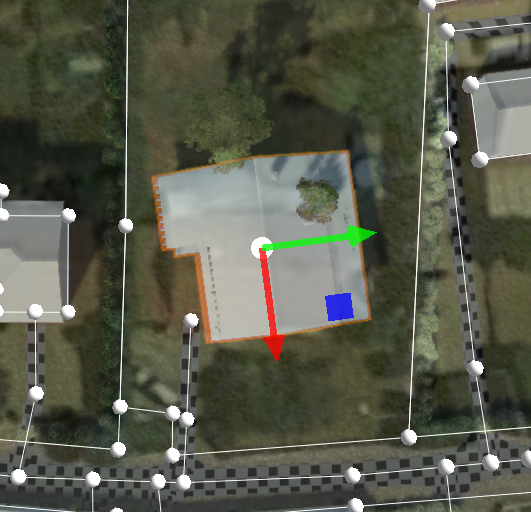
The overlay can be positionned in the scene like any other documents using the translation, rotation and scale gizmos. However, if your overlay is a form of map and you need to place it precesily to fit other geolocalised data in NDunes, using the gizmos can be difficult. This is why you can use our fitting algorithm.
You must create fitting points that will indicate the correlation between a point in the image, and a curve point in the 3D scene. To compute the fitting, you need at least 3 fitting points, but the more you create, the most precise your fitting will be.
For each point the process will be :
- Create a new fitting point in the overlay view.
- Select the "Need setting" in the "Image Point" column by clicking on it.
- In your image in the overlay view, zoom in on a recognizable point and right click on it to create the cross markor. Pixel coordinates will appear in the place of the former "Need Setting".
- Select the "Need setting" in the "3D curve point" column.
- In NDunes 3D viewport, select a curve point that matches your image point by left-clicking on it. Coordinates in meters will appear in the place of the former "Need Setting".
Once you have created and completed at least 3 fitting points, you can click on "Compute fitting" and your overlay will be placed automatically. Make sure your overlay is in the current scene.
Place model
Overlay can be a great help to place a real life model in the scene.
- Open the scene you have generated from a blueprint
- Add in the scene an overlays with a satellite image of the project area
- Import your model in a geometry
=> Using the satellite image and the top down view you can place your model with more precision !