The user interface at a glance

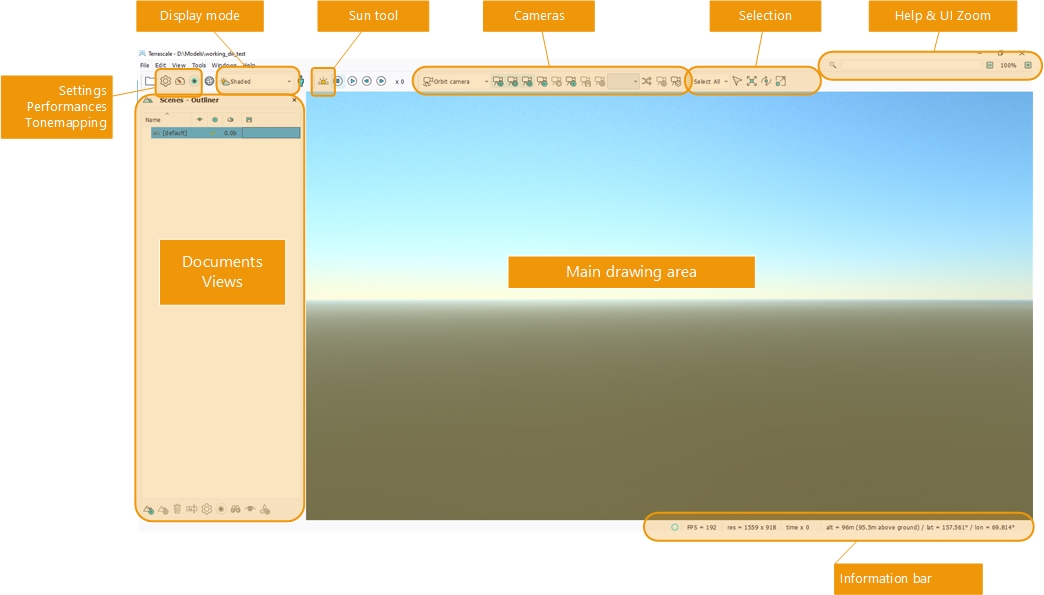
NDunes' user interface is centered around a main window. There's only one display window active at a time, this is the main drawing area. By default, it shows up a brown flat soil with a sun & sky lighting. The most important items that can be found around it are (going counterclockwise from the upper right corner):
- The Help bar and UI zoom area: by pressing the + / - buttons around the zoom % value, the entire application UI can be zoomed in or out. It can be convenient to change the zoom factor on 4k or even larger screens, even if NDunes has a default zoom factor applied for large resolutions.
- The selection toolbar (see details here: Using the selection toolbar): There's a item type selection drop down that can be used to select specific items (such as materials or lights), a selection mode toggle and transform gizmos for translation, rotation and scaling. On having none of these buttons toggled, selection is disabled. If any is enabled, selection is turned on. Turning on selection modifies the behavior of mouse manipulation with left mouse button click being re-assigned to selection and re-focus operation being moved to pressing the space bar (by default, otherwise, lookup Tools/Options to customize the keyboard).
- The camera toolbar (see details here: Using the camera toolbar): Can be used to define cameras. A camera being created will appear in the outliner view for the current scene. Cameras can be created, deleted, renamed, saved, applied. Additional buttons can be pressed to rollback to previous observer position. The navigation mode can be selected (examine camera, orbit camera or fly camera) and some informations can be displayed for the current camera.
- The simulation toolbar (not highlighted): can be used to control the speed of the running simulation. Will be more detailed in future versions with the delivery of animations.
- The sun tool: A very handy tool that can be used to change the position of the sun at will.
- The dummy button (not highlighted) that display a human sized mannequin that can be helpful to adjust the different sizes of elements displayed.
- A dropdown menu with Display modes and also a number of rendering layers that can be visualized interactively.
- Then we find a wireframe display button (not highlighted). Pressing the button will turn all display in wireframe so that tessellation can be looked at. Note that you may need to disable the temporal anti-aliasing in the Settings panel to get a good display sharpness of the wireframe.
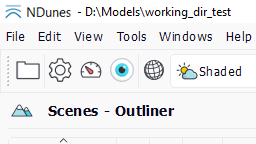
- We then have three complex panels triggered each by a separate button: Tonemapping, Performances, Settings.
- On the left side of the interface we find - on first startup - the outliner view, which is also the view of the different scenes that have been assembled so far. Many more document views can be opened and docked everywhere in the interface. See here: Using scenes for details on the scene view which is also the global document outliner of the application.
- Going down to the lower part of the UI, we'll see the status bar showing progress bars and messages (not highlighted) and the Information bar, that provides some useful informations on our situation.
Customizable parameters (shortcuts, keyboard controls, various software options) can be found in the Tools/Options panel.
 License License |


